A sweatshirt is like a blank canvas, ready for you to embroider and create a custom, personal look. This tutorial shares stitching tips and placement ideas to help you get picture-perfect results.
Project Needs and Notes
- Sweatshirt
- Medium-weight (2.5 ounce) cutaway stabilizer
- Air-erase pen
- Temporary spray adhesive
(like Gunold's KK100)
Special Notes:
Sweatshirts are made of cotton, or a cotton-polyester blend. Begin by washing and drying the sweatshirt to preshrink it, and to remove excess dye.
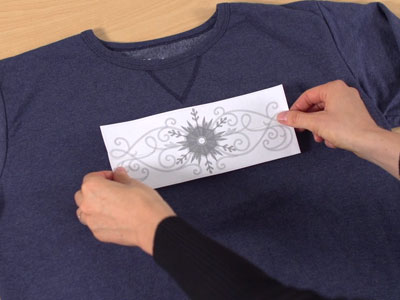
Plan where you want to stitch the design. A template is a printout of a design, and it's an excellent tool for placement.
Print a template of the design from embroidery software. Then, arrange that on the sweatshirt until the placement looks good to you.
We recommend Wilcom's Hatch software which comes in different levels depending on what you'd like to use the software for. Hatch Organizer works well to view your designs, print dielines and templates, change design colors, and create basic design layouts. (This is an affiliate link, learn more about affiliate links here)

Borders, trios, and designs that are horizontal are very popular choices for sweatshirts.
Traditionally these designs are placed so the top of the design is 3" down from the neck.
If working with a smaller size, like a child's size sweatshirt, you may find that placing the design closer to the neck looks better.
In this example, a smaller size of the design is positioned 2 1/2" down from the neck of this child-size sweatshirt.
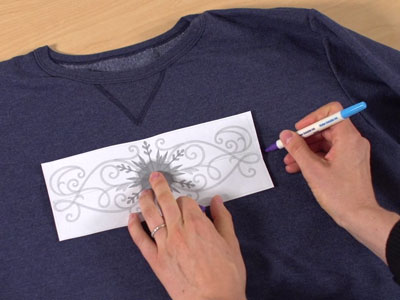
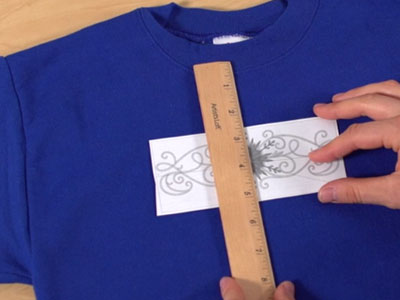
After the template is positioned where you want to stitch, mark the center point, as well as the vertical and horizontal axis lines.
These marks will be used for hooping.
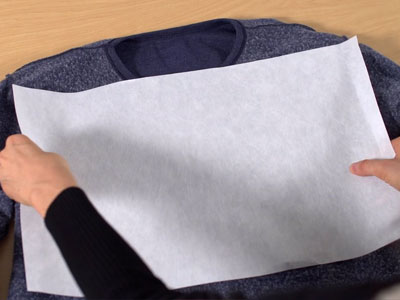
Turn the sweatshirt inside out.
Spray a piece of cutaway stabilizer with temporary adhesive, and smooth that on the back of the area that will be embroidered.
Turn the sweatshirt right side out.
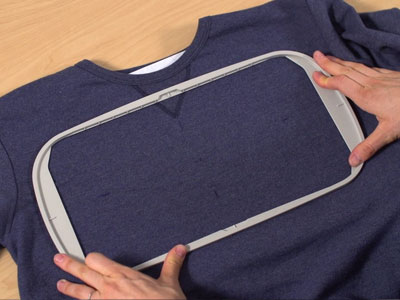
Slide the outer hoop inside the shirt.
Press the inner hoop in place, lining up the marks that you made on the shirt with the marks on the hoop.

Roll the excess sweatshirt up and around so nothing gets caught on the machine while embroidering.
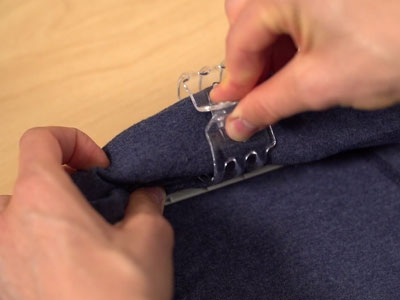
Use clips to keep the excess sweatshirt out of the way.
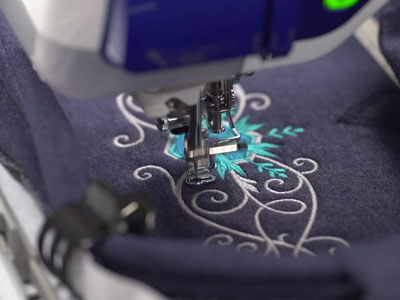
Embroider the design. Use a size 11 or 75/11 sewing or embroidery needle.
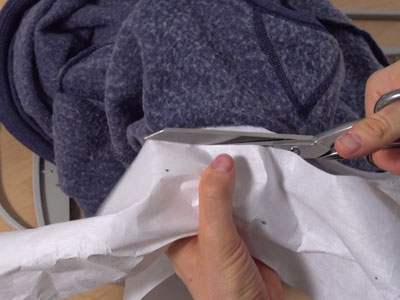
After embroidering, turn the shirt inside out, and cut the excess stabilizer away.
Leave about 1/2" around the design.
Cutaway stabilizer will soften after a wash or two.
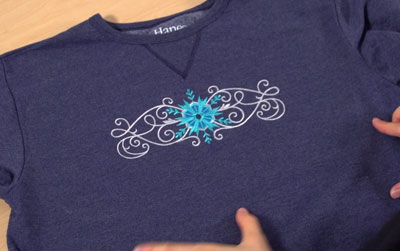
And here's the finished result: a sparkling snowflake sweatshirt, ready to add a warm and cozy look to your winter wardrobe.
The design used in this example is the Frosty Filigree Snowflake Border.
The above is an example of traditional design placement on a sweatshirt. Let your creativity run wild to come up with unique and non-traditional results, too!
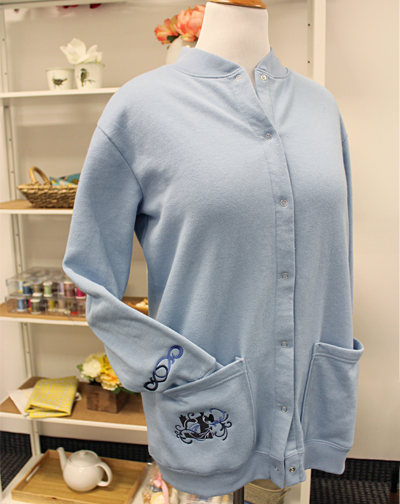
This sweatshirt cardigan has the Filigree Sewing Machine 1 on the pocket, and the Chocolate Nouveau Border on the sleeve.
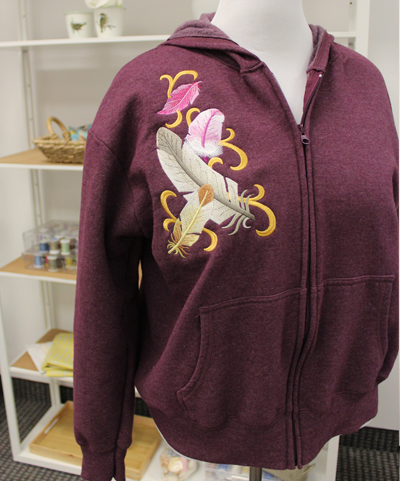
The Fall Feathers Wedge design cascades gracefully down the front of this zippered hoodie.
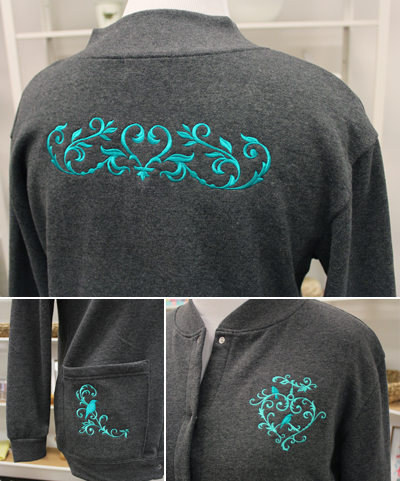
This button-down sweatshirt cardigan has the Lovebird Heart Border on the back, Lovebird Heart on the front, and the matching corner on the pocket.


