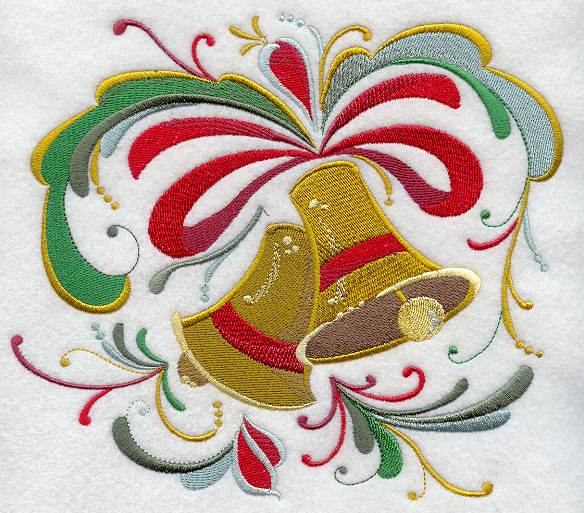
Recycle a favorite old sweater into a cherished Christmas stocking! This project is wonderfully quick and easy. Make up as many as you need for the whole family, with a perfectly personal embroidery design on each! Embroidery Library has thousands of Christmas embroidery designs to choose from.
Read below for these free project instructions!
Supplies
Supplies Needed:
**An old sweater - this one is cotton, but wool and other fabrics are fine choices too
**2/3 yard coordinating fabric for lining - we used printed quilter's cotton
**Stocking pattern - click here to download
**Jingle bell
**Medium weight cutaway stabilizer
**Water-soluble topping - we used Sulky Solvy
**Air-erase pen
**Scotch tape
For this project, the design we used was the Rosemaling Christmas Bells - Sm. The design we used for the stocking is also available in the following design pack: A Christmas Rosemaling Design Pack - Sm.
There are thousands of Christmas designs that will also look great on this stocking. Choose your fa-la-la-favorites and stitch away!
Finished Size:
12 inches wide by 19 inches high
Designs Used
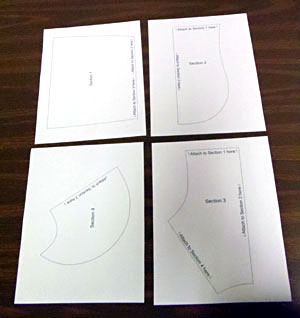
To begin, click here to open a PDF of the stocking pattern. The pattern is split into four pieces. Print out the pieces on 8 1/2 inch by 11 inch paper.
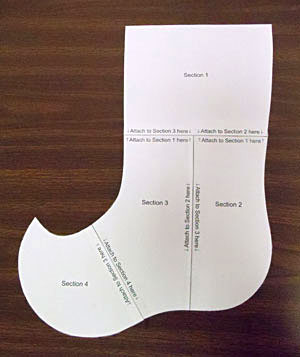
Cut out the sections and align them together as instructed on the printouts. Tape the pieces together to form the stocking pattern.
(Alternatively, you can use one of our other stocking patterns, or draw your own - any stocking shape will do!)
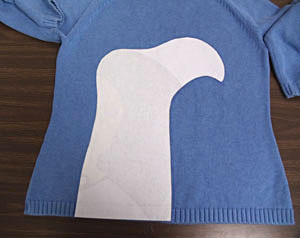
Lay out the sweater on a flat surface. Place the pattern on the sweater so that the top edge of the stocking is aligned with the bottom edge of the sweater. Trace around the pattern with an air-erase pen (or other marking tool).
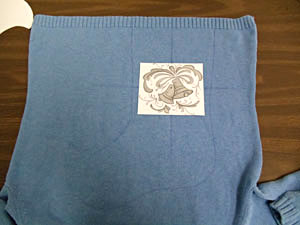
Create paper templates of the design by printing it at full size using embroidery software. If you don't have embroidery software, you can cut a piece of paper the shape and dimensions of the design to help with placement and centering.
Using an air-erase pen (or other marking tool), poke a hold in the center of the template and mark the fabric. Also mark the horizontal and vertical axis points. Remove the templates. Draw lines connecting the axis marks - these will be used for hooping.
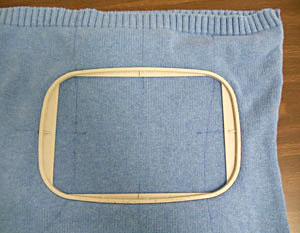
Spray a piece of medium-weight stabilizer with temporary adhesive, and smooth the fabric on top. If the knit is coarse, lay a piece of water-soluble stabilizer over the top of the area to be embroidered, to keep the stitches from sinking into the fabric. Hoop the stabilizer, fabric, and topping together by aligning the marks on the hoop with the lines on the fabric.
Click here for more information on embroidering sweater knits.
(Tip: You may want to cut along one side seam of the sweater in order to make hooping easier.)

Embroider the design.
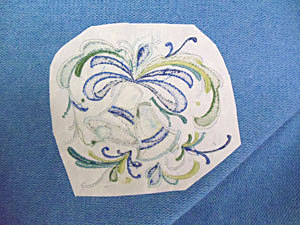
Carefully trim away the excess stabilizer on the back of the embroidery.
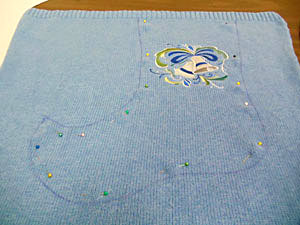
Smooth out the sweater on a flat surface again, making sure to align the bottom edges of the sweater front and back - these will become the top edge of the stocking. Pin both layers together, just inside the cutting line.
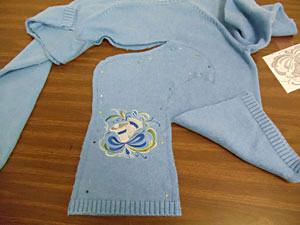
Cut through both layers to create two stocking-shaped pieces.
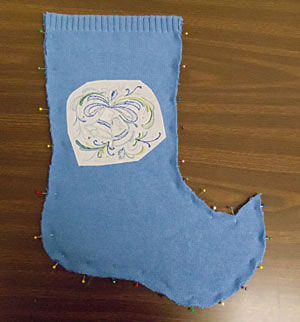
Lay the sweater pieces right sides together, and pin together along the edges.
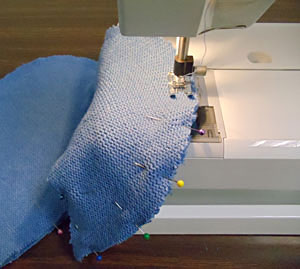
Sew around the sweater pieces, leaving the top of the stocking open.

Turn the sweater pieces inside out. This is the outer layer of your stocking.
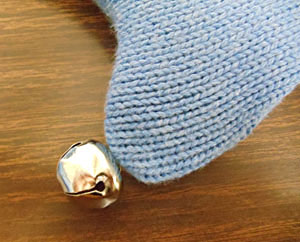
Hand-sew a bell to the tip of the stocking toe.
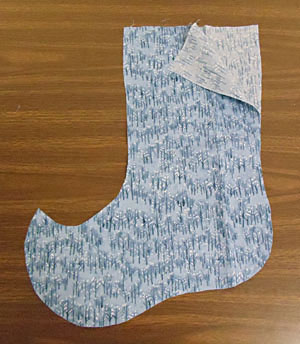
Using the same stocking pattern, cut out two pieces from the lining fabric.
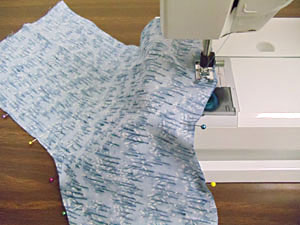
Lay the lining pieces right sides together, and pin. Stitch around the edge of the stocking lining, leaving the top edge open.
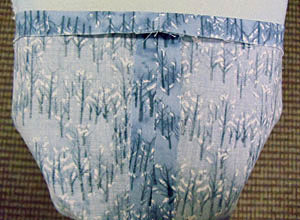
Press open the seams on the stocking lining, starting at the top and going as far as you can. Press under 1/2 inch around the top of the lining.
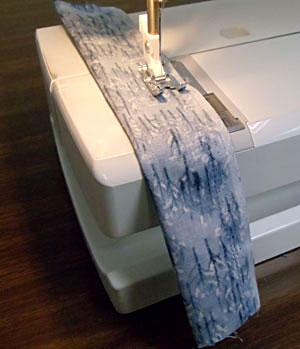
To create the stocking loop, cut out a 3 1/2 inch by 10 1/2 inch rectangle from the lining fabric. Fold it in half the long way, right sides together, and stitch. Turn it right side out, and press.
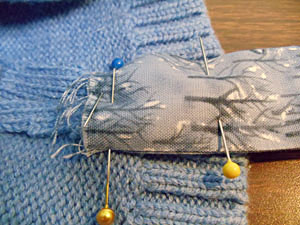
Fold the piece into a loop and pin it to the inside seam of the sweater stocking (the one toward the back side of the "foot"). Stitch in place, about an inch from the top.
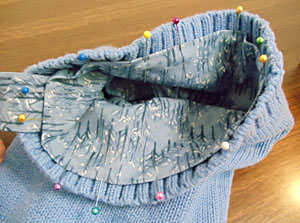
Insert the lining into the sweater stocking. Pin it in place, matching seams, with the folded edge of the lining about 1/2 inch below the edge of the sweater.
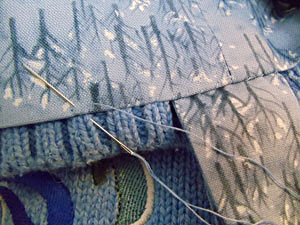
Hand-stitch the top edge of the lining to the sweater.
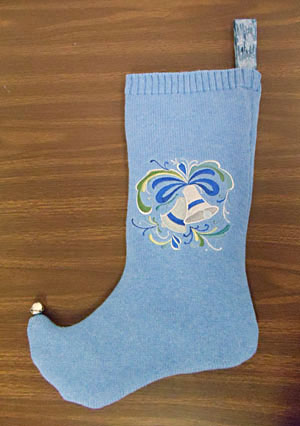
This festive stocking, personalized with any Christmas design, is now ready to hang by the chimney!
