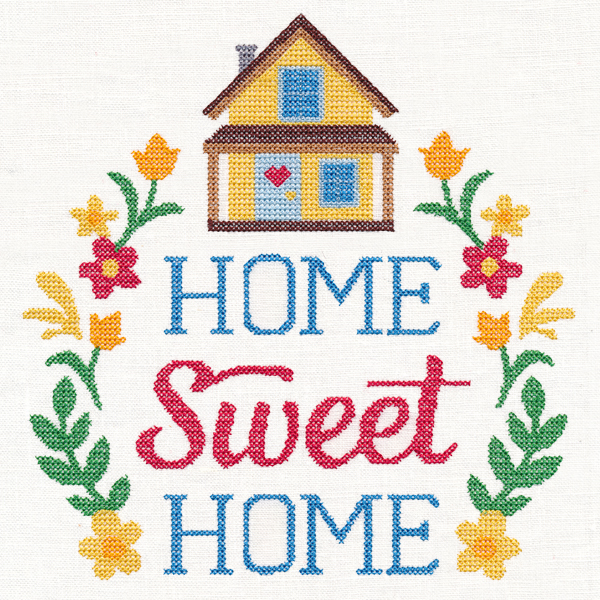
Let tradition meet technology with machine embroidered cross stitch designs! Get tips for embroidering on Aida cloth, plus find out what to expect while stitching the classic yet contemporary designs.
Project Needs & Notes:
- 14 count Aida cloth (cross stitch fabric)
- Medium weight cutaway stabilizer
- Air-erase pen
- Ruler
The design featured in this tutorial include:
M14949, Home Sweet Home Wreath (Cross Stitch)
Special Notes:
All of Embroidery Library's cross stitch designs are digitized for 14 count Aida cloth. However, they also look great on linen, suede cloth, and even floursack towels.
Designs Used
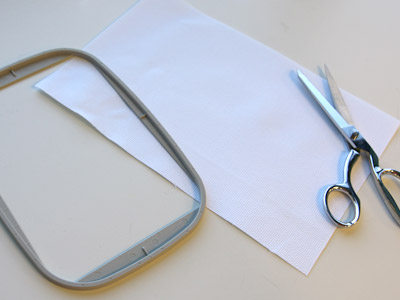
To get started, cut a piece of 14 count Aida cloth a bit larger than your hoop.
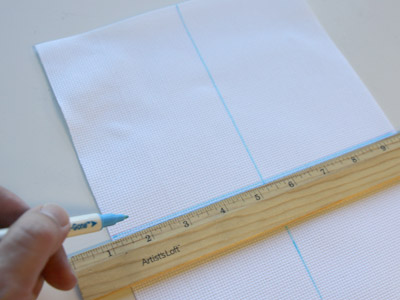
Using an air-erase pen, draw lines through the center of the fabric by aligning the ruler along the weave from top to bottom and then side to side..
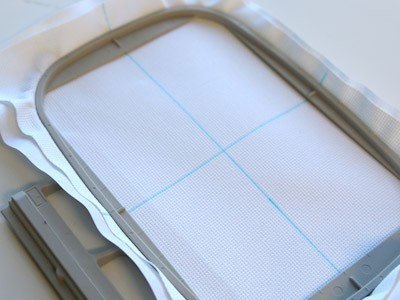
Hoop the fabric with one piece of medium weight cutaway stabilizer.
Align the lines on the fabric with the marks on the hoop.
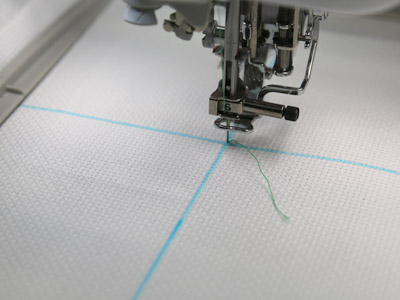
Load the cross stitch design into the machine.
Align the needle with one of the holes in the fabric (right near the center point on the fabric). Lower the needle, and check the position.
If the needle is not aligned with one of the holes, raise the needle and move the hoop slightly.
Lower the needle again and check to make sure the needle is aligned with the hole.
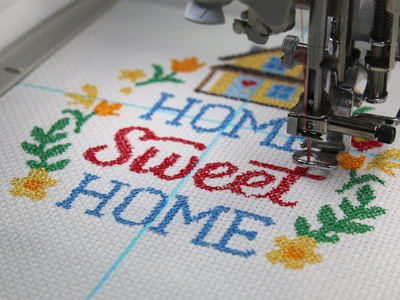
Then, embroider the design.
A size 75/11 sharp sewing needle and 40 weight rayon thread (or 40 weight polyester thread) will provide the best results for these designs.
Note: The crosses of the design will not perfectly line up with the fabric, but it will be very close.
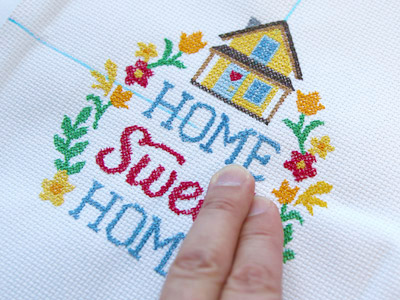
When the design has finished, unhoop the fabric.
You can remove the air-erase pen by wetting your finger tips and gently wiping the marks away.
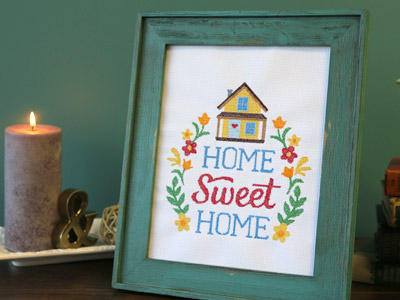
I framed my embroidered piece which makes an excellent addition to any home decor!
