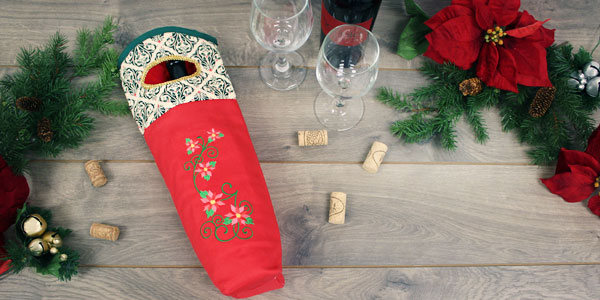
Gift a bottle of wine or sparkling cider in style with a festive quilted wine bag. A handy opening at the top lets you carry it with ease, while a quilted cotton lining keeps the glass bottle from breaking. Use festive embroidery and fabric for the holidays, or try different prints and designs for other special occasions.
Supplies
Project Needs & Notes
- 1/3 yard lightweight cotton (for outer shell)
- 1/3 yard quilted cotton (for inner lining)
- 1/4 yard print quilter's cotton
- Medium-weight (2.5 - 3 ounce) cutaway stabilizer
- Air-erase pen for marking
- Extra-wide double-fold bias tape
- Decorative trim
- Fabric glue
- Needle and thread for some hand sewing
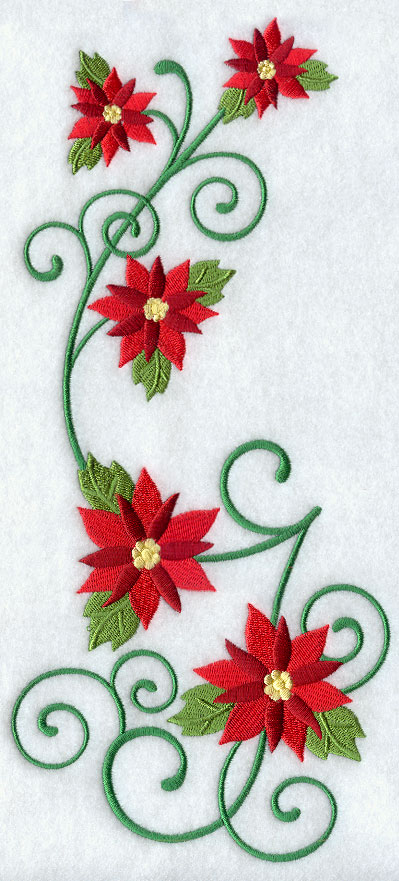
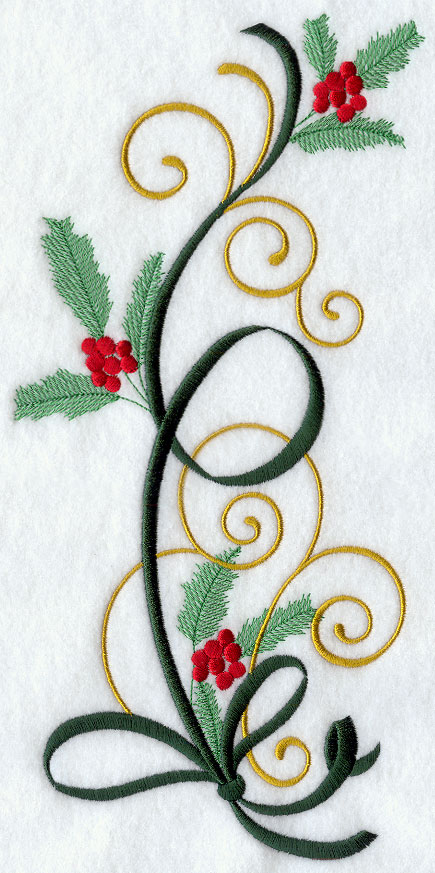
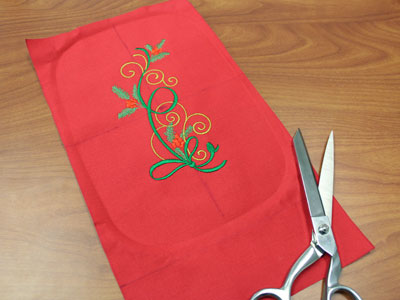
For this tutorial, I used the small size of the Christmas Pine Boughs Spray design and the small size of the Christmas Poinsettias Spray design. Find even more festive designs in the Christmas category.
Finished Size: 4 1/2" wide x 16 1/2" high x 4 1/2" deep
Designs Used
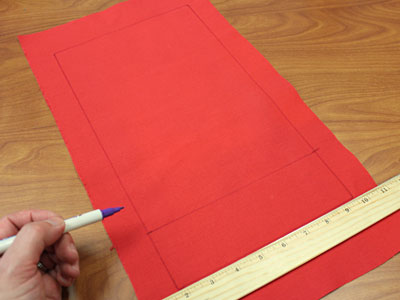
First, prepare one side of the outer shell fabric for the embroidery.
On the lightweight cotton, draw a 7 3/4" x 14" rectangle.
Measure and mark 2 1/2" up along the side edges starting at the bottom corners.
Draw a line connecting the marks -- the area below the line will become the bottom of the bag.
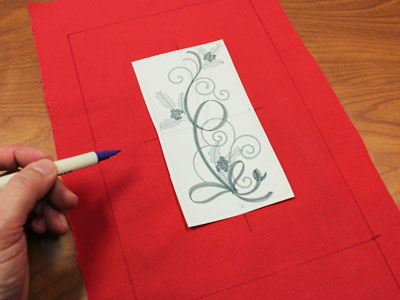
A template, or printout of a design, is an excellent tool to help with placement. If you do not have embroidery software, you can also use a piece of paper that matches the largest dimensions of your design. If using this method, cut your piece of paper to size, then draw lines through both the horizontal and vertical center points.
Center the template of the design inside the top portion of the shape.
Continue to mark the center point and horizontal and vertical axis points.
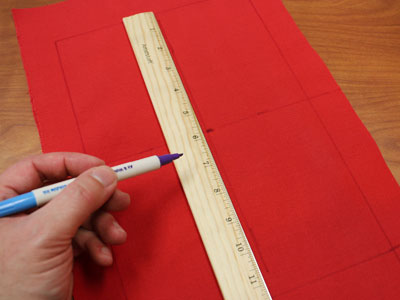
Remove the template. Draw lines connecting the marks.
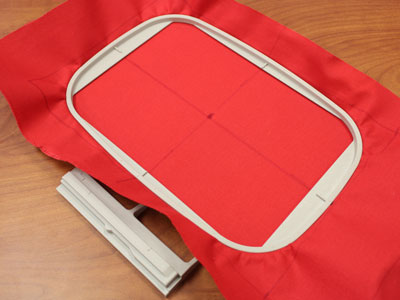
Hoop the fabric and stabilizer together, aligning the marks on the hoop with the lines on the fabric.
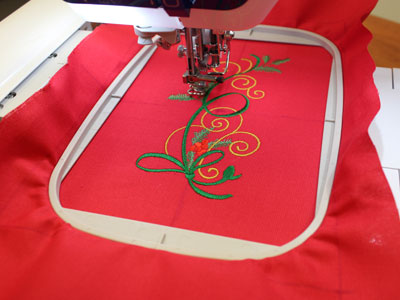
Attach the hoop to the machine and load the design.
Move the hoop so that the needle is directly aligned with the center point on the fabric.
Embroider the design.
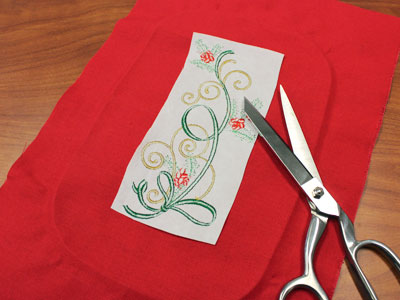
When the design has finished, trim away the excess stabilizer on the backside of the embroidery.
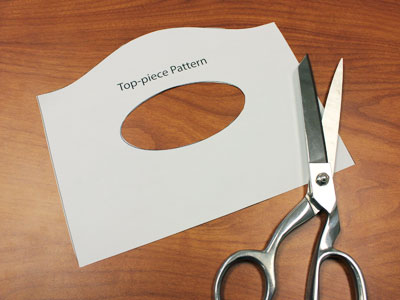
Cut out the pattern piece around the outer shape and inside the shape.
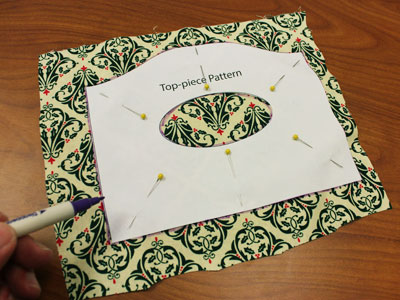
Lay the print cotton fabric flat and pin the pattern piece on top.
Trace the shape onto the fabric.
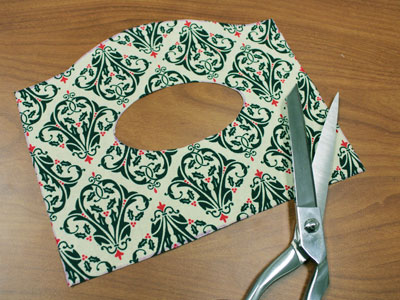
Remove the pattern piece and cut out the shape.
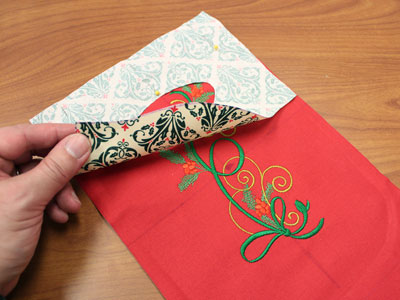
Lay the embroidered side piece flat with the right side facing up.
Align the top handle piece on top, right sides together. The bottom edge of the top piece should be aligned with the top edge of the side piece.
Pin in place and sew a 1/2" seam along the pinned edge only. Press the seam with an iron.
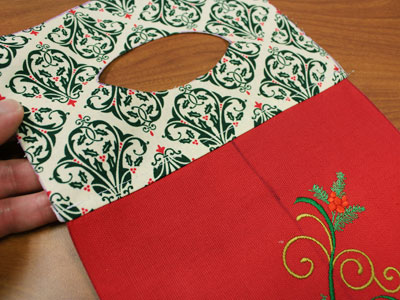
Top stitch a 1/4" seam along the print cotton edge of the seam.
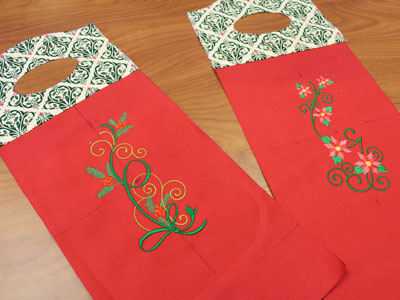
Follow the same steps you did earlier to create a second side piece.
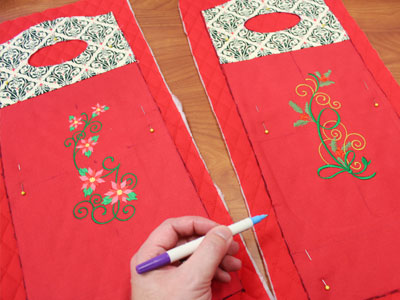
To prepare the inner lining pieces, lay the quilted cotton flat with the right sides facing up.
Lay the assembled side pieces on top and pin in place.
Trace the shapes, and cut out (including the inner shapes).
Set the quilted cotton pieces aside for now.
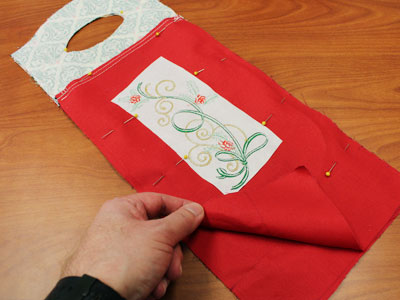
Align the assembled side pieces together, right sides together.
Pin in place and sew a 1/2" seam along the side and bottom edges only -- leave the top open for turning.
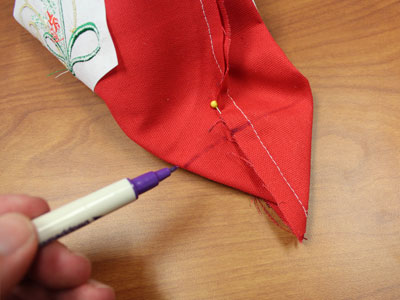
To square off the bottom, align the bottom seams with the side seams.
Measure and mark in 2 1/2" from the points of the corners.
Draw a line at the mark perpendicular to the seam.
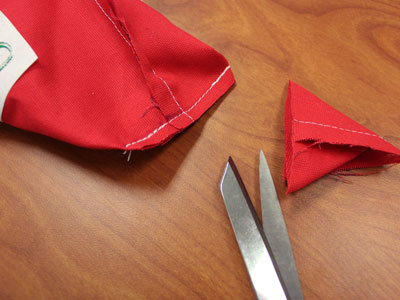
Sew a seam along the line and trim the corner leaving about 1/4" excess.
Turn the outer shell right side out.
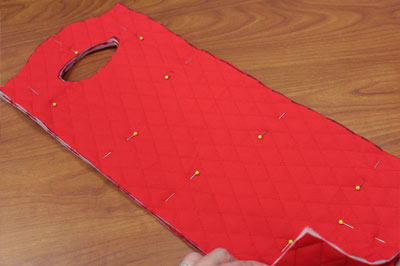
Align the quilted cotton pieces together, right sides together.
Sew a 1/2" seam along the side and bottom edges of the fabric -- leave the top edge open.
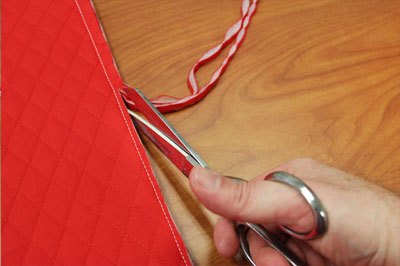
Square off the bottom just as you did for the outer shell, but first trim away the seam allowance leaving about 1/8" excess.
Doing this makes the inner lining less bulky when inserted into the outer shell.
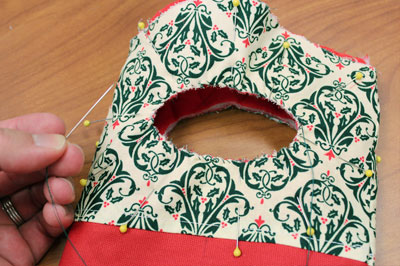
Insert the quilted cotton inner lining inside the outer shell, wrong sides together.
Align the side seams and top raw edges together, and pin in place.
Hand stitch around the inner openings tacking all the layers together.
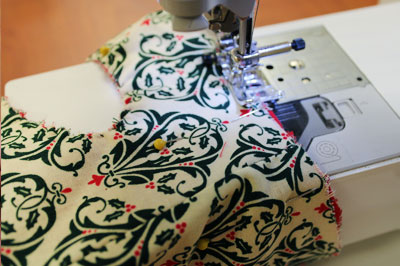
Sew a 1/8" seam along the top raw edges of the bag.
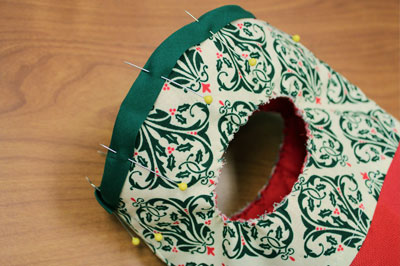
Wrap bias tape around the top edge of the bag, pin in place, and sew a seam along the inner edge of the tape.
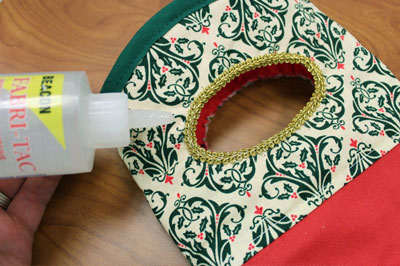
To finish the bag, use fabric glue to add decorative trim around the raw edges of the inner openings.

Use this quilted wine bag as wrapping when gifting a bottle of wine, or use it yourself to carry bottles to parties or dinner.
It can easily be adapted for various seasons and occasions by using different designs and fabric patterns.
