Display your favorite embroidery on a homemade lap quilt! This project tutorial demonstrates how to embroider on quilt blocks, then assemble to make your own blanket.
Supplies
Project Needs & Notes:
- 1/2 yard of white Kona cotton (for embroidered blocks)
- 1/2 yard each of two colors of patterned Kona cotton (for accent blocks)
- 1 1/4 yards of patterned Kona cotton (for borders)
- 1 1/4 yards of red Kona cotton (for backing)
- 1 1/4 yards of cotton quilt batting
- 4 1/4 yards of double fold bias tape
- Sheer mesh cutaway stabilizer
- Nylon monofilament thread
- Air-erase pen for marking
- Quilting ruler
- Rotary cutter
- Curved safety pins
- Hand sewing needle
Designs featured in this tutorial include:
-X13588, A Nostalgic Nature (Redwork) Design Pack
Special Notes:
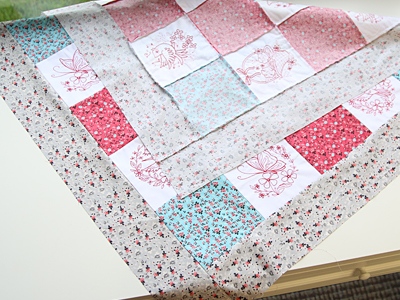
This lap quilt will be made of twelve embroidered blocks and 13 total fabric accent blocks (7 of one patterned fabric and 6 of another).
Finished Size:
38" x 38"
Designs Used
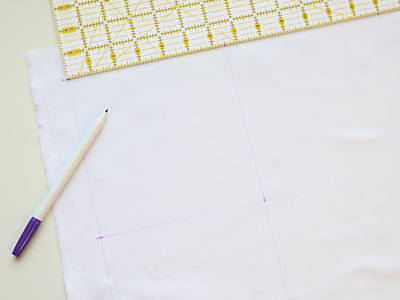
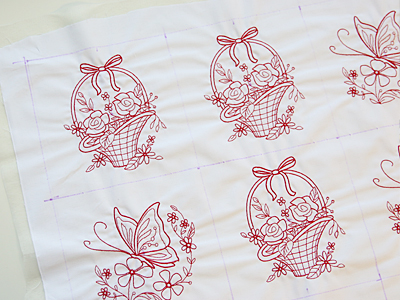
Using an air-erase pen, draw a 6 1/2" x 6 1/2" square on the fabric meant for the embroidered blocks.
This size includes the 6" x 6" block size, plus a 1/4" seam allowance on all four sides.
Then, mark the fabric for the other embroidered blocks. Line them up and draw them side by side to make cutting them easier later on. There are 12 in total.
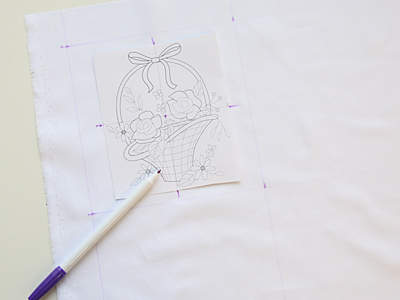
A template, or printout of a design, is an excellent tool to help with placement.
Print a template of the design from your embroidery software. If you do not have embroidery software, Wilcom TrueSizer is a free program to use.
Center the template inside the drawn square, and mark the center point and vertical and horizontal axis lines.
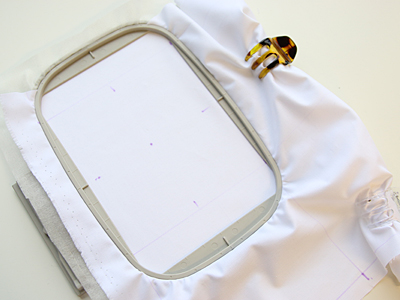
Spray a piece of sheer mesh cutaway stabilizer and smooth it on the back of the fabric.
Hoop the fabric and stabilizer together, aligning the marks on the hoop with the marks on the fabric.
Use clips to hold the excess fabric if necessary to keep it from sliding under the hoop while embroidering.
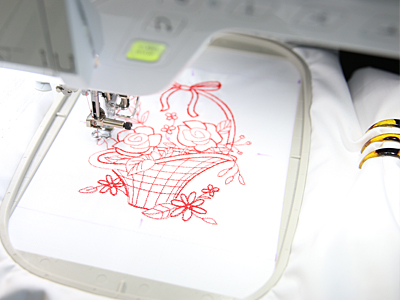
Attach the hoop to the machine and load the design.
Move the hoop so that the needle is directly aligned with the center point on the fabric.
Embroider the design.
When the first design has finished embroidering, repeat and embroider the other eleven blocks needed to make the quilt.
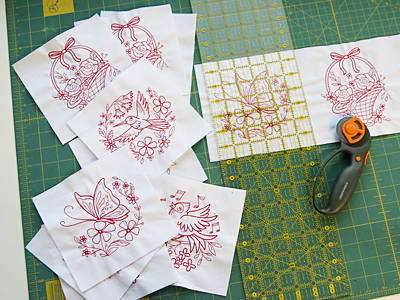
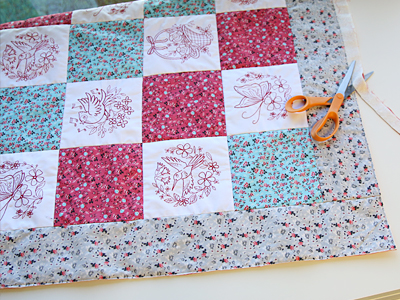
Now that all the embroidery is finished, lay the fabric on a cutting pad, and cut out the blocks using a quilting ruler and rotary cutter.
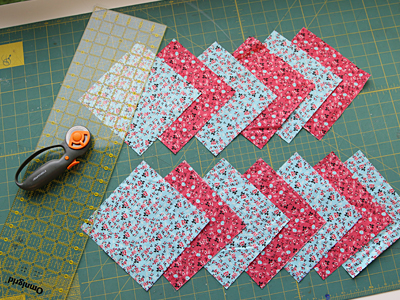
Then mark and cut out thirteen 6 1/2" x 6 1/2" fabric accent blocks.
In this tutorial, we are using two different fabrics, so cut seven of the first color, and six of the second.
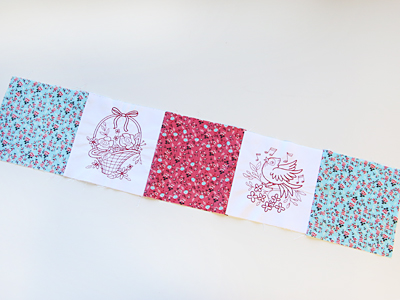
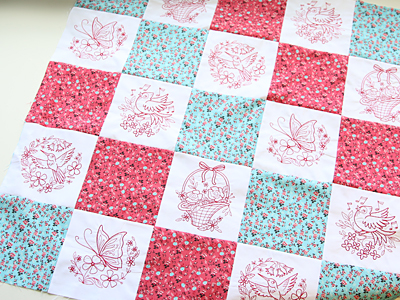
First we will assemble the quilt row by row.
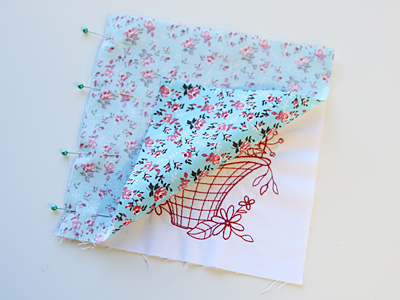
Start with the block on the far top left, making sure it is made of the patterned fabric that you cut seven blocks out of (not the fabric that you cut only six).
Align it on top of the block that goes next to it with the right sides together, and pin in place along the left side.
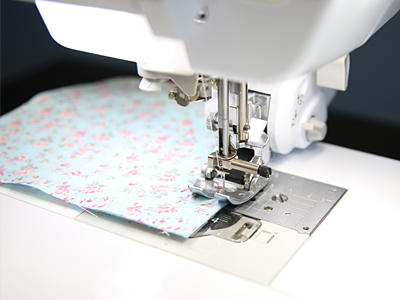
Sew a 1/4" seam along the pinned edge only.
In this tutorial, we used a walking foot attachment on the sewing machine. This type of foot moves the fabric along the top in sync with the feed dogs of the machine, keeping the layers aligned together.
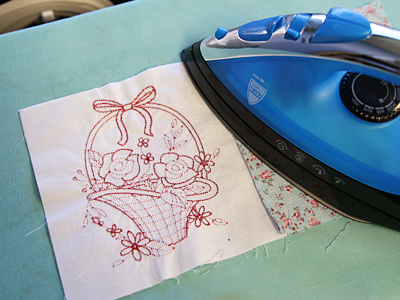
Next press the back seam with a hot dry iron.
Make sure not to use steam when pressing a quilt project as it will distort the fabric.
Repeat the previous steps to add all of the blocks in the top row, making sure to press each seam in the same direction.
Then repeat to make the other four rows of the quilt.
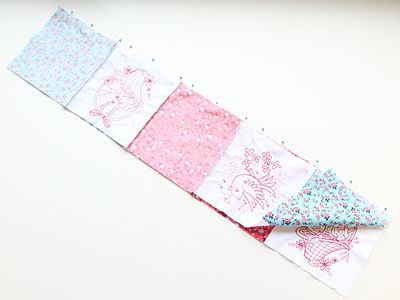
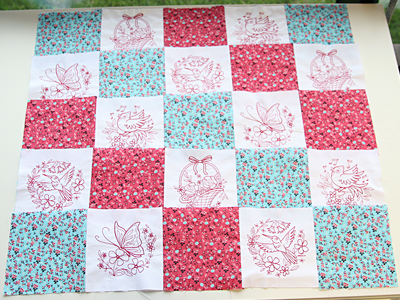
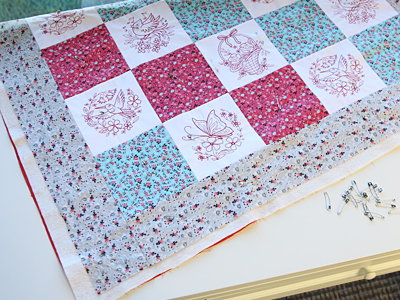
Once all the rows are finished, align the first and second row on top of each other with the right sides together. Pin along the top edge.

Sew a 1/4" seam along the pinned edge only, and press the seam.
Repeat to add the other four rows, making sure to press the seams in the same direction.
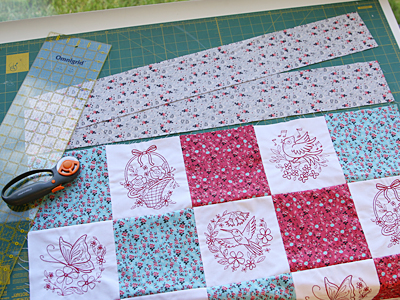
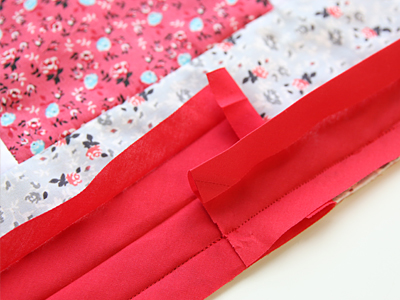
To make the top and bottom borders, first measure the top edge of the quilt top. Our quilt measured 30 3/8" long.
In this tutorial, the finished borders are going to be 3" wide, and the width needs a seam allowance of 1 1/4".
Mark and draw the top and bottom borders to 30 3/8" long x 4 1/4" wide.
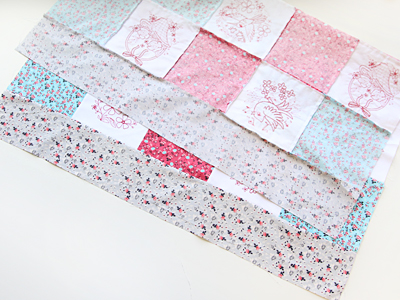
Align the borders along the top and bottom of the quilt top with the right sides together, and pin in place.
Sew a 1/4" seam along the pinned edges and press the seams.
For the side borders, measure the sides of the quilt top including the added top and bottom borders. Ours measures 37 1/2".
Mark and cut two sides borders that are 37 1/2" tall x 4 1/4" wide. Then align them with the side edges, pin them in place, and sew a 1/4" seam along the pinned edges.
Press the seams.
Next, cut the backing and batting so that they are slightly bigger than the quilt top.
Then, layer the quilt top, batting, and quilt backing fabric together. To do this, lay the quilt backing down with the wrong side up, lay the batting on top of that, and finally add the quilt top with the right side facing up.
Line up the edges and pin the layers together. Use curved safety pins for best results
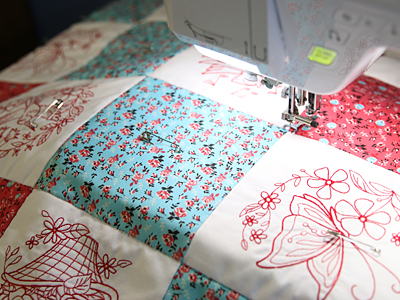
Quilt through all the layers, starting in the center and working your way out towards the edges.
In this tutorial, we used nylon monofilament thread in the needle and sewing thread in the bobbin, making sure the bobbin thread matched the color of the backing fabric.
Drop the feed dogs, and sew along the existing seams using a free motion foot.
Sew right along the outer edges of the quilt top, and then trim away the excess batting and backing fabric..
Lay the quilt flat with the quilt top facing up.
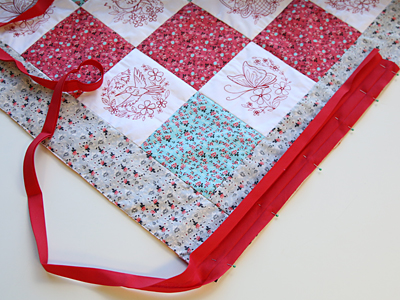
Unfold the bias tape and lay it flat with the wrong side facing up. Then align the edge of the tape with the outer edge of the quilt, and pin in place.
Make sure to start the bias tape in the middle of one side of the quilt and not at a corner.
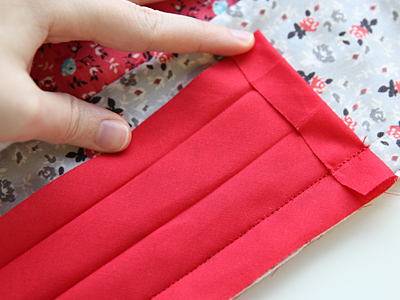
Fold over the starting edge of the bias tape, and begin to sew the bias tape down, making sure to stitch right on the fold closest to the edge.
This quilt features a 3/4" seam along the edge -- make sure to stop sewing the bias tape 3/4" away from the edge to make a mitered corner.
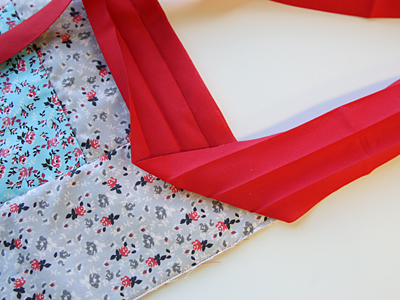
Once you have sewn right before each corner, bring the tape up to form an angled fold.
Then, fold the tape down and continue to pin and sew along the remaining sides.
Make sure to repeat the above steps at every corner.
When you reach where you started the bias tape, stop, and trim the end of the bias tape so that it overlaps the starting edge by a few inches. Sew the overlapping bias tape piece along the fold.
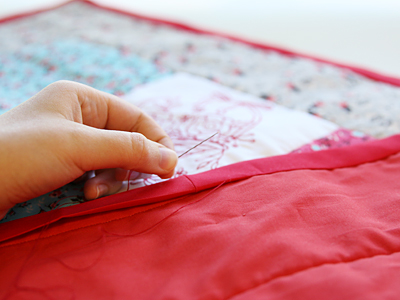
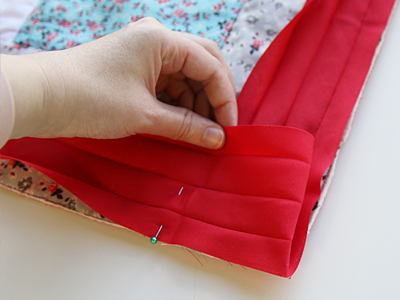
Next, fold the tape around the raw edges of the quilt to the back.
Pin and hand sew the bias tape in place. If preferred, you can also machine sew the bias tape in place to finish.
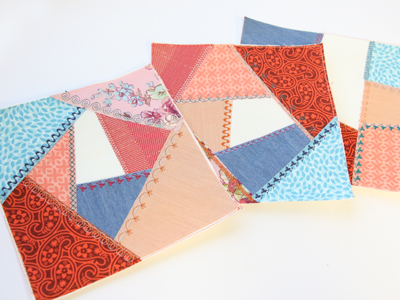
Use the in-the-hoop crazy quilt blocks to create unique looks using your scrap fabric stash! Assemble the blocks as instructed above. The fabric pieces will extend almost all the way to the outer edges of the blocks. A cutting line will sew last around the block -- use this line to cut out the blocks.
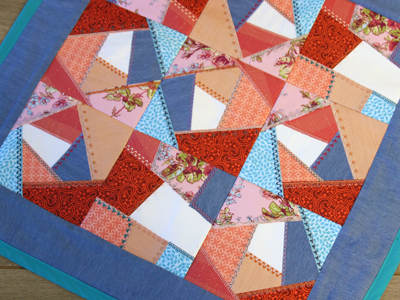
Have fun arranging the in-the-hoop crazy quilt blocks for unique effects and patterns. As you plan your quilt, mix and match different fabrics, prints, and textured fabrics. As you assemble the rows, simply rotate the blocks to give a different look each time!


