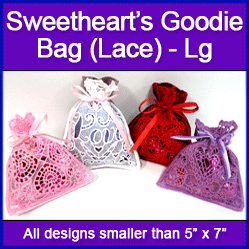
These darling Lace Goodie Bags are perfect for Valentine's Day, or as wedding favor bags.
These freestanding lace lags can be backed with fabric, or you can sew to lace pieces together...it's up to you!
Fill the dainty drawstring bag with chocolates, conversation hearts, or other delicious candy for your "sweet" hearts.
Or create a sweet-smelling sachet by filling the lace bag with potpourri. Add the sachets to drawers and closets for a fresh fragrance.
You'll love making and giving these lovely and lacy bags.
Supplies
Supplies needed:
** Water-soluble stabilizer
** Paper towels
** Fabric
** Ribbon (we used 1/4 inch wide ribbon)
** Small safety pin
** Tapestry needle
** Seam ripper
** Dressmaker's pencil
Optional:
** 12 x 12 inch piece of organza and potpourri
Designs Available:
** Hearts and Vines Lace Goodie Bag in Large and Small
** Love Lace Goodie Bag in Large and Small
** Rose Lace Goodie Bag in Large and Small
** Hearts Lace Goodie Bag in Large and Small
Special Project Notes:
You can use either 40 weight rayon thread or 30 � 35 weight cotton thread.
I use Coats and Clark 30 and 35 weight cotton thread. It's labeled as Mercerized ELS Cotton for Machine Quilting & Crafts; Machine Quilting; or All Purpose. I find Coats and Clark cotton thread at JoAnn's. I've also used Madeira Cotona, which is a 30 weight cotton thread.
I use the 30 - 35 weight cotton thread both in the bobbin (I wind my own bobbins) and in the top (needle)
A note about water-soluble stabilizers and needles:
There are many, many different brands of water-soluble stabilizer available. Some are thin and light, some are fibrous, and some are thick and heavy. It can be confusing to pick the right one for your lace project.
We've digitized and stitched thousands of freestanding lace designs, and have consistently excellent results with Sulky Ultra Solvy (the heavy weight water-soluble stabilizer by Sulky) and Vilene, a fibrous water-soluble stabilizer. We order Vilene from www.pointetopointe.com.
Use a sharp needle (as opposed to an embroidery needle) when embroidering onto water-soluble stabilizer - especially if using the "plastic-looking" kind (such as Sulky Ultra Solvy). An embroidery needle has a larger point, which makes larger holes in the water-soluble stabilizer, leading to tearing and misalignment.
Designs Used
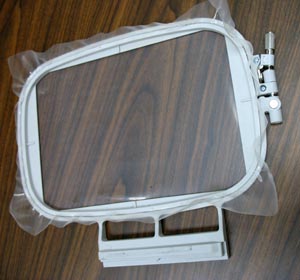
Embroidering the lace
To embroider the lace, hoop one piece of water-soluble stabilizer (WSS). We used Sulky Ultra Solvy.
Kenny has tested different brands of WSS to see which works best. To see how different brands hold up when used with freestanding lace, click here.
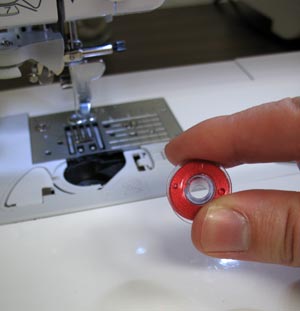
Because freestanding lace can be seen from both sides, the bobbin thread should match the top thread. Wind a bobbin with the same thread that you will be using in the needle.
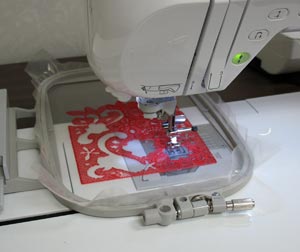
Embroider the design. We use a number 11 sharp needle when embroidering free-standing lace. After the design has been embroidered, unhoop the WSS and cut away the excess. Trim as close to the embroidery as possible without cutting any of the stitches.
Soak the lace in hot water from the tap until the stabilizer has dissolved. After soaking, blot the lace with paper towels. Allow the lace to dry completely.
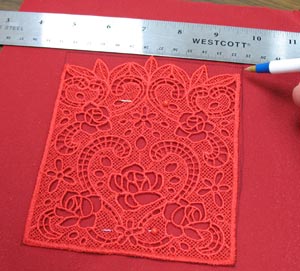
Assembling the bag with a fabric back
Once the lace is dry, the bag can be assembled. Cut two pieces of the fabric about 1 inch larger than the lace. You can use any fabric to make the bag, from velvet to gingham.
Lay the fabric with the right rides together and then lay the lace in the middle. Pin in place. Use a ruler to mark the shape of the lace onto the fabric. Draw a straight line across the top of the lace at the highest point.
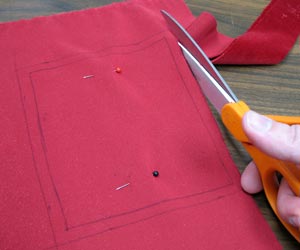
Remove the lace and pin the two layers together. Then, measure and mark a 1/4 inch seam allowance around the lace shape. Cut out the shape (cut through both layers of fabric) along the outer seam allowance.
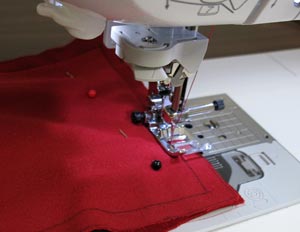
Sew a seam along the sides and the bottom (leave the top open for turning) following the lace shape markings.
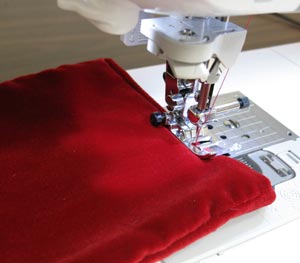
Next, turn the fabric right side out and turn the open end in 1/4 inch. Sew a seam along the top edge to close the opening.
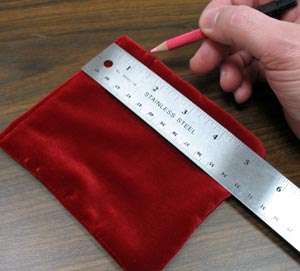
To create a pocket for the ribbon drawstring for the large bag, mark one inch down from the top edge on each side. Then, make another mark 1/4 inch down from the first marks. Draw horizontal lines across the fabric connecting the marks.
For the small bag, mark 3/4 inch down from the top edge and then 1/4 inch down from the first mark.
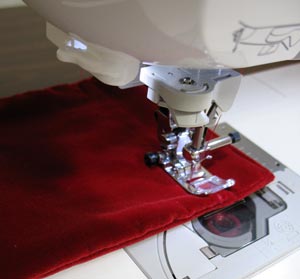
Sew a seam along each of the lines on the fabric.
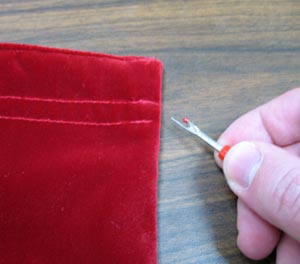
Next, use a seam ripper to remove the stitches on the side seam between the pocket seam lines. Doing this will allow the ribbon drawstring to pass between the layers of fabric.
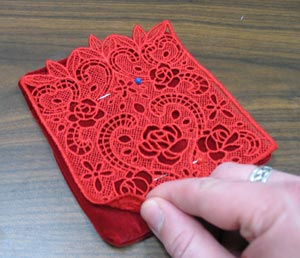
Lay the lace on top of the fabric with the top edges aligned. The drawstring pocket of the fabric should be near the top edge of the lace. Pin in place.
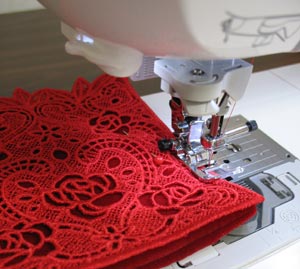
Zigzag stitch the lace to the fabric along the side and bottom edges.
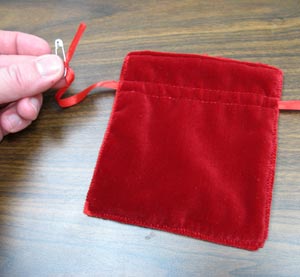
To add the ribbon, tie a small safety pin to the end of the ribbon and thread it through the drawstring pocket. You may also use a tapestry needle to thread the ribbon through the pocket.
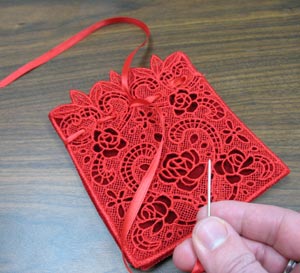
Next, thread the ribbon through the lace using a tapestry needle starting from each side and working towards the center. Leave about 5 inches of excess on each end.
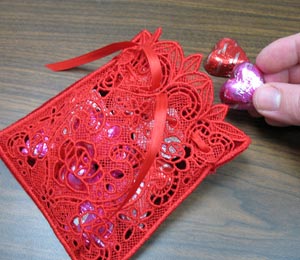
Fill the bag with candy and treats and...
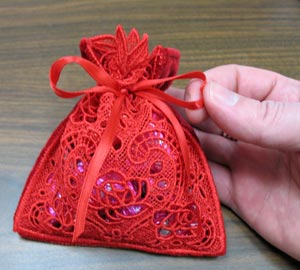
...cinch the bag and tie the ribbon into a bow.
Assembling an all-lace bag
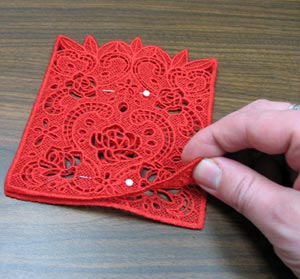
Embroider two pieces of the lace, soak, and allow the pieces to dry completely. Then align the pieces with the wrong sides together. Pin in place.
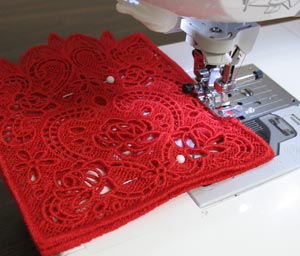
Zigzag stitch the pieces together by sewing along the side and bottom edges.
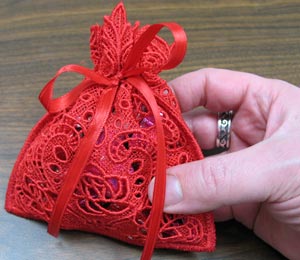
Using a tapestry needle, thread the ribbon through the pattern of back piece and then through the front, working from the sides to the center. Fill the bag, cinch it, and tie the ribbon into a bow.
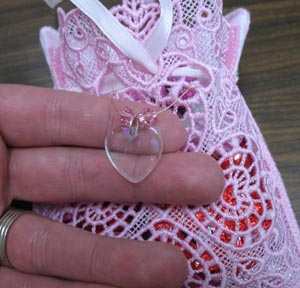
Optional
You can also add embellishments like beads to make the bag extra special. Use bead stringing wire to tie beads to the front of the bag just below where the ribbon comes together.
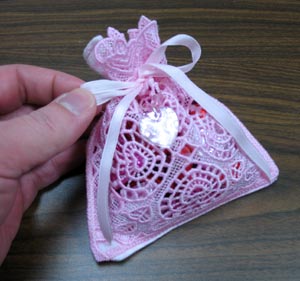
Fill the bag and tie with a bow.
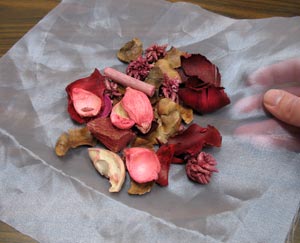
To create the potpourri sachet for the large bag, cut a piece of organza to 12 x 12 inches.
For the small bag, cut a piece of organza that is 9 1/2 x 9 1/2 inches.
Lay the organza flat and add a small handful of potpourri to the center of the fabric.
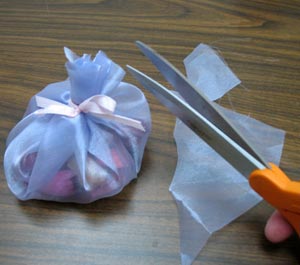
Bring the corners of the fabric together, tie the fabric shut with ribbon and trim the excess away from the top. Add the organza pouch to the bag, cinch it, and tie with a bow.

Goodie bags filled with candy, or potpourri, make a very sweet gift!
