This vintage half apron is a quick and easy one to make. The strawberry designs that I used are a perfect match with the border trim fabric. You'll be looking delicious in the kitchen in a lickety stitch!
Made with durable canvas and lightweight cotton, this apron is not only sturdy, but it's a breeze to clean up.
Read on for instructions that show you how to make this mouth-watering masterpiece!
Supplies
Supplies Needed:
**3/4 yard twill or lightweight canvas fabric
**1 1/2 yards print cotton
**1 1/2 yards ruffle trim (2 inches wide)
**Medium weight cutaway stabilizer
**Air-erase pen (or other marking tool)
**Temporary spray adhesive (I use Gunold's KK100)
Designs used:
Sweet Strawberries and Blossoms - Sm
Sweet Strawberries and Blossoms - Lg
These designs are also available in the following design packs:
A Sweet Strawberries and Blossoms Design Pack - Lg
A Sweet Strawberries and Blossoms Design Pack - Md
A Sweet Strawberries and Blossoms Design Pack - Sm
Finished size:
The finished size of this apron is 28 inches wide by 20 1/2 inches high. Ties are 94 inches from end to end.
Designs Used
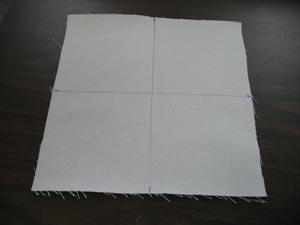
I started with something easy: the pocket.
Cut a piece of the twill to 10 1/4 inches by 10 1/4 inches. Then, using an air-erase pen (or other marking tool), measure and mark the center of each side by measuring and dividing by two. Draw lines connecting the center points. Where the lines meet is the exact center and the edge of the fabric.
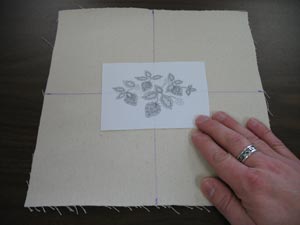
Next, print a template from an embroidery software program. If you don't have one, check out Wilcom's TrueSizer (a free program) or Embird (an excellent editing program). Both of these programs have the ability to print templates, which are invaluable when placing designs for stitching.
Poke a hole in the center of the template and align it with the center point on the fabric. Make sure that there is at least one inch of space between the edge of the design and the edge of the fabric.
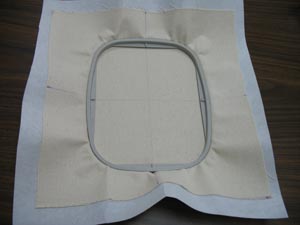
Cut a piece of medium weight cutaway stabilizer to the size of the fabric. Spray the stabilizer with temporary adhesive and smooth it on the back of the fabric. Hoop the fabric and stabilizer together, aligning the marks on the hoop with the lines on the fabric.
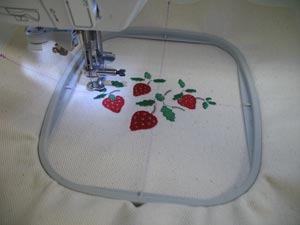
Attach the hoop to the machine and load the design. Move the hoop so that the needle is right over the center point on the fabric. Embroider the design.
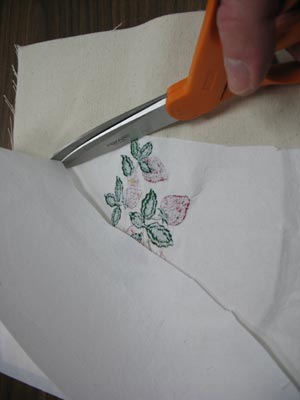
After the design has finished, unhoop the fabric and trim away the excess stabilizer. Leave about 1/2 inch of stabilizer around the edge of the design.
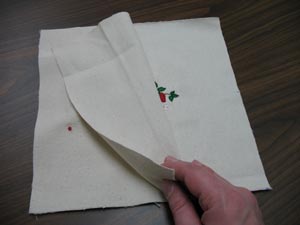
Next, cut another 10 1/4 inch by 10 1/4 inch piece of the twill and align it on top of the embroidered piece. Pin in place.
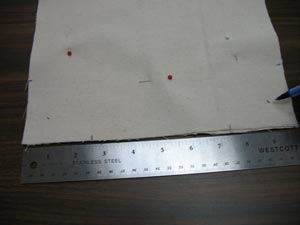
Now we will mark the fabric to round off the bottom corners. Measure and mark one inch in from each bottom corner at a 45-degree angle. Then measure and mark 2 1/2 inches out from each corner along the bottom edge and along each side edge.
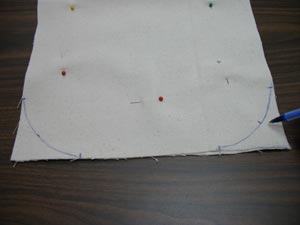
Mark a curved line connecting the marks on each corner.
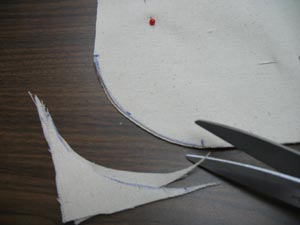
Trim through both layers of fabric cutting along the lines and unpin the fabric
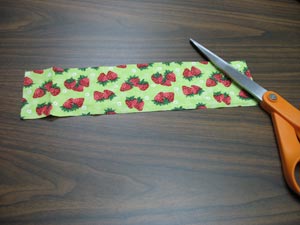
Now I'll prepare the fabric for the trim along the top of the pocket. Cut a piece of the print cotton to 10 1/4 inches to 2 1/2 inches.
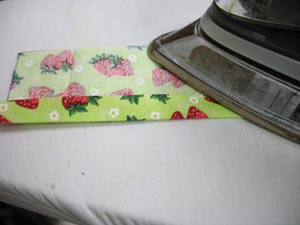
Fold one of the long edges to the wrong side and press in place.
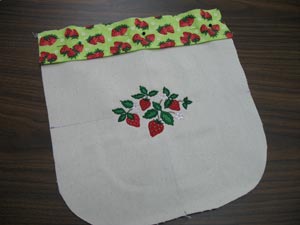
Align the trim fabric with the top edge of the embroidered pocket piece with the folded edge of the trim facing in towards the embroidery. Pin in place.
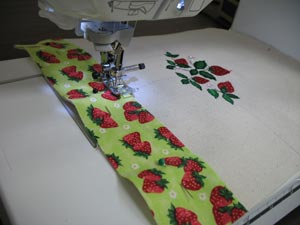
Sew a 1/4 inch seam along the folded edge only.
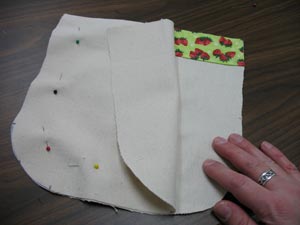
Align the pocket pieces together, right sides together, and pin. Sew a 1/4 inch seam along the sides and bottom only - leave the top edge open for turning.
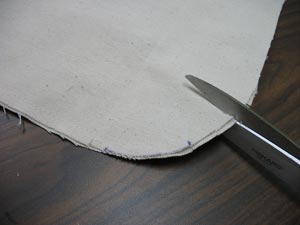
To allow the corners to lay flat after turning, cut small slits about every 1/4 inch around each corner. Be careful to not cut any of the stitching.
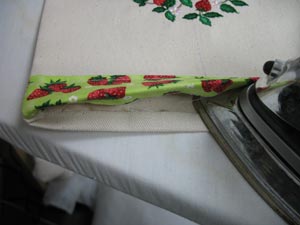
Turn the pocket right side out and press the seams along the sides and bottom. Then, fold the top edges in 1/2 inch and press in place. Sew a 1/4 inch seam along the top edge and set the pocket aside for now.
Now I'll work on the main part of the apron.
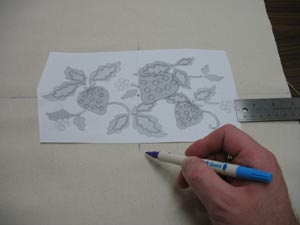
Cut a piece of the twill to 26 inches by 20 inches. Lay the fabric with one of the long sides facing you. Create a paper template of the design using embroidery software and trim around it. Place the design with the right edge of the design around 3 inches from the right edge of the fabric.
Also, center the design with the top and bottom edges of the fabric by measuring equal distance between them. Poke a hole in the center of the template and mark the fabric. Also, mark the horizontal and vertical axis points.
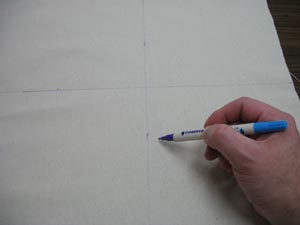
Remove the template and draw lines connecting the axis points. Hoop the fabric with the cutaway stabilizer that has been sprayed with adhesive. Attach the hoop to the machine, load the design, move the hoop so that the needle is over the center point and embroider the design. When the design has finished trim away the excess stabilizer leaving about 1/2 inch of excess around the design.
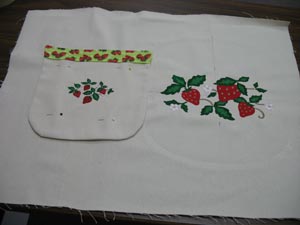
To add the pocket, place it so that the right edge of the pocket is one inch from the left edge of the apron design. Center the pocket with the top and bottom edges of the apron fabric by measuring equal distances between them. Pin the pocket in place and sew a 1/4 inch seam along the sides and bottom of the pocket - do not sew along the top edge.
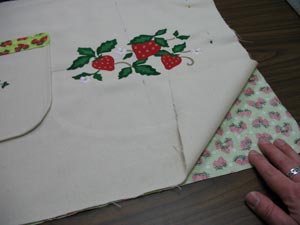
Next, to prepare the fabric for the back of the apron, cut a 26 inch by 20 inch piece from the print cotton. Lay the print fabric flat and align the embroidered piece on top.
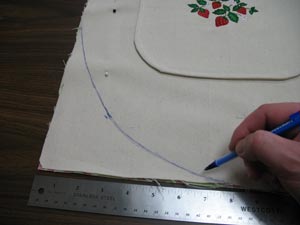
Mark the bottom corners as you did earlier to the pocket. Measure and mark 3 1/2 inches in from each bottom corner at a 45-degree angle. Then measure and mark 8 inches out from each corner along the bottom edge and along each side edge. Mark a curved line connecting the marks on each corner.
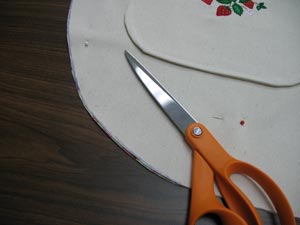
Trim the corners along the line - cut through both layers of fabric. Then unpin and separate the layers of fabric.
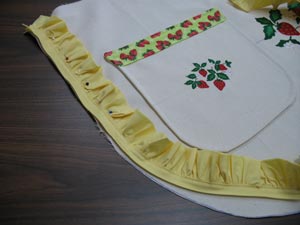
Now I'll add the ruffle trim to the outer edge of the apron. Lay the embroidered piece right side up. Align the ruffle trim along the sides and bottom edges of the fabric. Lay the trim with the ruffle edge facing in. Pin in place.
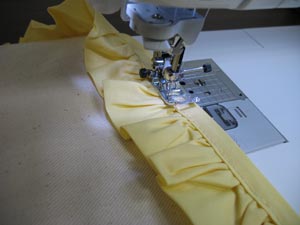
Sew the seam in place with a 1/2 inch seam.
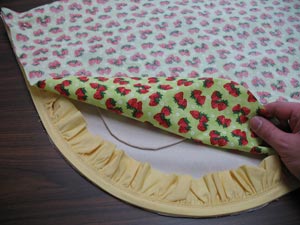
Next, lay the embroidered piece right side up and align the back piece on top with the right sides together. Keep the ruffle trim facing to the inside and pin in place. Sew a 1/2 inch seam around the sides and bottom only - leave the top edge open for turning.
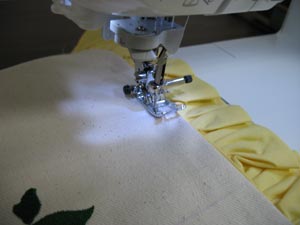
Turn the apron right side out and press the seams. Then, top stitch a 1/2 inch seam along the side and bottom edges of the apron right along the edge of the trim.
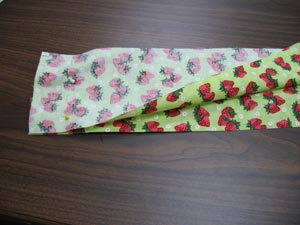
Now it's time to prepare the ties. Cut two pieces of the print cotton to 4 inches wide by 48 inches long. Align the pieces right sides together and pin together on one end.
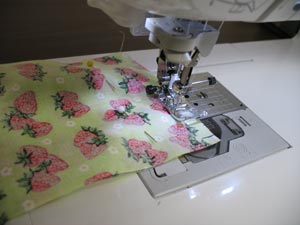
Sew a 1/4 inch seam along the pinned end only. Then, press the seam open on the backside of the fabric.
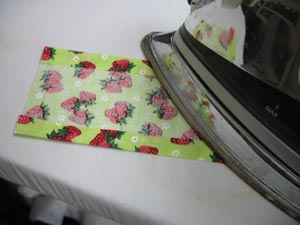
Fold both of the long sides over 1/2 inch to the wrong side and press in place.
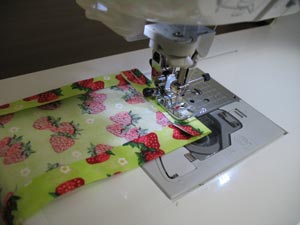
Fold the ends over 1/2 inch to the wrong side, press in place and sew a 1/4 inch seam along the fold.
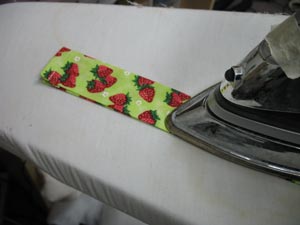
Fold the fabric together lengthwise with the wrong (folded) side together and press in place.
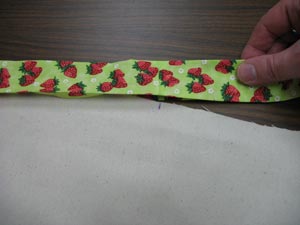
Measure and mark the center of the top edge of the apron by measuring and dividing by two. Wrap the tie fabric around the top edge of the apron by aligning the center seam of the tie fabric with the top center mark on the apron.
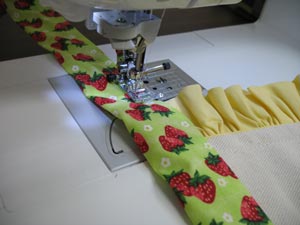
Sew a 1/4 inch seam all the way along the bottom edge of the tie fabric starting at one end, sewing across one side of the ties (working towards the apron), across the apron, and across the opposite side of the tie. This finishes off the ties as well as attaches the ties to the apron.


