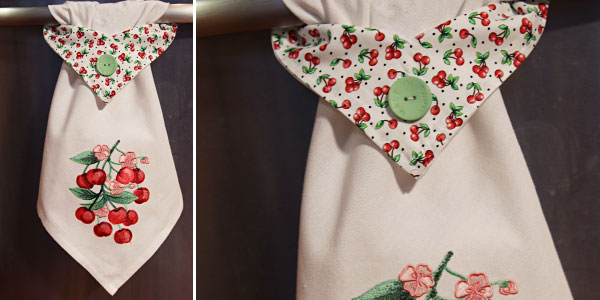
Transform an ordinary dish towel into a handy hanging kitchen essential. Add your favorite embroidery designs and coordinating fabric to personalize it for your own kitchen, or give as a hostess or housewarming gift for loved ones.
Supplies
Project Needs & Notes:
- Dish towel
- 8" x 8" print quilter's cotton
- Medium-weight (2.5 ounce) cutaway stabilizer
(or tear-away if using a very light design)
- Air-erase pen for marking
- 1" button
- Craft knife and cutting pad
The designs used in this tutorial and video include:
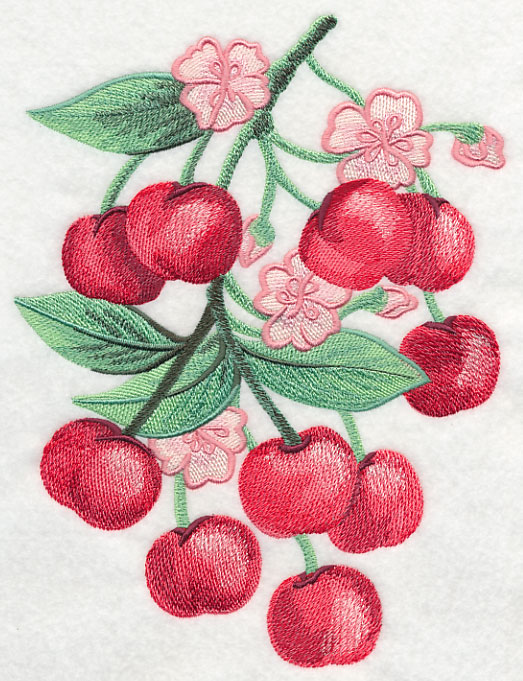
- M2726, Cherry Blossom Special
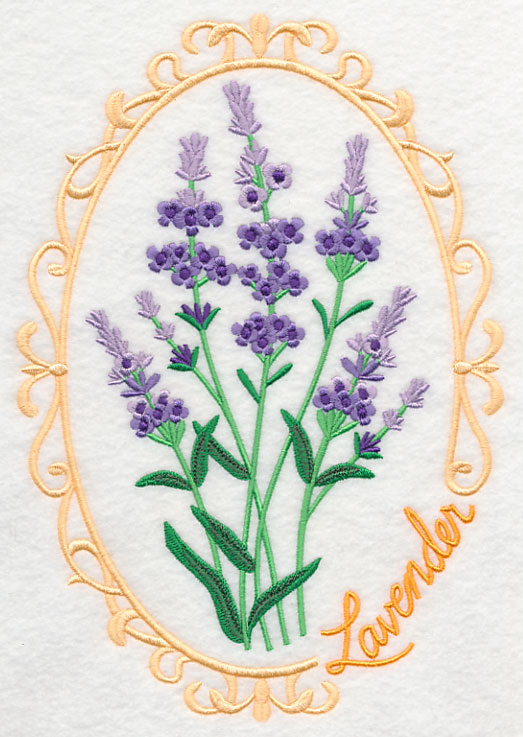
- K9900, Cameo Lavender
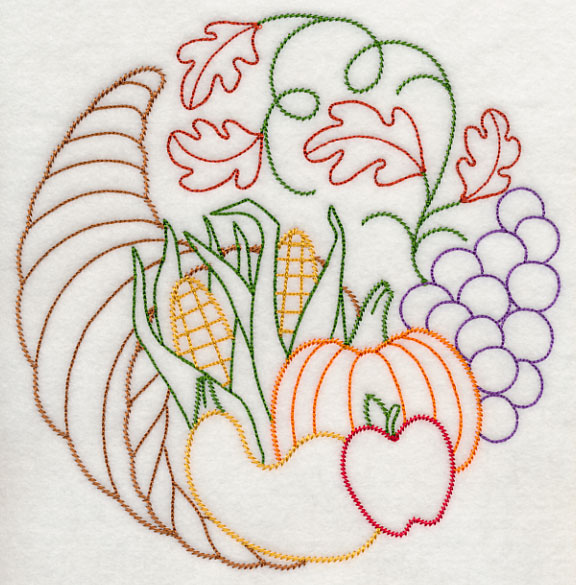
- H8440, Cornucopia of Plenty (Vintage)
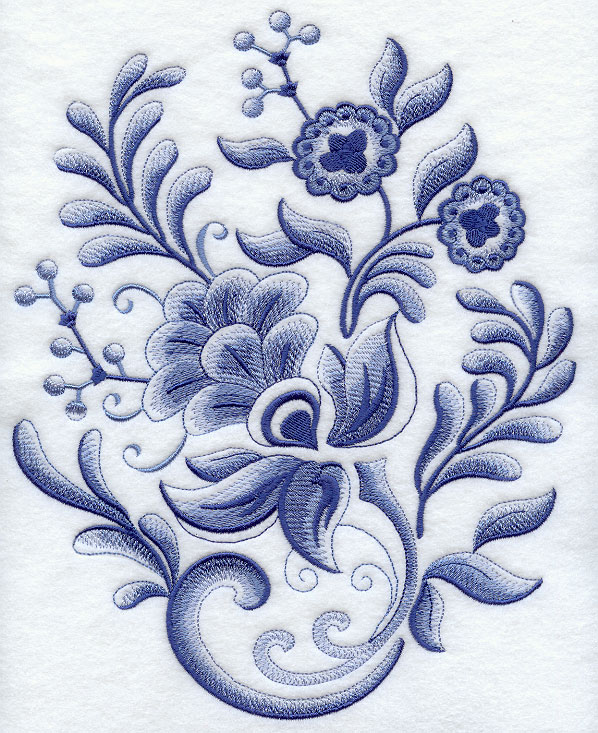
- D7029, Delft Blue Flower Fiesta
Finished size: approximately 19" x 19"
Designs Used
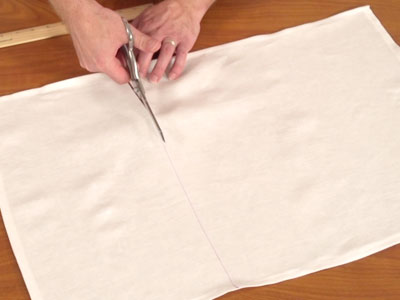
Begin by squaring off the towel, and allowing for a 1/2 seam allowance at the bottom.
In this example the towel is 18" by 28". Cut 9 1/2" from the bottom of the towel so it is
18 1/2" high.
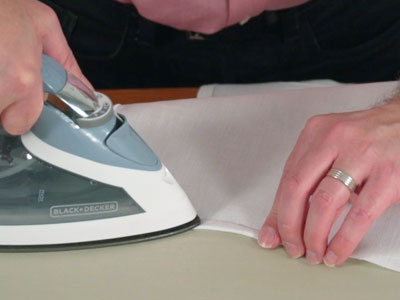
Fold the raw edge over 1/4" and press.
Fold over another 1/4" and press.
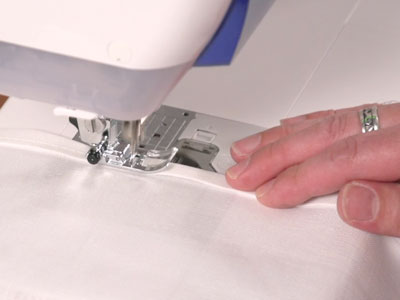
Sew a 1/8" seam along the inner edge of the seam.
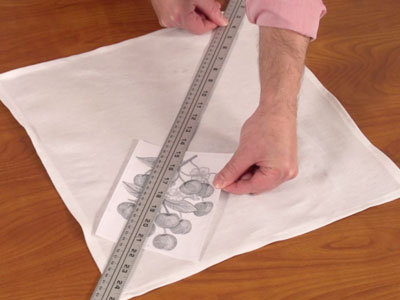
Lay the towel flat in a diamond position.
Place a ruler on the towel pointing from the top corner to the bottom corner. This helps to center the template between the right and left corner.
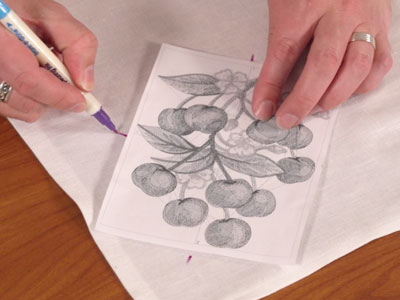
A template is a printout of the design, and it's an excellent tool for planning where to stitch.
Print a template of the design from your embroidery software.
If you do not have embroidery software to print templates, try Wilcom's TrueSizer, a free program.
Place the template so the bottom of the design is 3" up from the bottom corner of the towel.
Mark the center point as well as the vertical and horizontal axis lines.
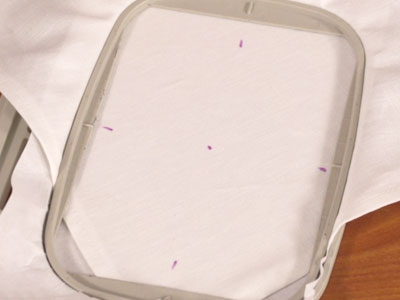
Hoop the towel with a piece of cutaway stabilizer, lining up the marks on the towel with the marks on the hoop.
Because the design is embroidered so close to the corner of the towel, not all of the fabric can be hooped. But hoop as much as possible, including the point.
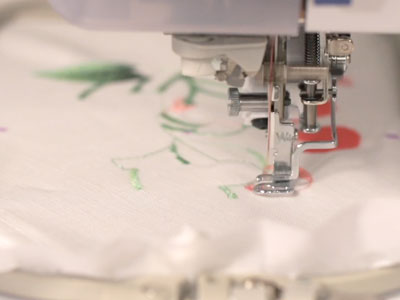
Attach the hoop to the machine and load the design.
Move the hoop so that the needle is directly over the center point on the towel.
Embroider the design.
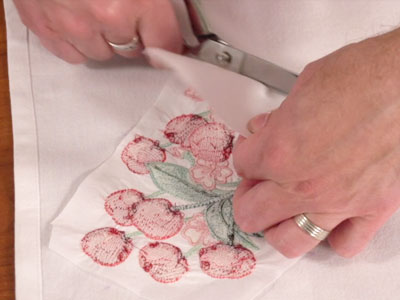
After embroidering, trim the excess stabilizer away from the back of the towel.
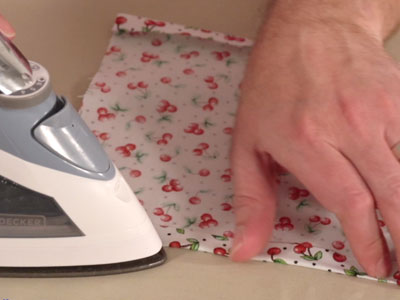
Next, prepare the fabric for the top of the towel.
Cut a piece of print cotton to 8" x 8".
Place the fabric wrong side up.
Fold the edges over 1/2" and press. Start with one edge, then press the opposite edge.
Then fold and press the remaining two edges.
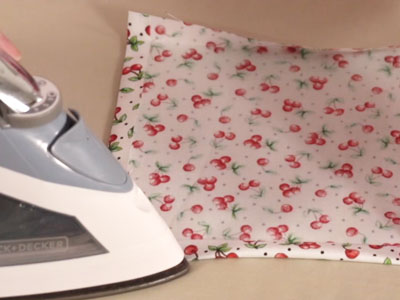
Place the fabric wrong side up.
Fold the edges over 1/2" and press. Start with one edge, then press the opposite edge.
Then fold and press the remaining two edges.
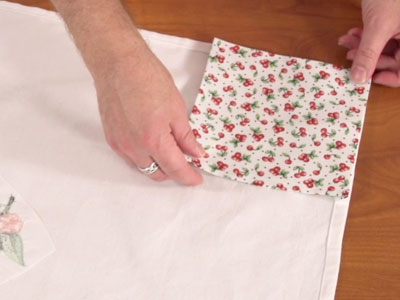
Lay the towel wrong side up.
Align the print cotton piece with the upper corner and pin in place.
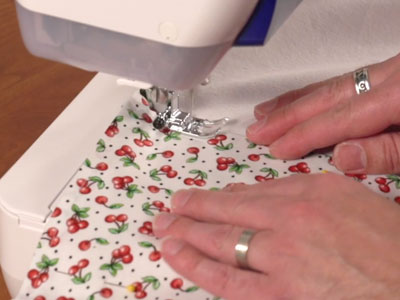
Sew a 1/4" seam along the entire outer edge of the cotton fabric.
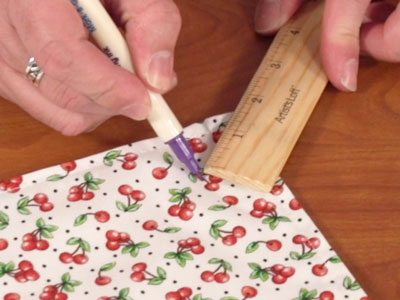
Next, add the buttonhole.
Make a mark 1 1/2" in from the top corner of the print cotton.
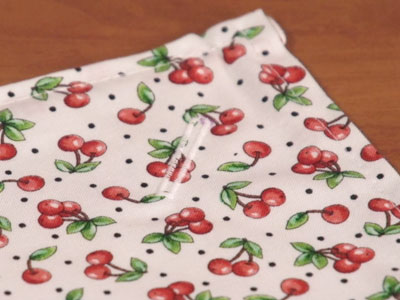
Sew a button hole on the mark.
This button is a 1" button, so the buttonhole is 1 1/4"
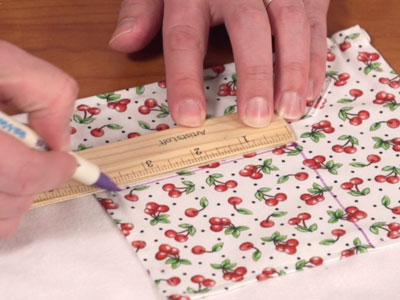
Next, make the V-shaped section that the towel loops through.
Measure and mark 1" down from the bottom of the buttonhole.
Draw lines straight out to the edge of the quilter's cotton, parallel to the towel.
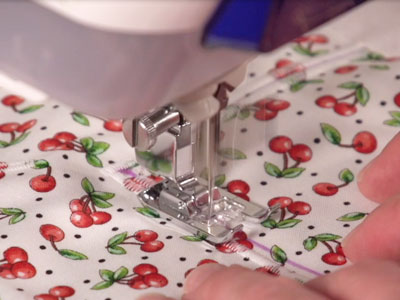
Sew a zigzag stitch on both sides of the lines, leaving 1/16" of space between them.
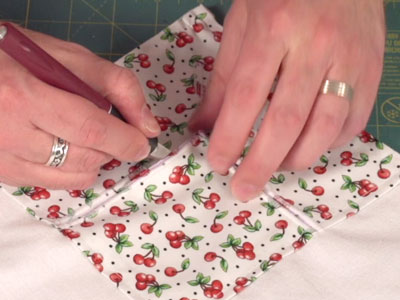
Use a craft knife and cutting pad to cut in between the stitches of the buttonhole and the angled lines.
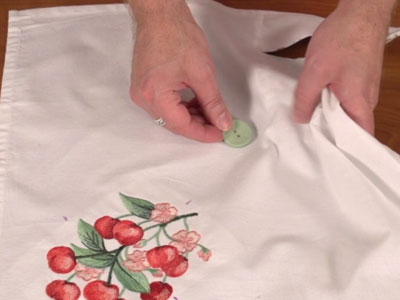
Lay the towel with the embroidered side up.
Sew the button 11 1/2" down from the top corner of the towel.
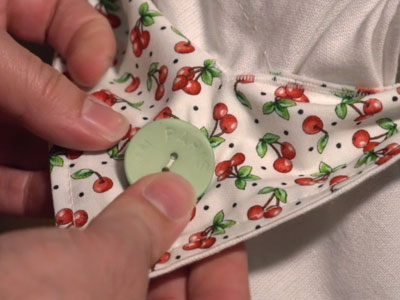
To hang, slide the corner down behind the bar, then wrap the towel around and pull it through the slot.
Button in place.
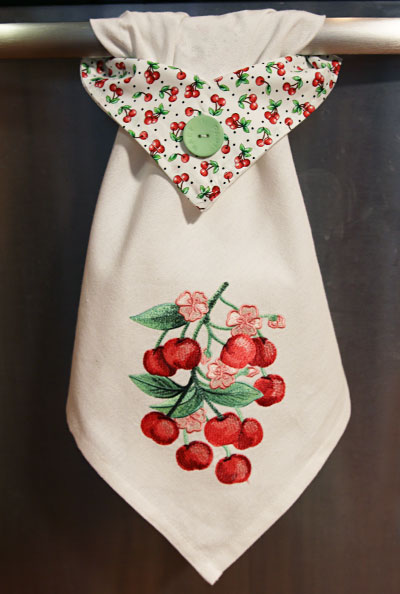
Thanks to its unique style, this towel will never fall off its rack. The button holds it in place, while the colorful fabric and embroidery add style and personality.
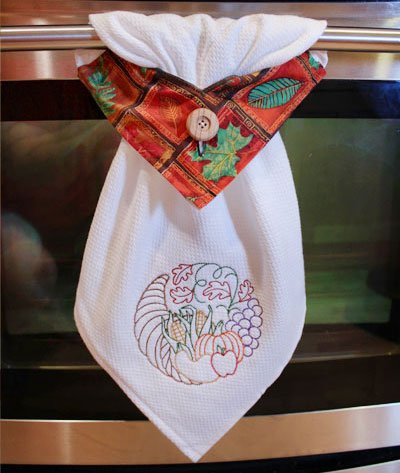
Use different fabric and embroidery designs to create holiday towels, or to match your kitchen decor.
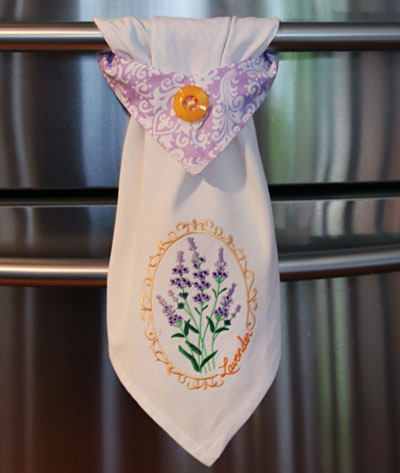
Gift to friends and family for housewarming, hostess, or birthday gifts. Add sweet surprise for any kitchen lover!
