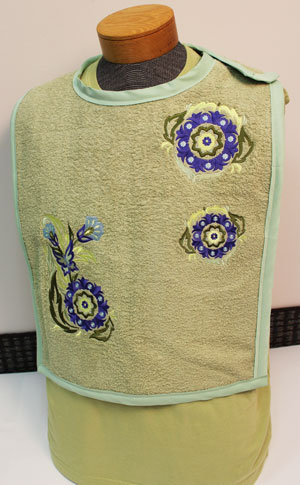
When it is difficult to keep garments clean, an adult bib can be a big help.
These project instructions will show you how to make one that is comfortable, as well as large enough to offer excellent coverage. And after you add embroidery designs of your choosing, it will be personalized as well!
Read on for instructions to make an adult bib.
Supplies
Supplies Needed:
**1/2 yard terrycloth (for front)
**1/2 yard rubber liner (or any waterproof fabric, like vinyl)
**Lightweight water soluble stabilizer (for topping)
**Temporary spray adhesive
**Air-erase pen
**3/4" wide Velcro
**3 1/2 yards double fold bias tape quilt binding (3/4" wide)
**Large piece of paper or tag board (for bottom of pattern; about 20" wide by 20" high)
**Scotch tape
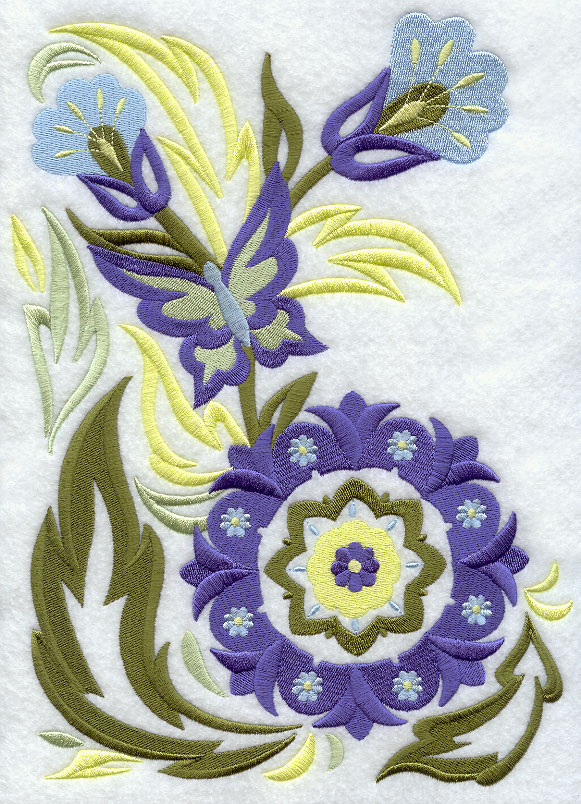
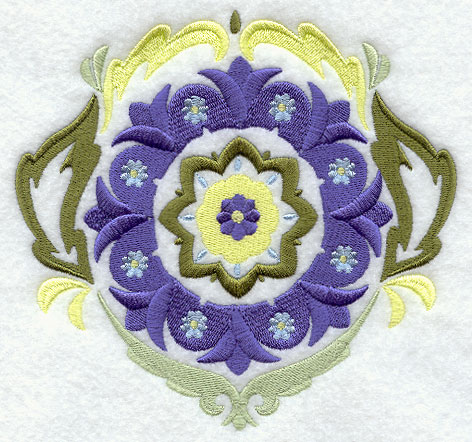
Designs used:
I used the 5.5"x7.8" size of the Suzani Flower and Butterfly design, and the medium and small sizes of the Suzani Flower and Butterfly Feature.
Designs from the Seasoned with Floral Fauna Design Pack or from the Spring into Art Nouveau Design Pack would also work on the adult bib.
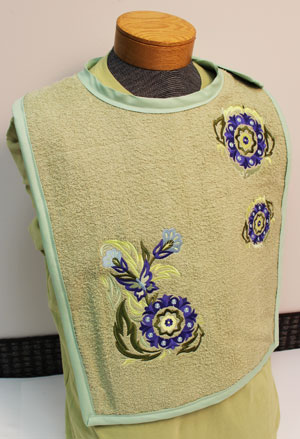
Finished size:
17 1/2" wide by 26" high. You can adjust the height by making the bib longer or shorter (see below for instructions).
Designs Used
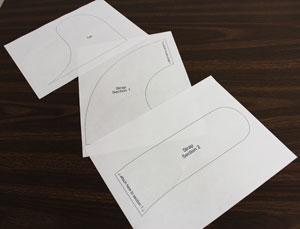
First, click on the link above to print the bib pattern. The pattern is in three parts which will print on three pieces of 8 1/2" by
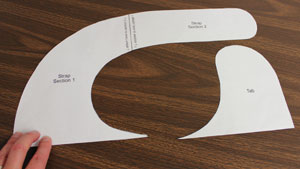
Cut out the pieces and tape the strap sections together by following the instructions on the patterns.
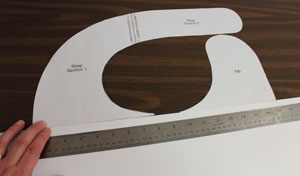
Next, align the bottom edges of the pattern pieces along the top edge of the large piece of paper with the strap piece on the left and the tab piece on the right. Space the patterns pieces
Decide how long you would like the bib to be. I decided to make my bib
If you want the bib to be longer or shorter, adjust how long these lines will be. Draw a horizontal line connecting the bottom of the two lines you just drew.
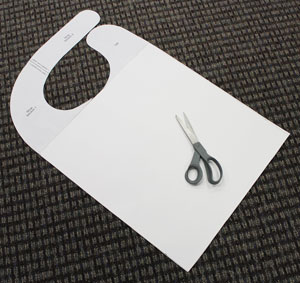
Cut out the bottom of the pattern by cutting along the lines on the paper.
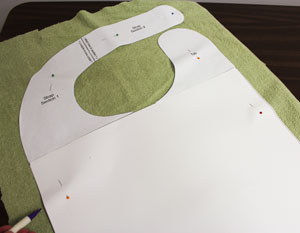
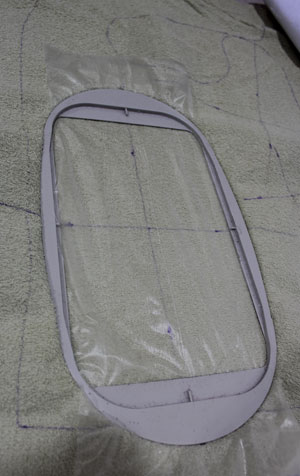
Pin the pattern onto the terrycloth and using an air-erase pen, trace the shape.
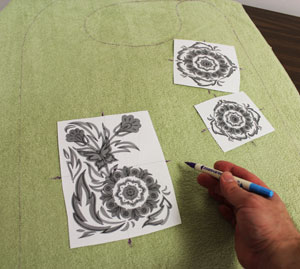
Remove the pattern and create paper templates of the design by printing it at full size using embroidery software. Arrange the templates within the shape; I placed the templates with the edges of the designs at least 1 1/4" from the edges of the shape. Poke holes in the center of the templates and mark the fabric. Also, mark the horizontal and vertical axis points.

Remove the templates and draw lines connecting the marks; the lines will be used for hooping.
Spray a piece of medium weight cutaway stabilizer with temporary adhesive and smooth the fabric on top. Lay a piece of lightweight water soluble stabilizer on top of the fabric. This will prevent the stitches from sinking into the fabric. Hoop the fabric for the first design by hooping the fabric and stabilizer together by aligning the marks on the hoop with the lines on the fabric.
Attach the hoop to the machine and load the first design. Move the hoop so that the needle is aligned with the center point on the fabric. Embroider the design. Repeat the hooping and embroidering process for each of the designs.
When all the designs have finished, trim away the excess stabilizer on the backside of the embroidery and cut out the shape. Also, tear off the topping and dab the small areas with water to remove all the stabilizer.
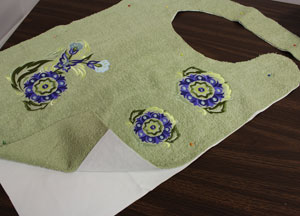
To prepare the back of the bib, lay the embroidered front piece on top of the lining (I used rubber lining), pin in place, and cut out the shape.
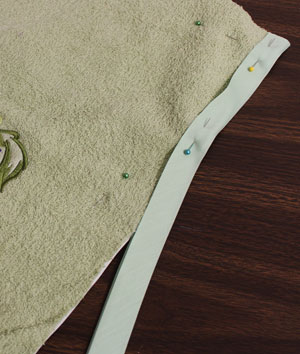
To add the trim, wrap the bias tape quilt binding around the entire outer edge of the bib. Pinch and fold the tape at the corners, and around the curves of the end of the strap and the top of the tab.
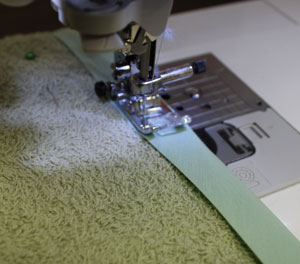
Pin in place and sew a 1/4" seam along the inner edges of the tape.
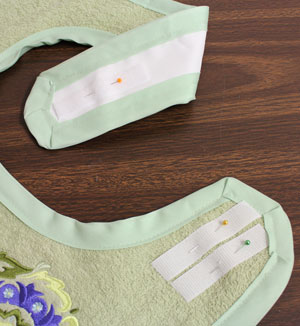
To add the closure, cut one
Cut two
Laundering Tips:
Machine wash on the normal cycle, and then air dry.
An adult bib can be a very useful item, and with an embroidery design or two added to it, an attractive one as well!


