As I was embroidering this project, the words to "Santa Claus is Coming to Town" kept going through my head, and by the time I was finished, I was singing out loud. Thoughts of Christmas make me happy, no matter what time of year it is!
These happy, colorful squares make a bright and cheerful door hanger, and you can make it shorter or longer depending on how many squares you use. Our hanger uses 4 squares and is 48" long.
Supplies
Supplies needed:
-
1/4 yard each of yellow and holiday print fabric
-
1/3 yard of backing fabric
-
1/3 yard of batting
-
1/8 yard of green print fabric
-
16 buttons
-
3 yards of 1 1/2" wide ribbon
-
1/4" dowel 12" long, and 2 beads that fit on the ends of the dowel.
-
small amount of glue
-
1 yard of 1/4" wide ribbon
Embroidery designs from Embroidery Library:
Designs Used
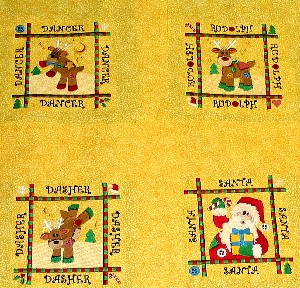
Instructions:
Cut the yellow fabric into four 9" squares.
Sew a quilt square design in the center of each square.
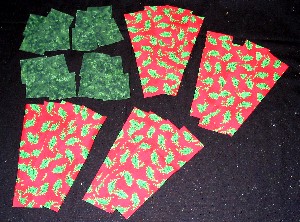
From the green fabric, cut out sixteen 2" squares.
From the red print fabric, cut out sixteen rectangles that are 2" wide by 7 1/2" tall.
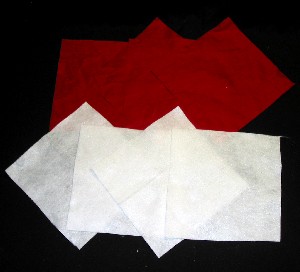
From the backing fabric and the batting, cut out four 10 1/2" squares.
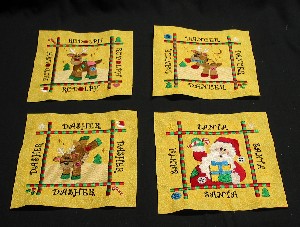
Trim down the embroidered squares to make them into 7 1/2" squares with the embroidery in the center of each square.
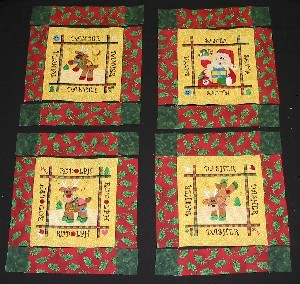
On 8 of the red print strips, stitch a green square to each end using a 1/4" seam allowance.
Press the seams open.
Using a 1/4" seam allowance, stitch the rest of the red print strips to the right and left sides of each of the embroidered squares.
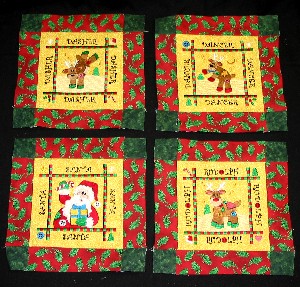
Stitch the strips with the squares to the top and bottom of each of the block/strip combinations using a 1/4" seam allowance. Match the seams.
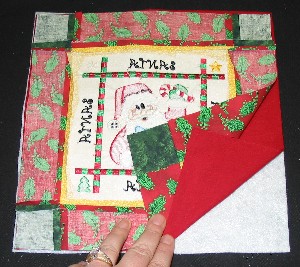
Layer each square as shown. Batting on the bottom, then the backing with the right side up, and the sewn-together square on the top with the right side down.
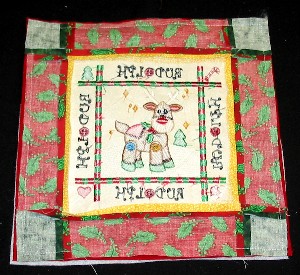
Stitch through the layers, around the outer perimeter of each square using a 1/4" seam allowance.
Leave an opening to turn
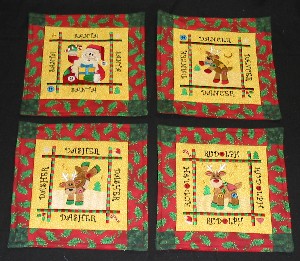
Turn each square right side out and press. Close the openings and quilt as desired.
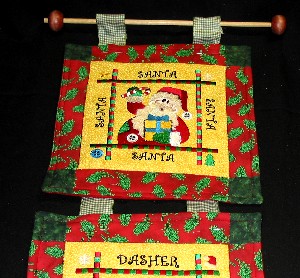
Cut the ribbon in half so that you have two 1 1/2 yard pieces. Stitch a 1" hem on one end of each ribbon, and slide the ribbon onto the dowel. Glue the beads onto the ends of the dowel.
Pin each square in place along the ribbons, about 1 1/2" apart. Hold the door hanger up so that you can see that all the squares are hanging straight.
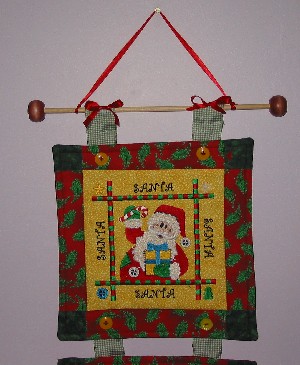
To secure each square in place, sew on a button stitching through the square and ribbon. I put two at the top and bottom of each square.
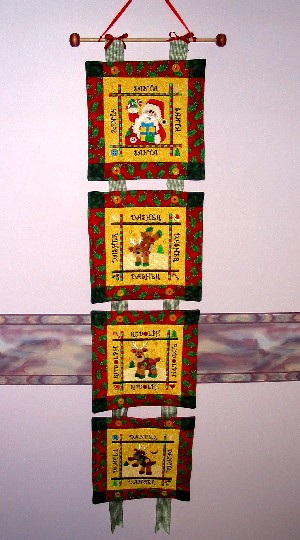
Tie 1/2 yard of the narrow ribbon to the ends of the dowel to make a hanger.
Cut the rest of the ribbon in half and make 2 small bows. Glue one bow on top of the wide ribbon that goes over the dowel hanger.
Trim the bottom of the wide ribbon so that it looks neat.


