|
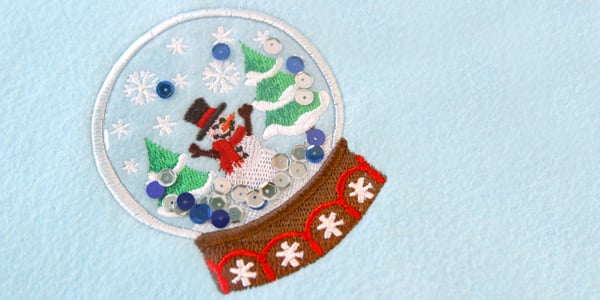
Snowglobe (Vinyl Applique)Using vinyl fabric with your applique embroidery adds a fun layer of dimension and interest to any project. See how easily it can be done with the steps in this helpful tutorial! SuppliesProject Needs & Notes: Products Used
|
Steps To Complete
|
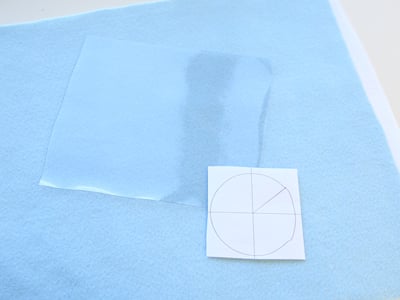
When you download the applique snow globe design, you'll find two files. One of the files is an embroidery file and the other is a dieline. The dieline file is marked with the letters DL. |
|
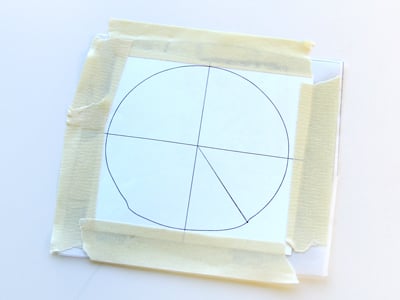
Cut around the paper shape, leaving a good amount of space around the dieline circle. |
|
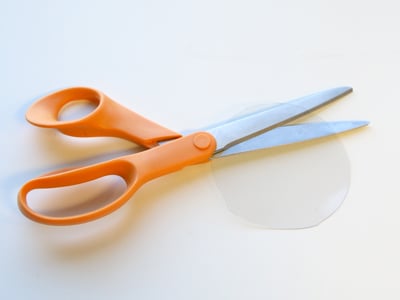
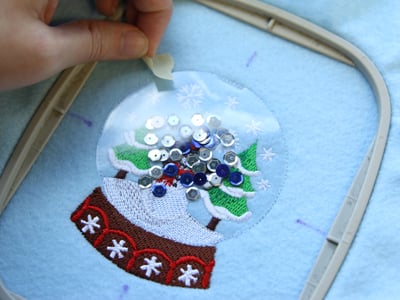
Cut out the shape, and remove the paper and tape. |
|
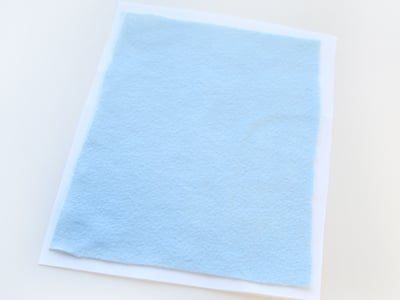
Now that the applique piece is ready, it is time to prepare the fabric for embroidery. |

|
Print out a template of the design from the embroidery program you used to print the dieline. |
|
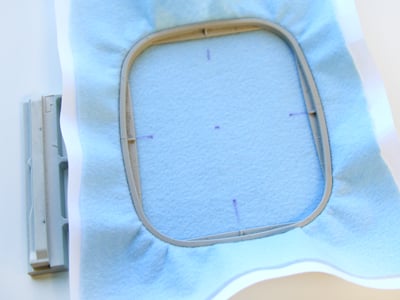
Hoop the fabric and stabilizer together, aligning the marks on the hoop with the marks on the fabric. |
|
Attach the hoop to the machine and load the design. |
|
Follow your color change sheet. After embroidering the "dieline" step, remove the hoop from the machine, but do not unhoop the fabric or stabilizer. |
|
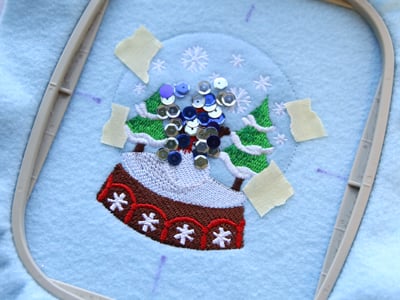
Place the vinyl circle inside of the dieline. |
|
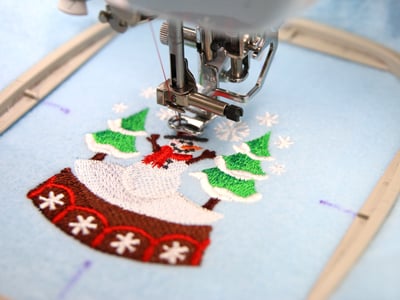
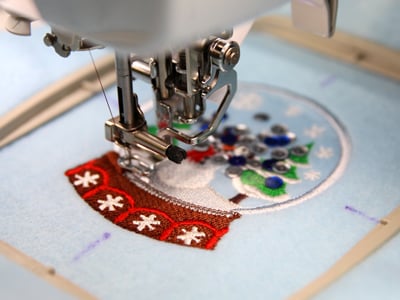
Place the hoop back onto the machine, and continue with the design. |
|
Follow the color change sheet to embroider the remaining steps of the design. |
|
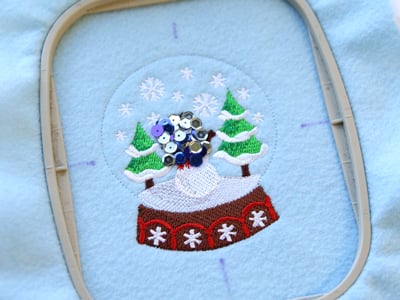
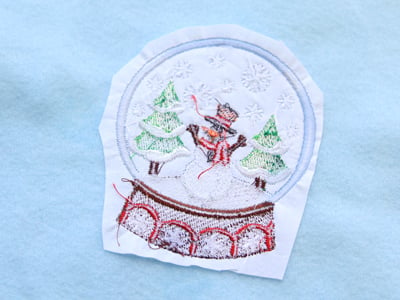
Once the embroidery is completed, trim away the excess stabilizer from the back of the design leaving about a 1/2" around the embroidery to finish. |
|
Vinyl applique is a unique way to add interest and dimension to your embroidery! |