Add embroidery to micro pique shirts, jackets, and other athletic wear with the tips and tricks in this project tutorial. Find information on hooping, stabilizer, design choice, and more to master embroidering on micro pique.
Project Needs & Notes:
- Micro pique shirt or other garment
- Soft cutaway stabilizer (no-show mesh)
- Temporary spray adhesive
(like Gunold KK100)
- Air-erase pen for marking
Designs featured in this tutorial and video are:
E8678, Mola Flamingo
L2769, Retro Golf Ball
E3808, Plaid Shamrock 2
Designs Used
Micro pique is used in golf shirts and other athletic wear.
It's soft, made out of polyester, and designed to wick moisture away from the skin.
Micro pique is a fussy fabric when it comes to stitching designs on it.
When choosing designs, select ones that are simple.
Designs that are too complex, or designs that have solid fills, will cause the fabric to drape poorly.
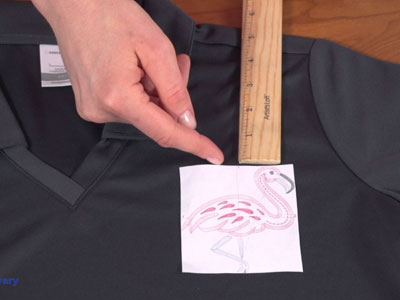
Begin by planning where to stitch the design.
A template is a printout of a design, and it's an excellent tool for planning and placement.
Print a template of the design from your embroidery software. If you do not have embroidery software, Wilcom's TrueSizer is a free program to use.
For these types of shirts, the top of the design is usually 4 1/2" down from the shoulder seam, centered between the button placket and the side seam.
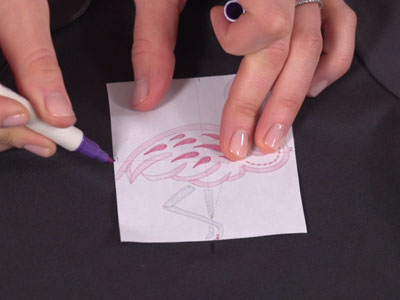
After the template is placed where you want to stitch the design, mark the center point as well as the vertical and horizontal axis lines.
Those marks help to hoop the shirt straight.
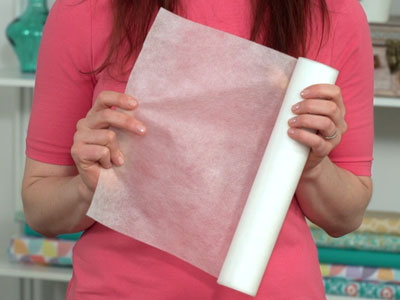
Cutaway stabilizer is the best choice for micro pique. But the fabric is so soft that a traditional cutaway stabilizer may be too stiff, and show a ridge behind the shirt.
Instead, a soft cutaway stabilizer (no show mesh) is preferred when embroidering on micro pique.
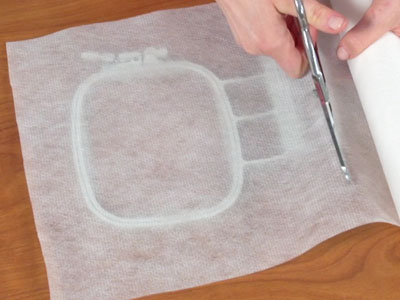
Cut a piece of no-show mesh a little larger than the hoop.
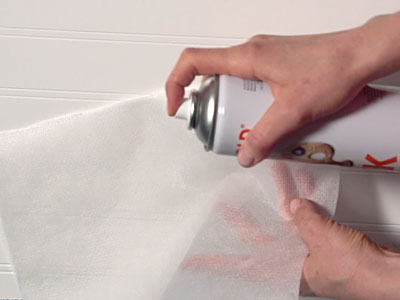
Spray the no-show mesh with a small amount of temporary adhesive, like Gunold's KK100.
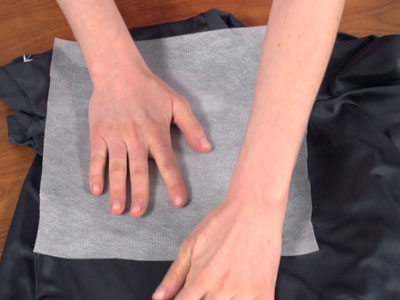
Turn the shirt inside out.
Smooth the no-show mesh on the inside of the shirt.
Turn the shirt right side out again.
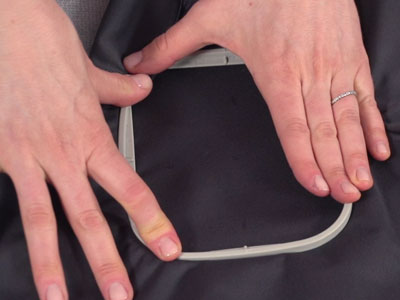
Slide the outer hoop inside the shirt.
Press the top hoop in place, lining up the marks on the shirt with the marks on the hoop.
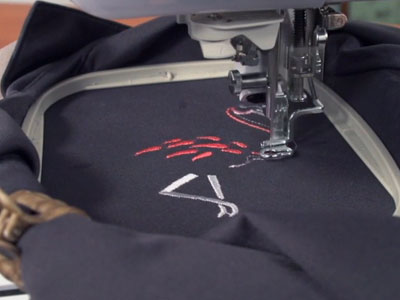
Attach the hoop to the machine and load the design.
Move the hoop so the needle is right over the center point.
Embroider the design. A size 11 or 75/11 embroidery needle is a fine choice when embroidering on micro pique.
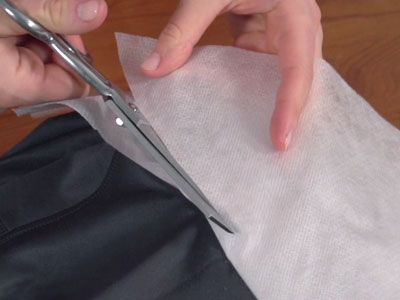
After embroidering, turn the shirt inside out again. Cut the excess stabilizer away.
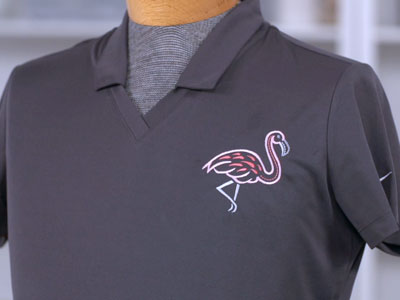
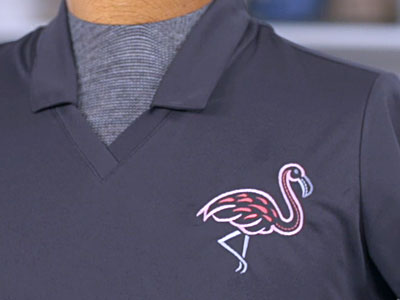
The light, open style of this flamingo design allows the fabric to drape nicely on this micro pique shirt.
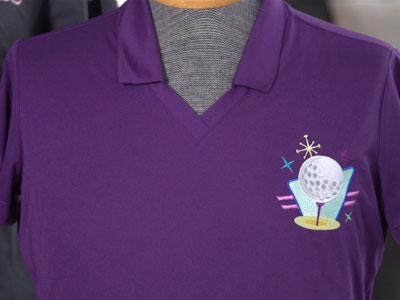
Choose designs that fit your sport or hobby, like the retro golf ball and tee design used here. Perfect for any golfer in your life!


