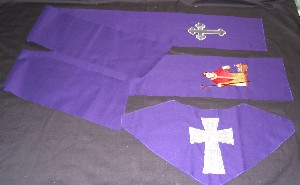
As autumn days bring cooler nights, Mother Nature begins redecorating the earth. Leaves on trees turn brilliant colors of orange, brown, and gold. And even as nature is changing its look for a new winter season, so are churches getting ready for the the red and purple hues of Advent. I've made a matching stole for the pastor to wear during the coming Advent season.
The minute I saw the new Saints designs from Embroidery Library, I knew they were just the thing for this lovely stole.
Supplies
Supplies needed:
-
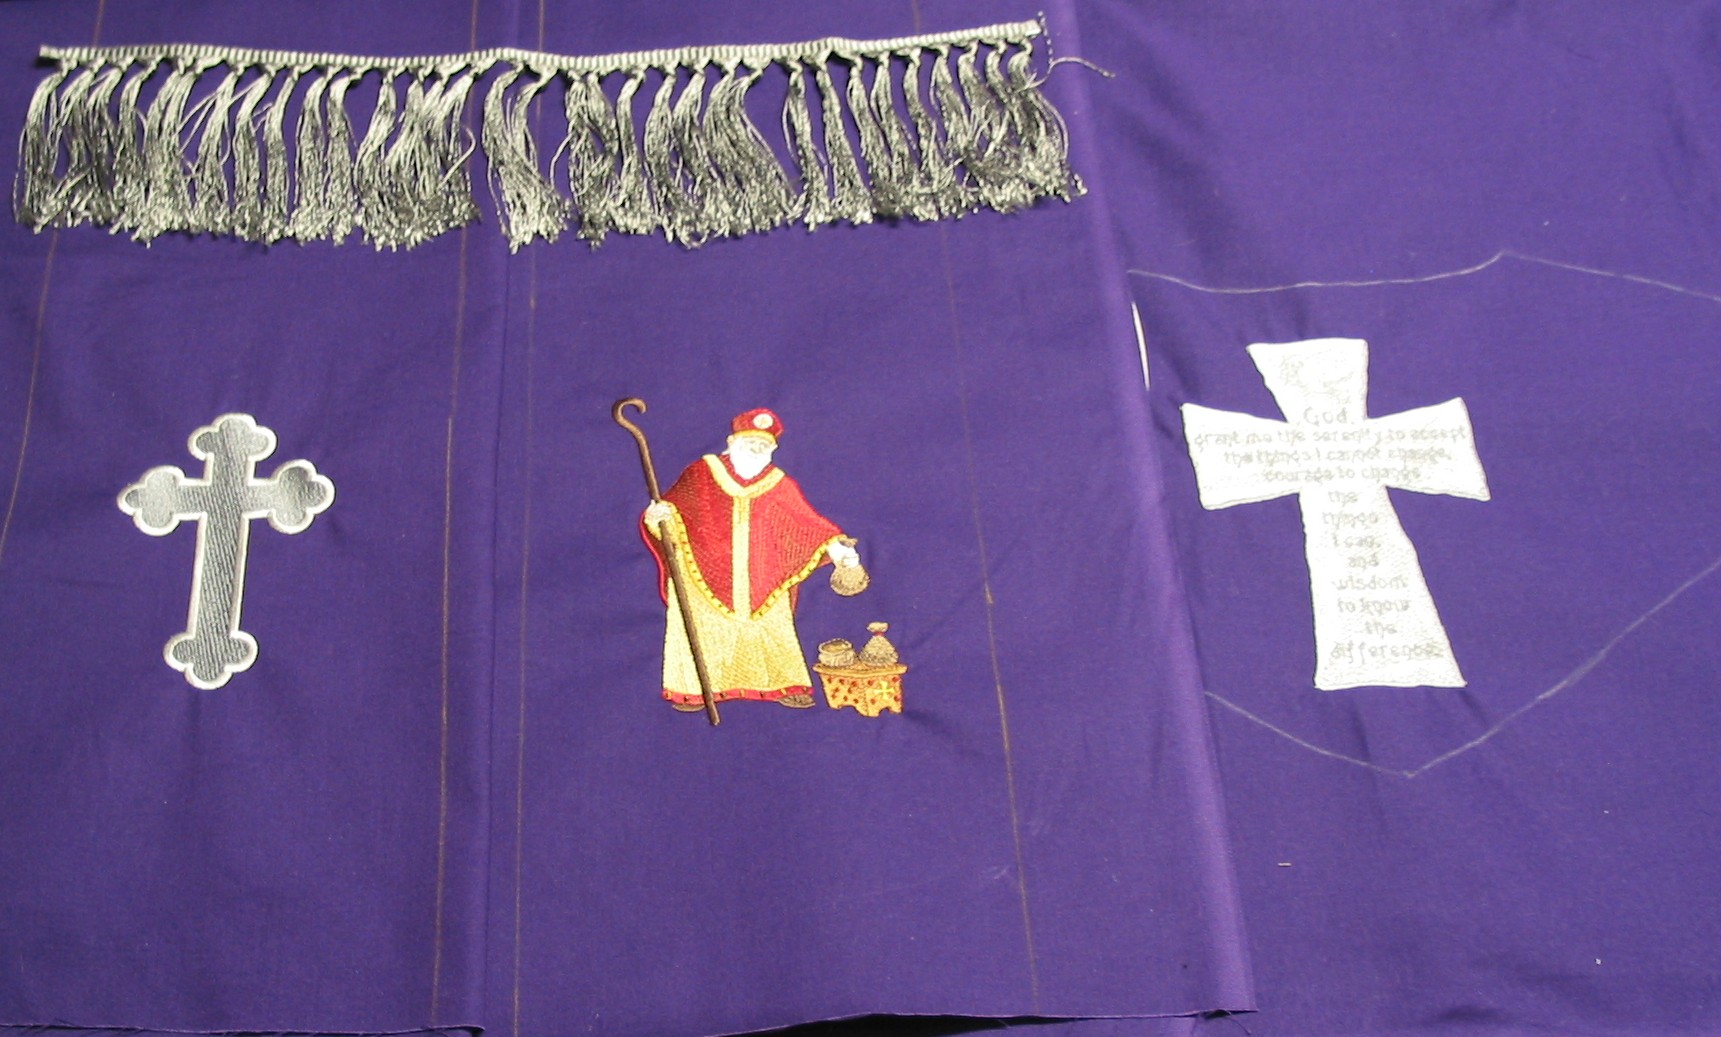
2 yards of fabric. I used purple, the liturgical color for Advent in many Christian churches
-
1/2 yard of knotted fringe
-
Pattern piece, linked below
Embroidery designs:
- Serenity Prayer (small), St. Nicholas without text (small), and Budded Cross, all from Embroidery Library.
Designs Used
Instructions:
Print out and assemble the pattern pieces by matching the dotted lines and taping together.
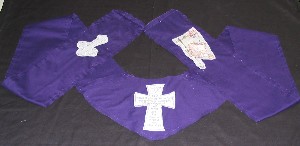
On the purple fabric, with a marking pen/pencil, trace around the back pattern piece and flip over to complete tracing around the entire piece.
Mark two long rectangles that are 7" wide by 49" long. (You may need to adjust the length of the rectangles according to how tall your pastor is.) Mark a center point for each embroidery design. The center point is indicated on the pattern piece. The center points on the rectangles should be 8" from the bottom end of each rectangle.
I embroidered St. Nicholas on one rectangle, and the Budded Cross on the other. On the center of the back piece, I embroidered the Serenity Prayer.
Cut out the embroidered pieces, and then cut another of each piece from plain fabric. These will be the backing pieces for the project.
On the rectangle pieces, cut the tops at an angle so that they match each shoulder of the back piece. This angle will make the front of the stole lay correctly over the shoulders.
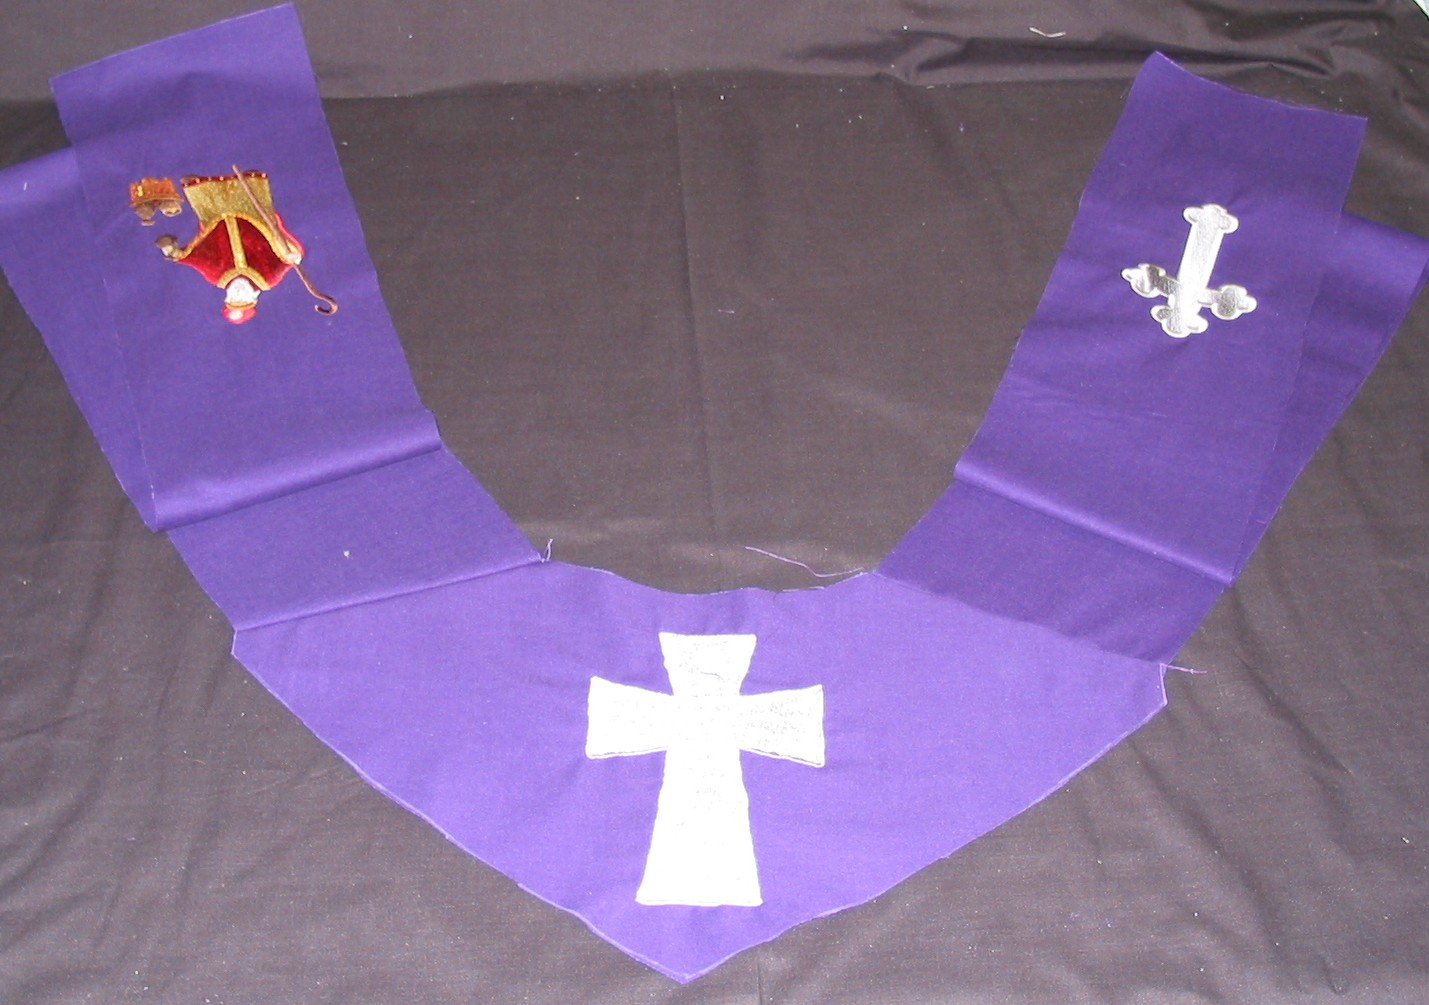
Sew the top of the each rectangle to the shoulders of the back piece.
Sew the shoulder seams of the backing pieces just as you did the front pieces.
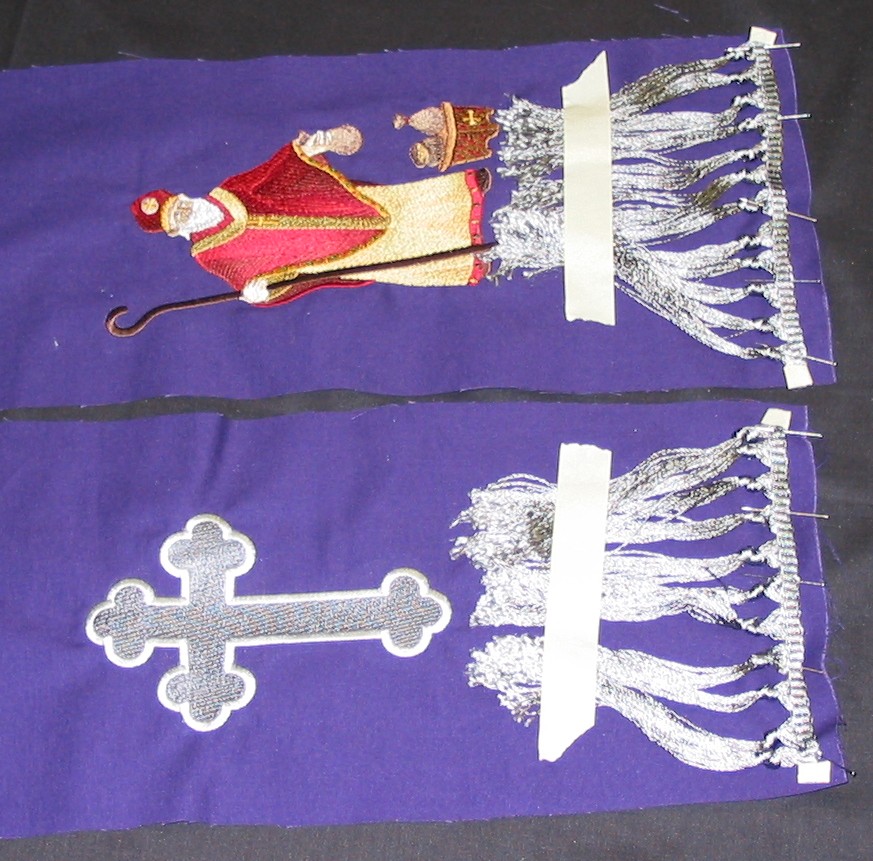
Now, cut your fringe to fit the width of the bottom of the rectangles. Pin the fringe to the bottom, and secure the fringe out of the way of the seam allowances. Masking tape works well to keep the fringe under control.
The fringe will be sewn in place during the next step.
Meet your backing pieces to your embroidered pieces, with right sides together, and stitch around the perimeter of the entire piece using a 1/2" seam allowance. Leave the back neck area open for turning.
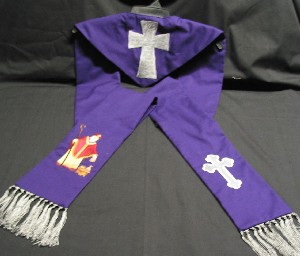
Remove the pins holding the fringe in place and then turn the entire piece right side out.
Press the piece and then close the back neck area.


