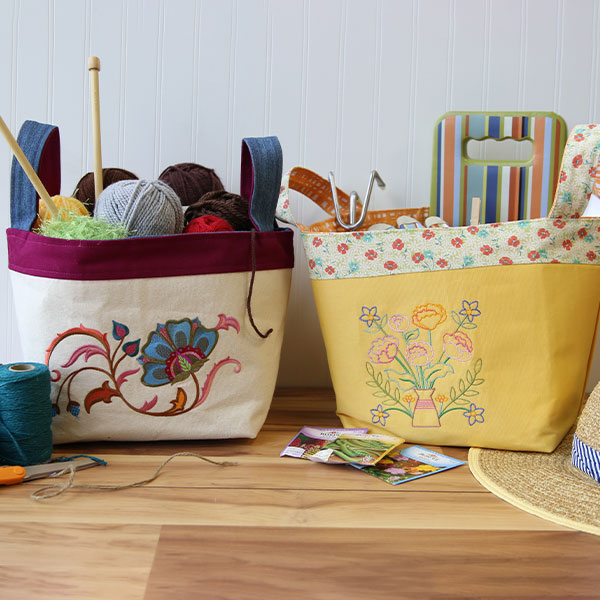
Fabric baskets are the perfect way to organize everything from yarn and knitting supplies, to tools for gardening. Enjoy a helpful how-to video that walks you through the process of making your own machine embroidered fabric basket. Or, if you prefer, take a look at the written project instructions below (complete with images!).
Supplies
- 3/4 yard sturdy cotton fabric
- 3/4 yard medium-weight fusible interfacing
- 3/4 yard sturdy print cotton fabric
- 1/4 yard print cotton fabric
Tools
- Air-erase pen
- Medium weight cutaway stabilizer
- Temporary spray adhesive
Designs Used
Finished Size:
11 1/2" x 8 1/2" x 9 1/2" deep
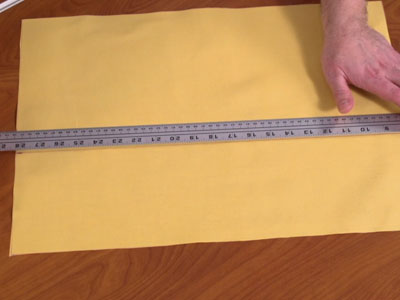
To start, cut a piece of sturdy cotton fabric (like denim or twill) to 20 1/2" x 14".
Along each side edge, measure and mark 5 1/2" up from both bottom corners.
Draw a line connecting the marks. The area under the line will become the bottom of the basket.
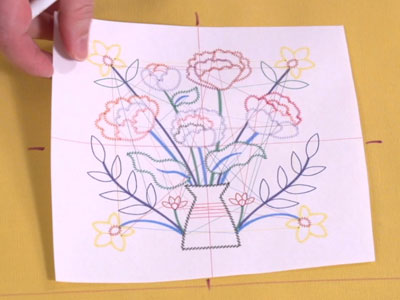
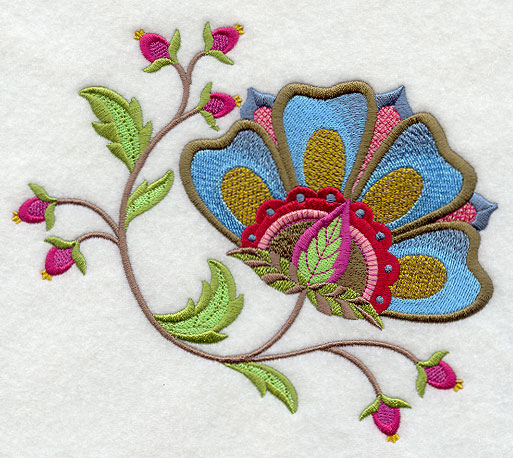
Print a template of the design using embroidery software. If you do not have embroidery software, you can also cut a piece of plain paper to the dimensions of your design, drawing a vertical and horizontal line through the center point.
Center the template between the drawn line and the top edge of the fabric. Make sure to leave space between the top edge of the design and the top edge of fabric - we recommend 3/4" or so.
Mark the center point and the horizontal and vertical axis lines.
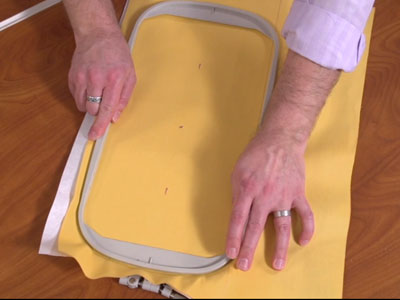
Remove the template and spray a piece of medium-weight cutaway stabilizer with temporary adhesive.
Smooth the fabric on top and hoop the fabric and stabilizer together, aligning the marks on the hoop with the marks on the fabric.
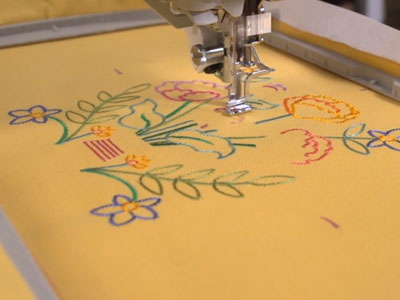
Attach the hoop to the machine and load the design.
Move the hoop so the needle is right over the center point on the design.
Embroider the design.
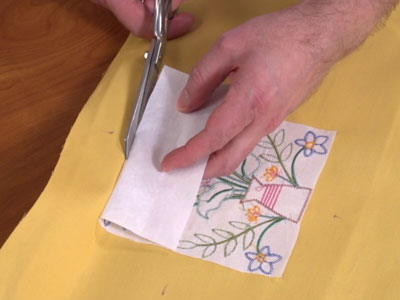
When the design has finished, trim away the excess stabilizer.
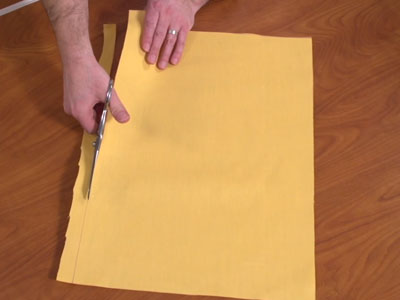
For the opposite side of the basket, cut another piece of cotton fabric to 20 1/2" x 14".
You can also embroider this side of the basket if you like -- mark the fabric just as you did for the first side and embroider the design.
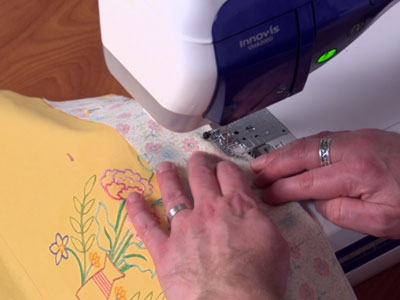
For the trim, cut two pieces of print cotton fabric to 3" x 20 1/2".
Align the fabric pieces along the top edges of the side pieces, right sides together.
Pin in place, and sew a 1/2" seam along the top edge only.
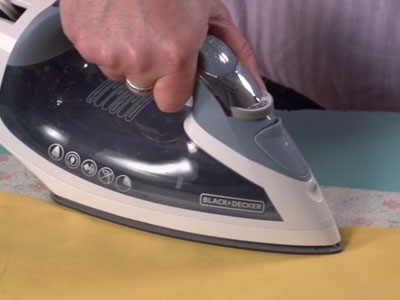
Press the seams with an iron.
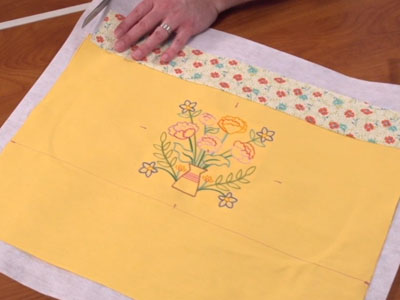
Lay a piece of medium-weight fusible interfacing with the fusible side facing up. The interfacing will help give the basket shape.
Lay the side pieces on top, right sides facing up. Cut around the shapes of the front and back pieces.
Use an iron to activate the interfacing.
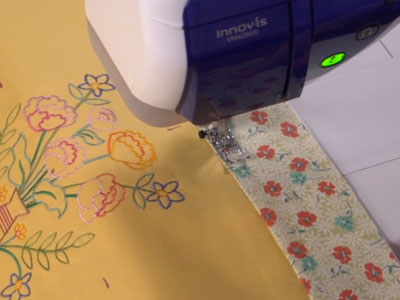
Then, top stitch a 1/4" seam along the inner edge of the trim on each side
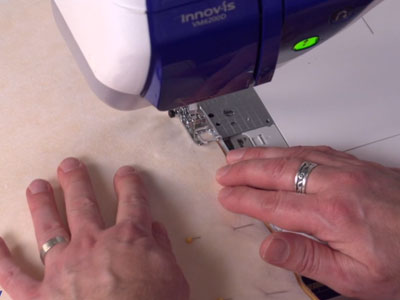
Align the side pieces right sides together, and pin in place.
Sew a 1/2" seam along the side and bottom edges only.
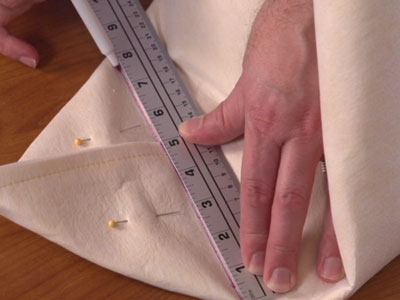
Square off the bottom by aligning the bottom seam with the side seams, pin in place.
Draw an 8" line across the fabric, perpendicular to the seam, along each corner
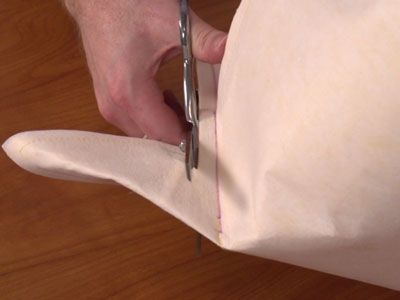
Sew a seam across the lines. Trim each corner leaving 1/2" excess.
Then, turn the fabric right side out.
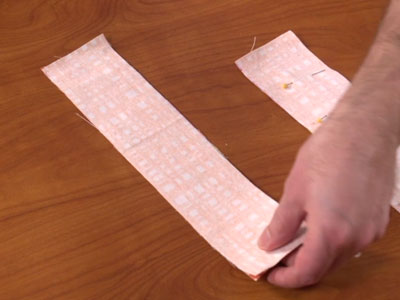
For the handles, cut two pieces of print cotton fabric and two pieces of sturdy cotton fabric to 2 1/2" x 12".
Pair the pieces right sides together, pin in place. Sew a 1/2" seam along one of the long sides.
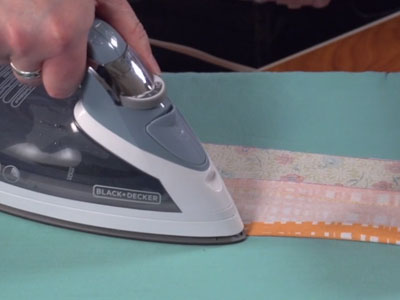
Lay the fabric flat and fold the long edges in 1/2" to the wrong side and press.
Then, align the long folded edges wrong sides together, and pin.
Sew a 1/4" seam along the folded sides.
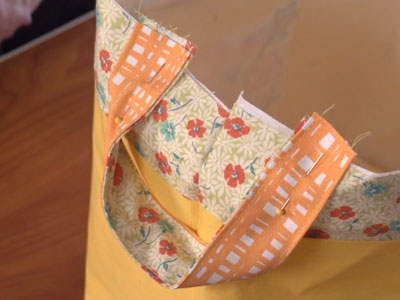
Pin the ends of the handles about 1 1/4" out from each side seam (along the ends of the basket).
Allow the raw ends of the handles to extend about 1/2" past the edge of of the fabric.
Pin in place.
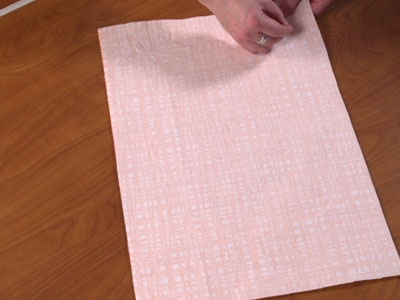
For the inner lining, cut two pieces of fabric to 20 1/2" x 16".
Align the pieces right sides together and pin in place.
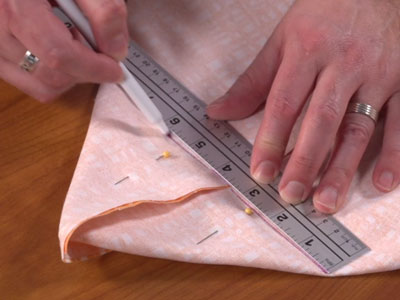
Sew a 1/2" seam along the side and bottom edges only.
Square off the bottom just as you did earlier: Align the side seams with the bottom seam, draw the lines, sew across the lines, and trim the corners.
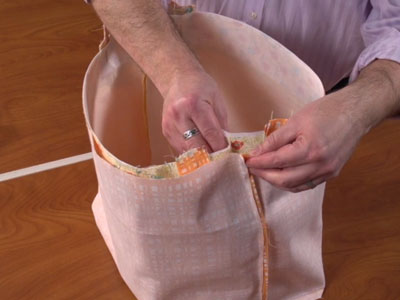
Insert the embroidered outer piece inside the inner lining, right sides together, and align the side seams and the top edges.
Pin in place. Sew a 1/2" seam along the top edge leaving about 8" open at the back.
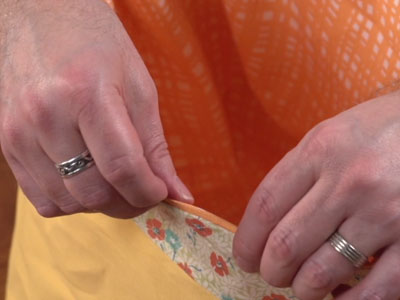
Turn the fabric right side out and insert the inner lining inside the outer piece.
Turn the fabric of the opening in 1/2" to the wrong side and pin.
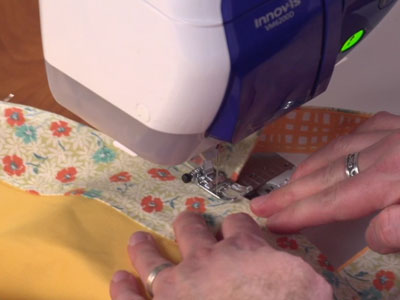
Sew a 1/2" seam along the entire top edge of the basket.
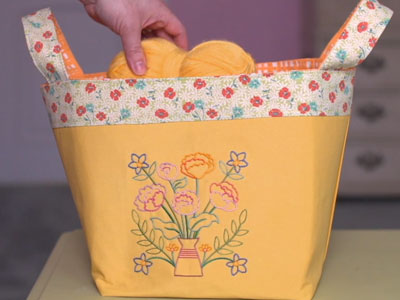
A wonderful way to store all your belongings! Make one for the crafts room, the living room, or even the laundry room.
