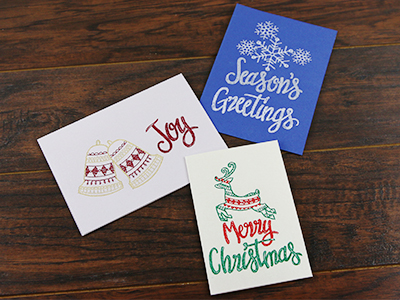
Give greetings and invitations a personal touch by adding beautiful embroidery! We'll show you how to use specially digitized designs to stitch directly onto sturdy papers to create unique, textured cards. Follow along below to learn more!
Supplies
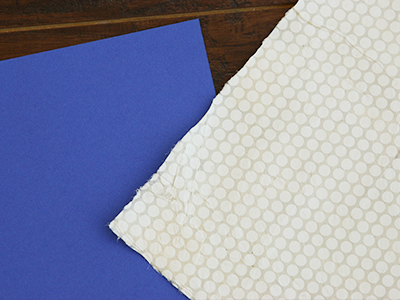
- Heavy-weight cardstock, handmade paper, or watercolor paper
- Accent paper
- Medium-weight (2.5 ounce) cutaway stabilizer
- Temporary spray adhesive (such as Gunold KK100)
- 75/11 sharp sewing machine needle
- Glue stick
- Scissors
- Pencil
Designs Used
Cardstock embroidery designs have been specially digitized to embroidered onto paper. Only use designs labeled as cardstock designs, or the embroidery may just cut the paper rather than sew onto it.
When selecting paper, choose a heavy-weight cardstock, handmade paper, or watercolor paper. When using paper with shorter fibers (such as cardstock) the needle perforations will be more visible around the embroidery, but it will still work well. Paper with longer fibers (such as handmade or watercolor paper) will hide the needle perforations better as the fibers can move more. This makes the holes left by the needle less obvious on longer fiber paper.
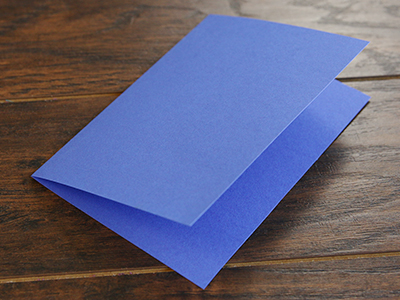
After the paper is chosen, fold it in half, and cut the card to the desired size. In this tutorial, the card will be 5" wide by 7" tall, so it will fit into a standard envelope size that is easy to find.
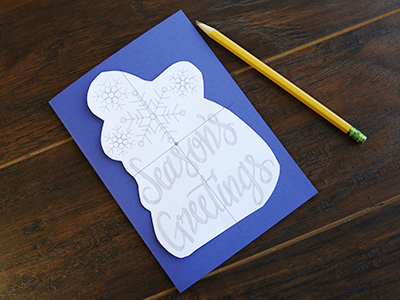
A template, or printout, of a design is an excellent tool to help with placement. Print a template of the embroidery design using a embroidery software. Arrange the template where you would like the design. Using a pencil, lightly mark the center point and the vertical and horizontal axis lines of the design. Make sure to mark the paper very lightly so it can be erased later.
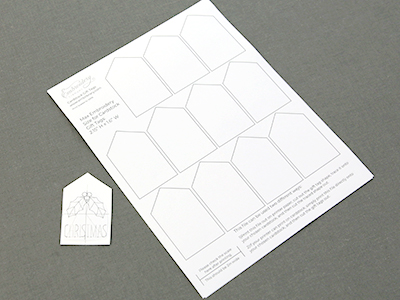
If making a cardstock gift tag, print the pattern, trace it onto your chosen paper and cut it out. Then lay the template of the design on the cardstock, and mark the center point and axis lines. If your printer can print on cardstock, you can instead print the pattern directly onto your chosen paper, and then cut the gift tags out along the solid outline. Click the above link for this PDF pattern.
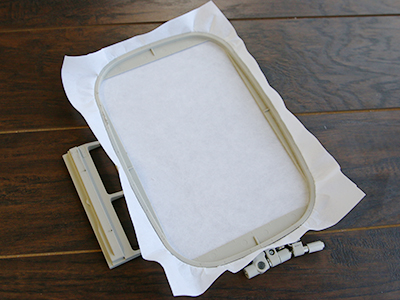
Hoop a piece of cutaway stabilizer. Make sure it is tight in the hoop, and that there are no wrinkles.

Locate the front half of the folded card that the embroidery will be sewing on. Then spray the back side of that front half (from the edges of the paper to the fold) with temporary adhesive. Make sure not to spray the rest of the card with temporary adhesive, as it will make it sticky. Then press the sprayed side of the card onto the hooped stabilizer, lining up the axis marks on the card with the marks on the hoop.
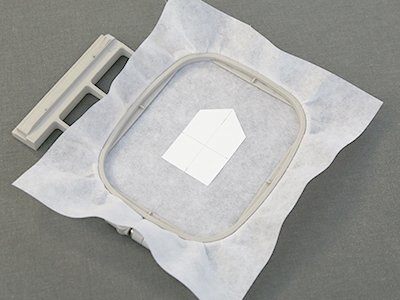
If making a gift tag, spray the back side of the gift tag with temporary spray adhesive. Press it onto the hooped stabilizer. Again make sure to line the axis lines on the gift tag up with the marks on the hoop.
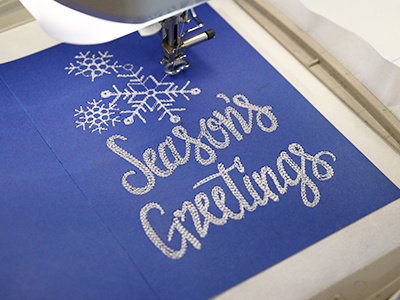
Attach the hoop onto the machine, and load the embroidery design. Move the hoop until the needle is directly over the drawn center point on the card. Using a sharp 75/11 needle will make the perforations in the paper smaller, and will help prevent the embroidery from just cutting up the paper. Embroider the design. If the paper seems to be ripping or tearing while embroidering, try using a higher-quality paper with longer fibers, and make sure you are using a sharp 75/11 needle.
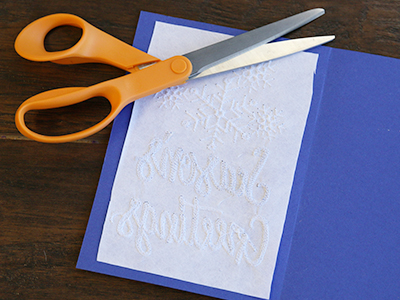
After the design is finished embroidering, unhook the stabilizer, and trim away the excess stabilizer. Also erase any visible pencil marks from earlier.
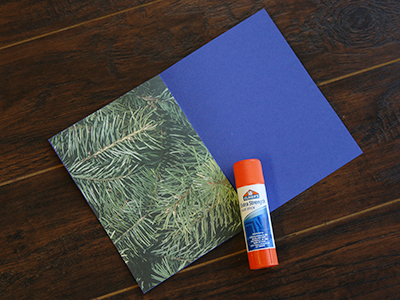
Then cut a piece of accent paper to the same size as one half of the folded card (here it is cut to 5" wide by 7" tall). Use a glue stick to glue it into place on the backside of the embroidery. This will hide the back side of the embroidery and the stabilizer.
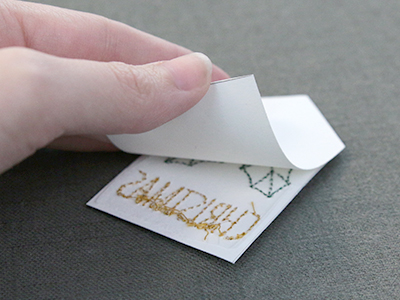
To hide the wrong side of the embroidery on a gift tag, cut out another piece of cardstock using the printed pattern. Then glue it over the back side of the embroidery.
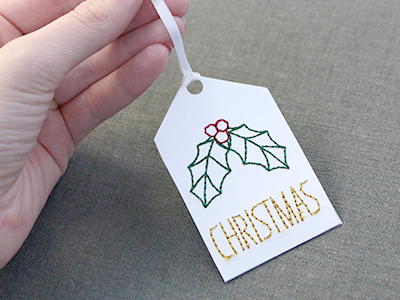
To finish the gift tag, use a hole punch to make a hole at the top by the point. Cut 7" of ribbon, and thread it through the hole. Then tie the ends together.


