Welcome visitors to your door with a cute in-the-hoop hanger. They're the perfect greeting for kids' bedrooms, as holiday decorations, and more!
Supplies
- 1/8 yard of cotton fabric like Kona cotton, twill, or lightweight canvas
- Medium-weight (2.5 ounce) cutaway stabilizer
- Tear-away stabilizer
Tools
Temporary spray adhesive (Gunold's KK100)
Designs Used
Sizing Notes:
The large size of the doorknob hangers has a 2 1/8" diameter opening. The small size has a 1 3/4" diameter opening.
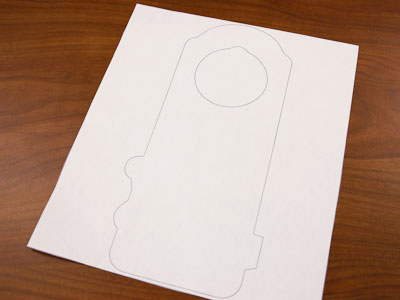
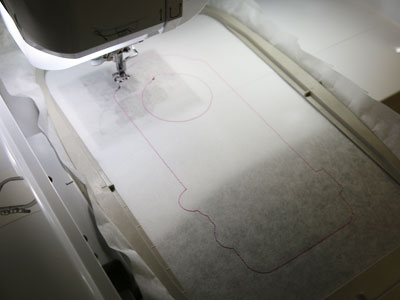
When you download an in-the-hoop doorknob hanger design, you will find multiple files. Some are the embroidery files, and the others are dieline files marked with the letters "DL". Dielines are used to cut the fabric to the correct shape and size. Open and print each dieline file using an embroidery software. If you do not have an embroidery software, take a look at our helpful video on using dielines.
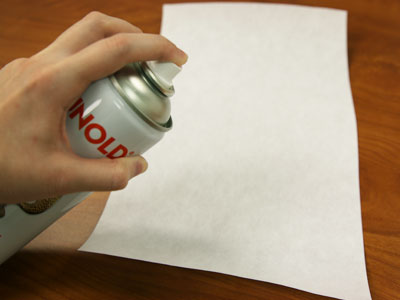
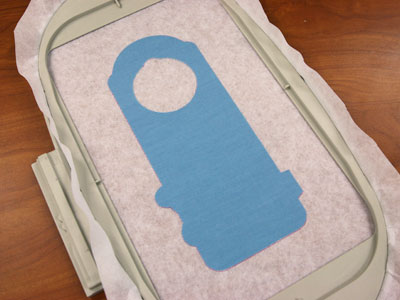
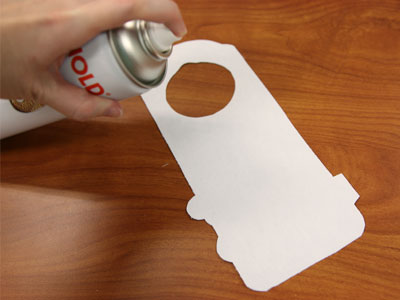
Spray a piece of cutaway stabilizer with a bit of temporary adhesive.
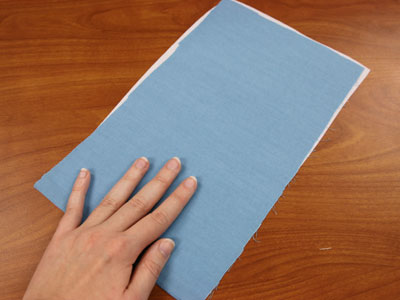
Smooth the fabric for the front of the doorknob hanger on top.
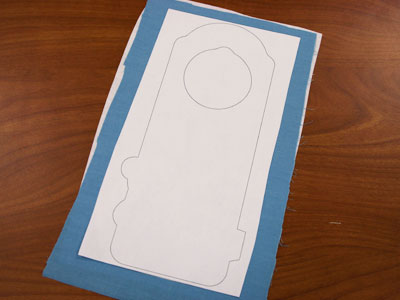
Place the printed dieline on top of the fabric and stabilizer.
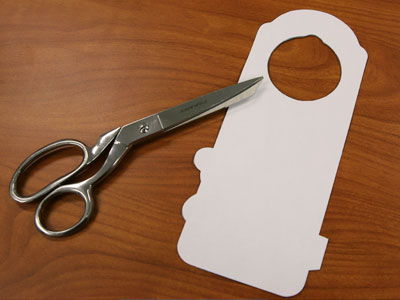
Cut out the shape, cutting exactly on the dieline.
Repeat this to make a fabric piece for the back of the hanger, too.
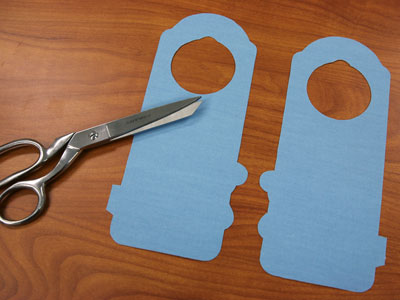
Most hangers are symmetrical, but a few are not, like this example. If you're working with an asymmetrical design, flip the dieline over to cut the piece for the back (or, turn the fabric right side down).
Now that the fabric pieces are cut to the proper shape and size, it's time to embroider the design.
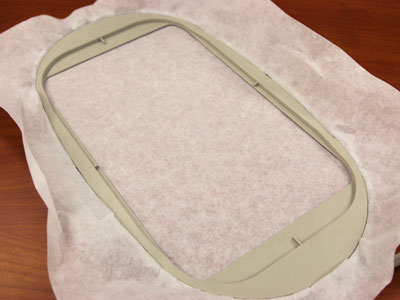
Hoop a piece of tear-away stabilizer.
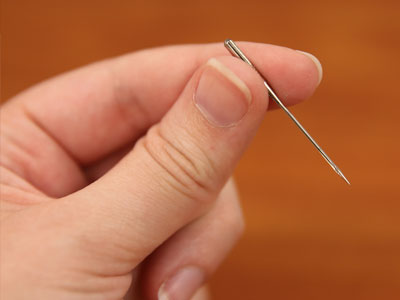
Use a size 11 sharp sewing needle in the machine rather than an embroidery needle.
A sharp sewing needle is the best choice when embroidering in-the-hoop designs.
Load the full embroidery file (not a dieline file) to your embroidery machine.
Attach the hoop, and begin embroidering the design.
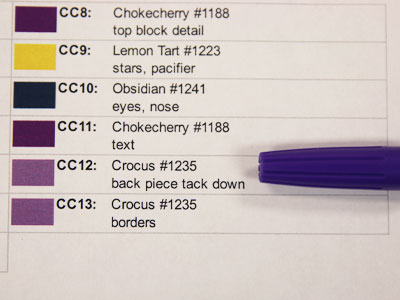
Reference the color change sheet for the design as you stitch. That sheet tells you what is stitched in each step.
CC1 is a dieline, or outline stitch, that traces the shape for the front fabric pieces.
After embroidering CC1, stop the machine.
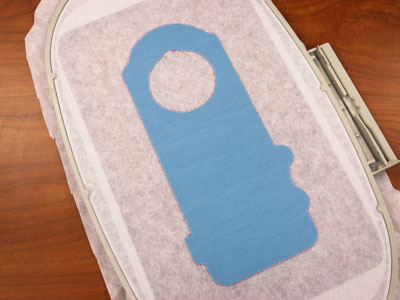
Spray the back of the front fabric and stabilizer piece with a small amount of temporary adhesive. Place it inside the sewn dieline.
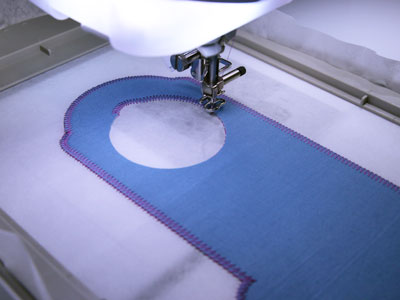
Continue embroidering the design. The next section is a tack down stitch which binds the fabric to the stabilizer.
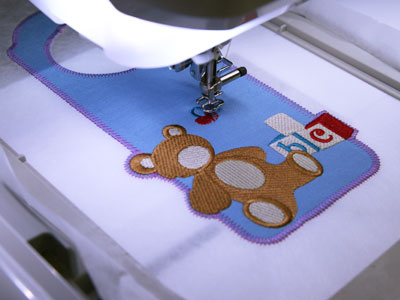
Other elements of the design will sew, and the color change sheet will be your guide.
When you get to the section on the color change sheet that says "back piece tack down," stop the machine before embroidering the step.
Spray the stabilizer side of the back fabric piece with temporary adhesive.
Remove the hoop from the machine and turn it over.
Place the back fabric and stabilizer piece inside the sewn dieline.
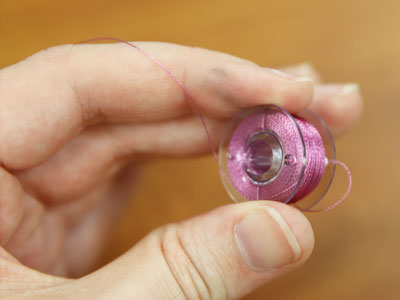
The remaining steps will be seen from both sides. Wind a bobbin with the same thread you're using in the top.
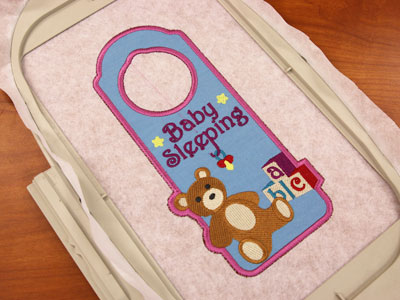
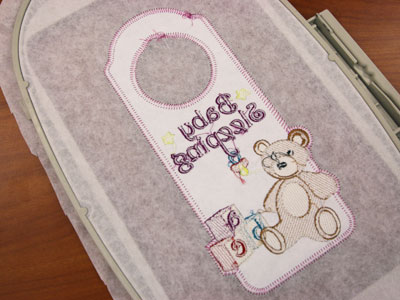
Attach the hoop to the machine and continue embroidering the design. The final steps are tack down stitches and a satin stitch finish.
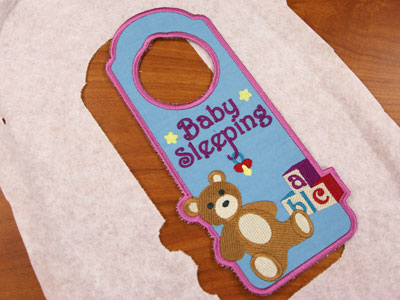
After the design has completed, unhoop the stabilizer and gently tear it away.
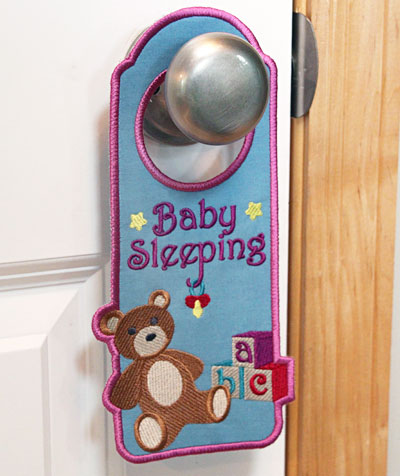
Hang one of these in-the-hoop door hangers on the nursery, as a way to welcome guests into your home, or to add a little embroidered color to your decor.
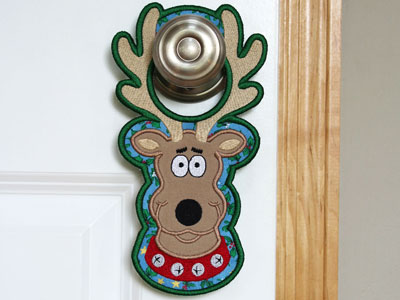
Change the door hangers out for different holidays and special occasions -- Christmas, Thanksgiving, Halloween, and more!


