Classic corner designs are most often used on placemats, pockets, and napkins thanks to their small size. Get creative with your corners using the fun placement ideas and embroidery tips in this tutorial!
Project Needs & Notes:
- Linen napkins
- Medium-weight (2.5 ounce) cutaway stabilizer
- Temporary spray adhesive (Gunold KK100)
- Air-erase pen for marking
Designs used in this tutorial include:
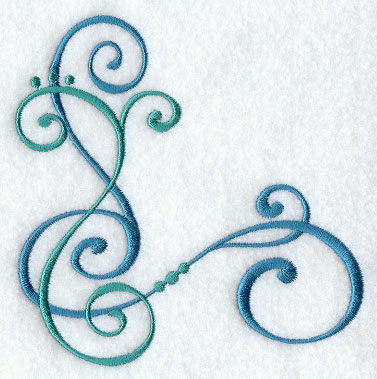
E5857, Alhena Swirl Corner
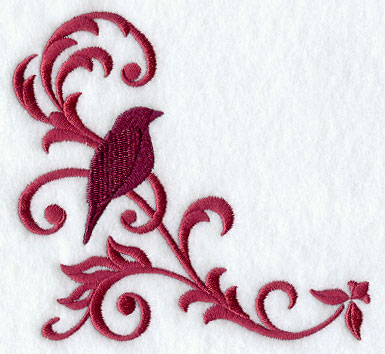
E3298, Bluebird of Happiness Corner
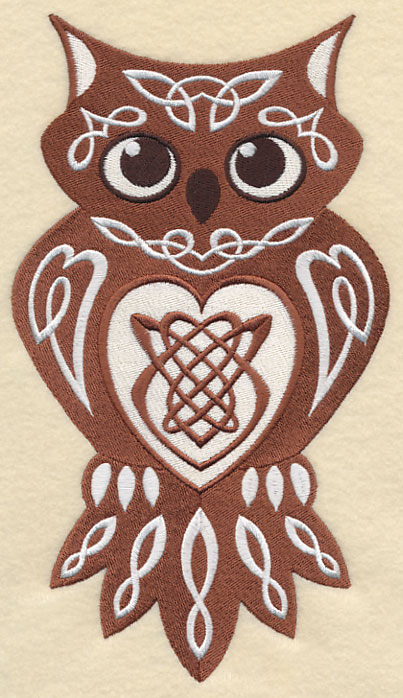
K9006, Celtic Knotwork Owl
A9692, Celtic Knotwork Corner
E6764, Lovebird Heart Corner
D7025, Argyle Corner
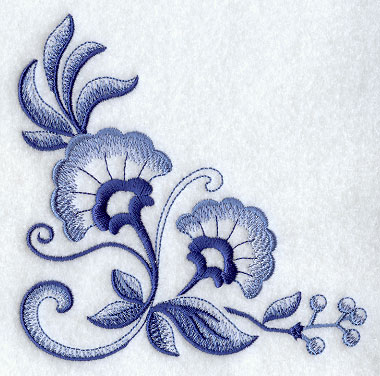
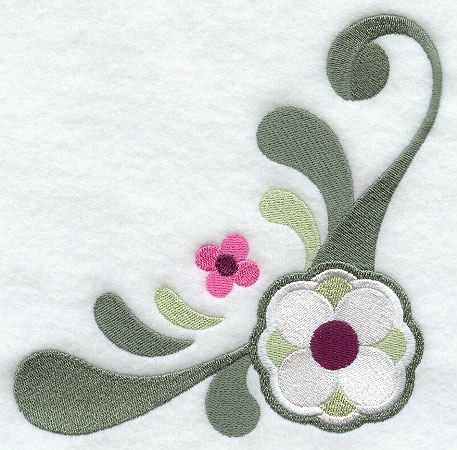
D7042, Delft Blue Floral Corner 2
Designs Used
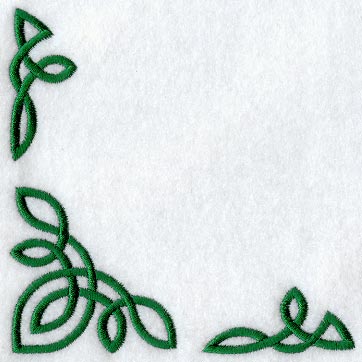
Corner designs are L-shaped; a perfect fit for napkins, placemats, and pockets.
It can be tricky to hoop the fabric and stitch close to the edge. This project demonstrates a technique for stitching corner designs, and also shares creative and non-traditional use ideas.
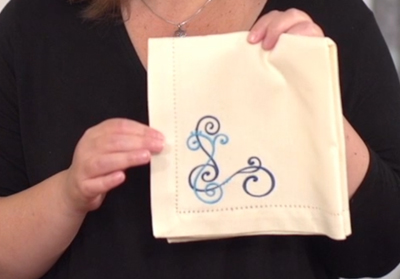
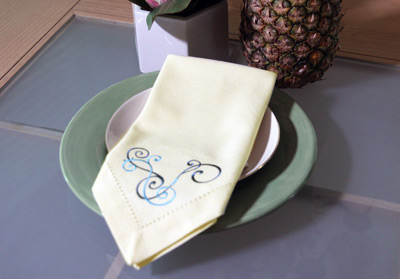
We'll begin with a classic use, and embroider the design onto a linen napkin.
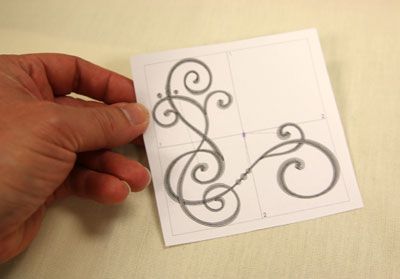
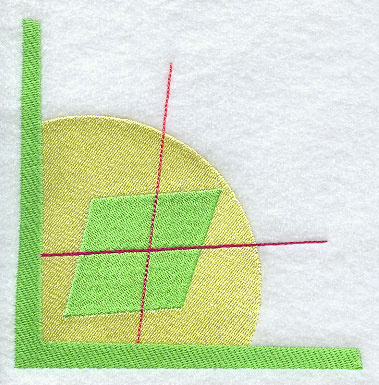
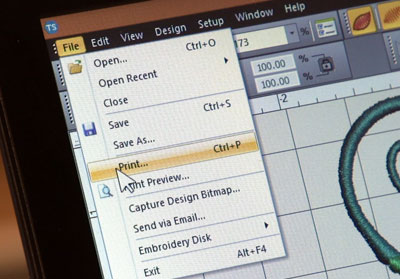
A template is a printout of a design, and it's an excellent tool to plan where to stitch.
Print a template of the design from your embroidery software.
If you do not have embroidery software, Wilcom's TrueSizer is a free program to use.
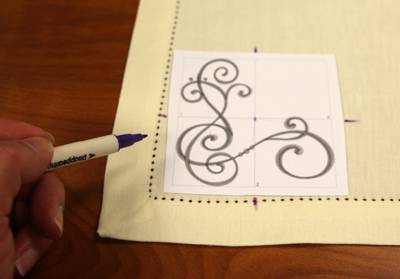
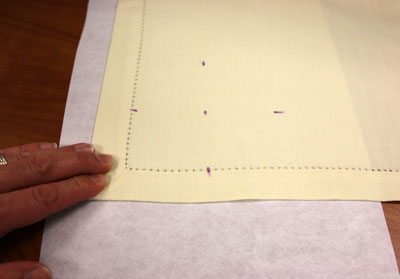
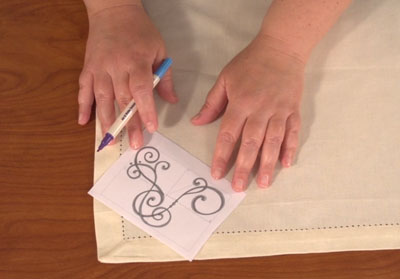
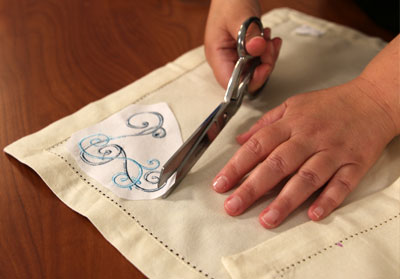
Arrange the template on the napkin.
After it's placed where the design will be stitched, mark the center point, and the vertical and horizontal axis lines.
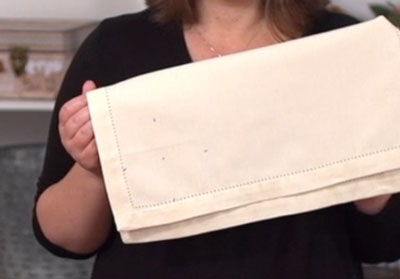
Because the design is placed so close to the edge, it's evident that not all of the napkin can be hooped.
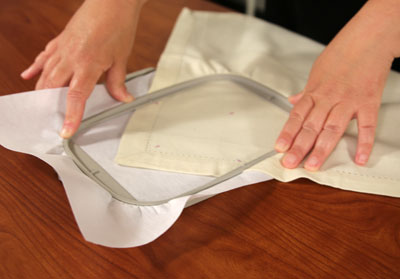
When all of the fabric can't be hooped with the stabilizer, use temporary spray adhesive to bind the fabric and stabilizer together.
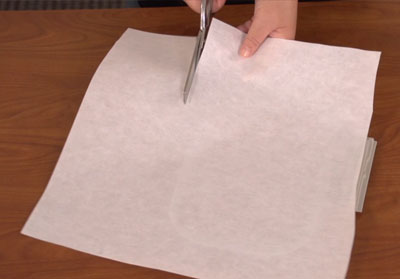
Cut a piece of cutaway stabilizer a little larger than the hoop.
Spray it with temporary adhesive.
Smooth the napkin on top, leaving excess stabilizer on the sides for hooping.
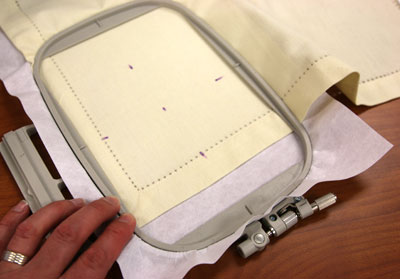
Hoop as much as possible, lining up the marks on the fabric with the marks on the hoop.
In this example, two sides of the napkin are in the hoop

The napkin can be embroidered just like this.
But, if the design were rotated 45 degrees counter-clockwise, and the napkin rotated 45 degrees also, then more of the napkin could be hooped.
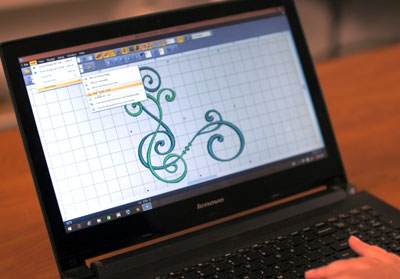
To do that, use embroidery software to rotate the design.
Print a template of the rotated design.
Arrange the template on the napkin, and mark the center point and the axis lines.
Hoop the napkin and stabilizer together, lining up the axis lines with the marks on the hoop.
Note that by rotating the design and napkin, more of the napkin is hooped.

Either orientation will work fine. But generally when embroidering, it's best to have as much fabric hooped as possible.
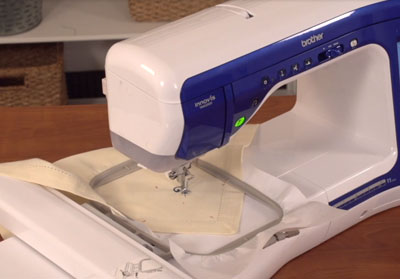
Attach the hoop to the machine and load the design.
Move the hoop so the needle is right over the center point.
Embroider the design.
A size 11 or 75/11 embroidery needle is a fine choice for linen or cloth napkins.
After embroidering, trim the stabilizer away from the back
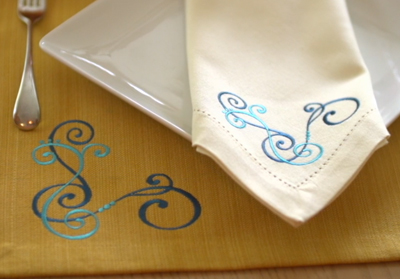
Make 2, 4, 6, 8 or more for your dining table.
Those are the basic steps for using a corner design on a napkin. Next, take a look at these creative and non-traditional uses for corner designs.
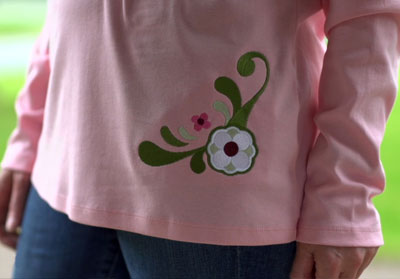
A corner design adds a splash of color to this t-shirt.
Popular areas for designs include the left chest, and the hip area.
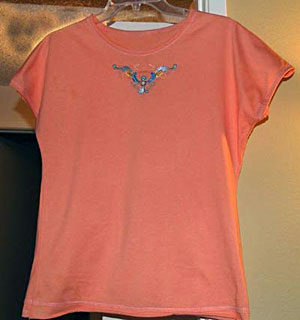
Selma from California liked the Rosemaling corner design. When she turned her head a bit, she thought of a different place to stitch it.
By rotating the design 45 degrees, the design becomes a fashionable feature to this shirt.
Seeing this creative twist on a corner is inspiring. Thanks, Selma!
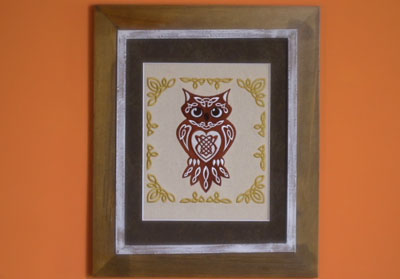
In this example, a corner design is used to frame a larger design.
This technique is an excellent one to use if you want to fill a large space, but have a small hoop.
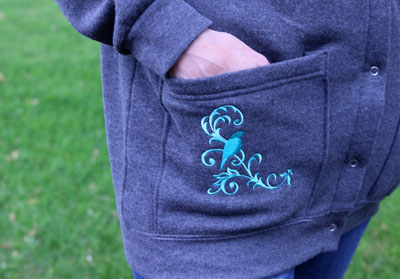
This sweatshirt cardigan has a design on the back and front, and a coordinating corner on the pocket.

Marie-Antoinette from France used one corner design to make this pillow cover.
She mirrored the design both horizontally and vertically and spaced the stitchouts to make a magnificent feature.
The design used here is Celtic Corner 2.
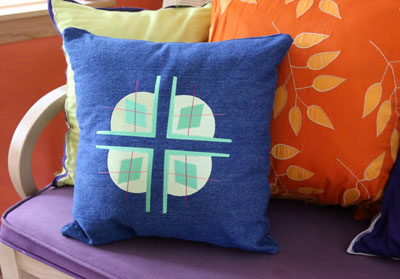
Inspired by Marie-Antoinette's example above, we created this pillow cover with an argyle corner design.
One corner is stitched four times to form an eye-catching focal piece. When embroidering, you can either rotate the design 90 degrees, or rotate the fabric.
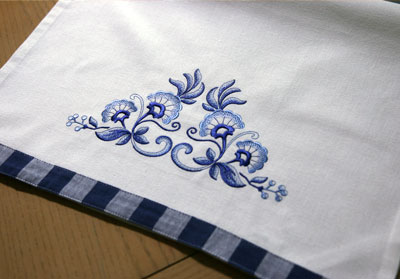
Here a corner design is added to a tea towel, but I mirrored it so one is facing left, and the other is facing right.
Add a corner design (or a few!) to your next project to create a masterpiece that is all your own.


