Embossed embroidery adds a textured, three-dimensional style to terrycloth towels, fleece, and other high-nap fabrics. Add even more eye-catching interest by layering a second design within your embossed embroidery backdrop.
Project Needs & Notes:
- Terrycloth towel
- Medium-weight (2.5 ounce) cutaway stabilizer
- Water-soluble stabilizer for topping
- Temporary spray adhesive
- Air-erase pen
The design used in this tutorial include:
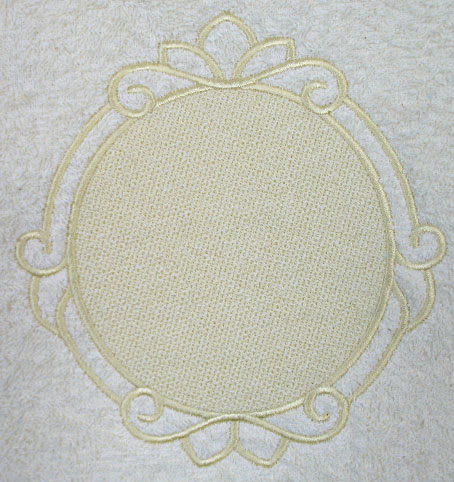
- M11830, Damask Backdrop (Embossed)
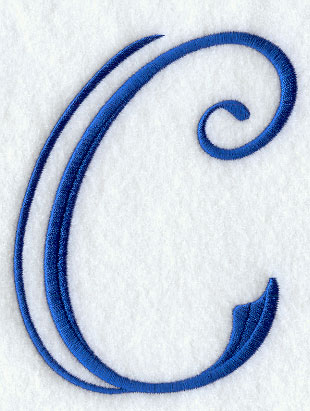
- G3086, Formal Affair Capital Letter C
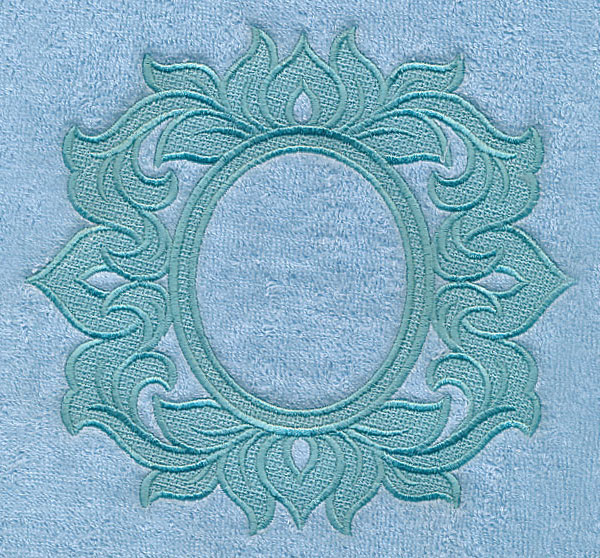
- D6648, Cameo with Border (Embossed)
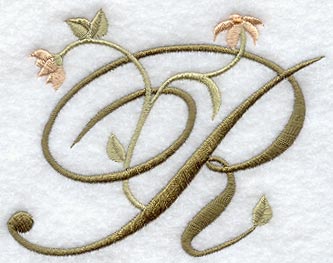
- W5807, Floral Heirloom Letter R
Special Notes: A terrycloth towel is used in this example, but this technique works well on fleece and microfiber plush, too.
Designs Used
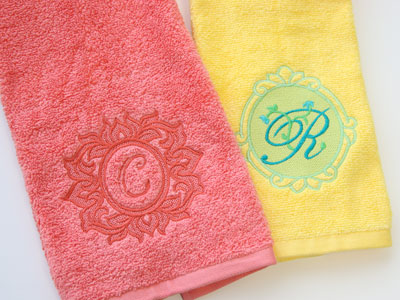
Layering embossed embroidery uses two separate embroidery designs to create a unique look.
The first design is a embossed backdrop that will be stitched out on the towel first.
The second design is a letter that will be sewn after the backdrop to create a layered or framed effect on the towel.
There are also two different styles of embossed backdrops. One is frame-like with an open center, and the other has light stitching that fills the inside of the backdrop shape.
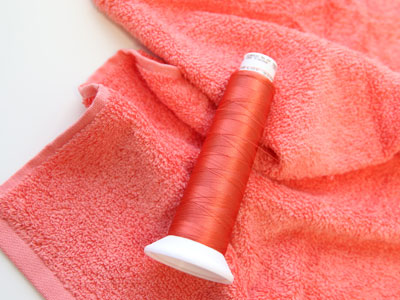
To get an embossed look, choose thread that matches the fabric color closely.
For more contrast, you can also use a slightly lighter or darker color thread.
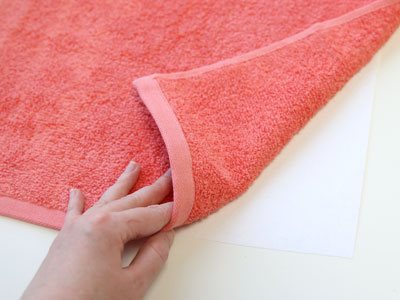
Cut a piece of medium-weight cutaway stabilizer a bit larger than the size of your hoop.
Spray the stabilizer with a temporary adhesive, and smooth the towel on top.
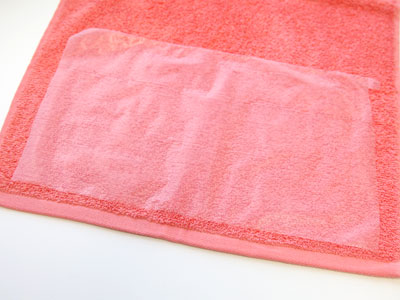
Place a topping of water-soluble stabilizer on top of the towel.
This helps to prevent the stitches from sinking into the nap of the fabric.
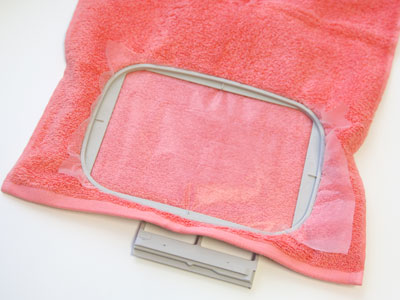
Hoop all three layers together, and tighten the hand screw.
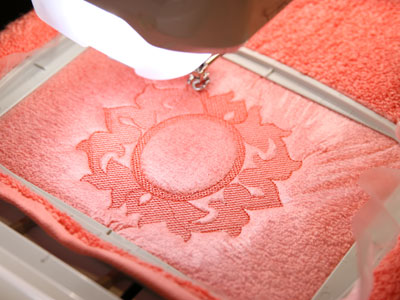
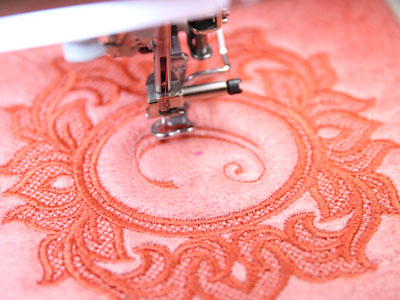
Place the hoop onto the machine, and load the embossed backdrop designs into the machine.
Embroider the design.
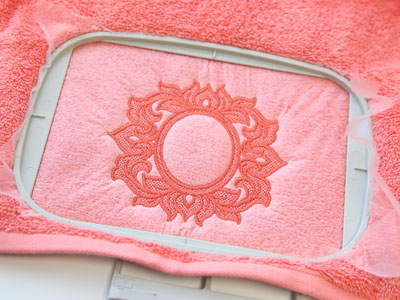
Once the embroidery is finished, remove the hoop from the machine, but do not unhoop the towel and stabilizer.

Measure the size of the area which is open for additional embroidery.
This backdrop's opening measures 2 3/8" x 2". The second embroidery design should be at least 1/2" shorter and thinner than the measured area, so that it fits within the shape.
For this example, a 1 1/2" alphabet letter was used. For wider letters, a 1" high letter would work as well.
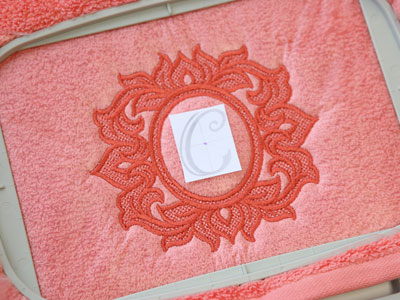
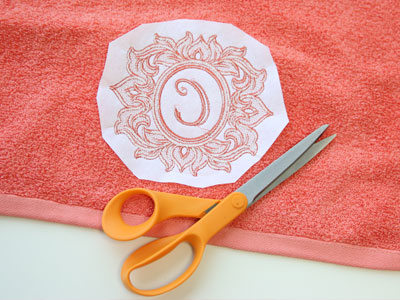
A template, or printout of a design, is an excellent tool to help with placement and sizing.
Print a template of the letter design from your embroidery software. If you do not have embroidery software, Wilcom's TrueSizer is a free program to use.
Center the template inside the first embroidered design and make sure it fits inside the backdrop. Mark the center point with an air erase pen.
Attach the hoop back onto the machine, and load the second embroidery design.
Move the hoop to line up the needle with the center point, and embroider the design.
After the design has finished, trim away the excess stabilizer on the backside of the embroidery.
Leave about 1/2" remaining around the design.
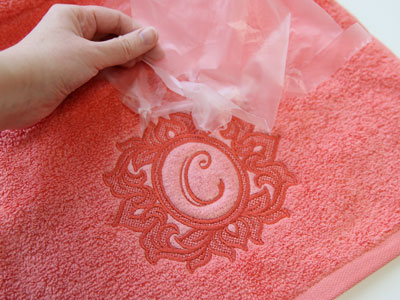
Tear the excess water-soluble stabilizer away from the top of the towel.
Use a damp sponge or tweezers to remove any small remaining pieces, or wash and dry the towel to completely remove the stabilizer.


