Add dimension to your applique embroidery with this special technique! Free edges "pop" off the base fabric, making the designs come to life. Tails, branches, and lots more can be free to wave to and fro with these "eye-poppin'" designs.
Applique allows you to use your favorite fabrics, prints, and patterns to customize your embroidery.
Supplies Needed:
- Bath towel and hand towel
- Small pieces of fabric for applique
- Medium weight cutaway stabilizer
- Tear-away stabilizer
- Temporary spray adhesive
- Nylon monofilament thread
- Plastic lids or masking tape roll (optional)
Designs Used
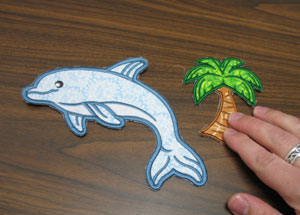
In these instructions we will show you how to attach freestanding applique designs to towels to create a neat 3D effect. For freestanding applique, follow the instructions for the in-the-hoop refrigerator magnets. Click here for these instructions.
You can create magnets using the Sun-sational Stitches designs or sew them directly onto fabric like traditional applique - we will talk more about that later on.

(Optional) We added an applique backdrop behind the freestanding piece. To do this, trace the shape of a plastic lid and masking tape roll onto some cotton fabric. Then, cut out the shapes.
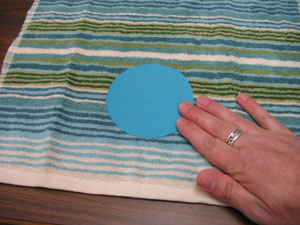
Spray the wrong side of each fabric piece with temporary adhesive and smooth the fabric in the center bottom of the right side of the towels (we placed our fabric about 3 inches from the bottom edge of the towel).
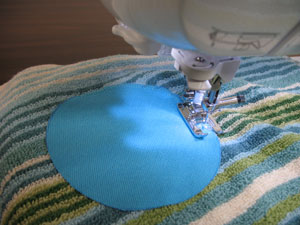
Using a zigzag stitch, sew around the outer edges of the applique fabric to secure them in place.
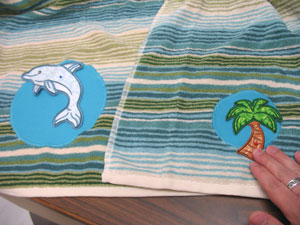
Position the freestanding pieces on top of the applique circles where you would like and pin them in place.
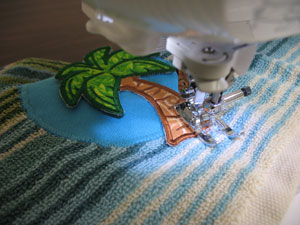
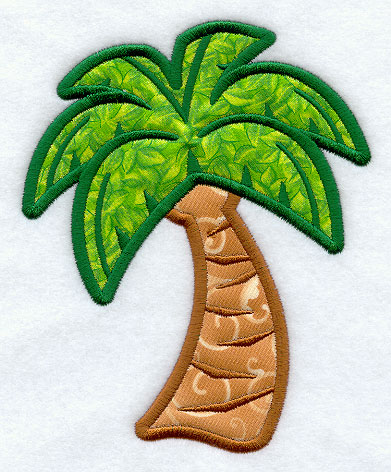
Using monofilament thread, sew the freestanding pieces in place - do not sew the areas you want to "pop" off of the towels. For the palm tree, we sewed along the inner edge of the satin stitch border on the trunk of the tree and left the leaves free.
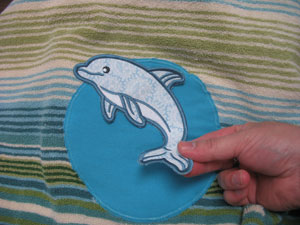
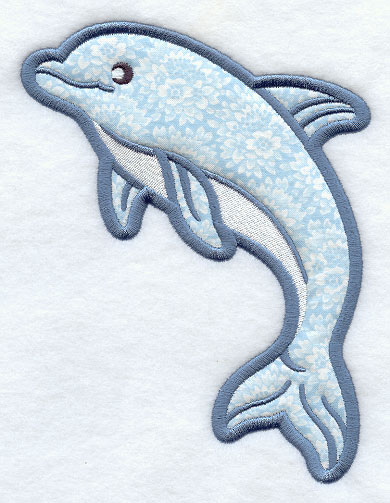
For the dolphin, we sewed along the inner edge of the satin stitch border starting and stopping a few inches from the tips of the tail. We left all the flippers and fins free and also the tail.


