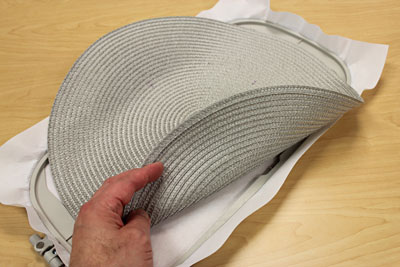
Add flavorful stitches to synthetic straw placemats to bring a beautiful look to picnic and patio tables. Learn the top tips and tricks for embroidering on straw placemats for tasty results.
Synthetic straw placemats are lightweight, flexible, and come in a variety of colors. Find them at stores like Target and Bed Bath & Beyond, or online at Amazon.
Project Needs & Notes
- Synthetic straw/woven polypropylene
placemats (I used ones with a 15" diameter)
- Medium-weight (2.5 ounce) cutaway stabilizer
- Lightweight water-soluble stabilizer
(Sulky Solvy)
- Air-erase pen for marking
- Temporary spray adhesive (like Gunold KK100)
For this tutorial, I used the fruit wreath and vegetable wreath designs. Find more tasty designs in the Food and Wine category here.
Designs Used


A template is a printout of a design, and it's an excellent tool for placement and positioning.
Print a template of the design from your embroidery software. If you do not have embroidery software, Wilcom's TrueSizer is a free program to use.
Then, position the center of the template so it is on the center of the placemat.
Mark the horizontal and vertical axis lines.

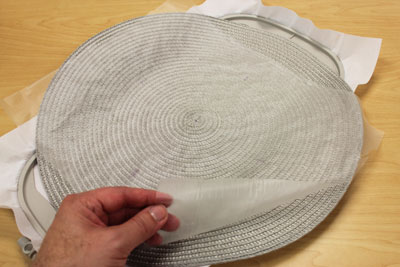
Straw placemats are a little too thick to hoop. Instead, hoop a piece of cutaway stabilizer, and spray it with temporary adhesive.
Put the placemat on top of the stabilizer, lining the axis lines made on the placemat with the marks on the hoop.
Synthetic straw has ridges, so use a piece of lightweight water-soluble stabilizer (like Sulky Solvy) as a topping. That will help the stitches to land evenly on the straw.
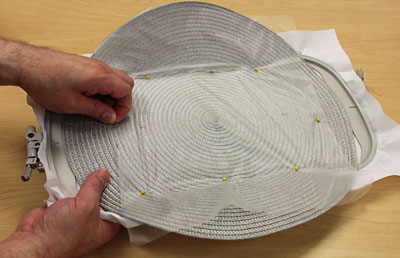
Pin the layers together.
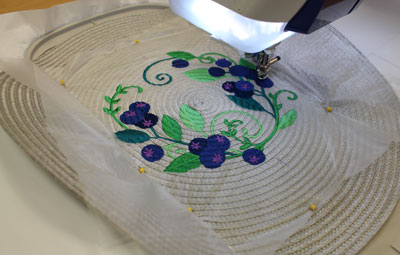
Attach the hoop to the machine, and check to make sure that everything is clear so that the hoop will move freely.
Use a size 11 or 75/11 sharp sewing needle. A sharp sewing needle has a smaller, finer point than an embroidery needle, so it's the best choice to penetrate the synthetic straw fibers.
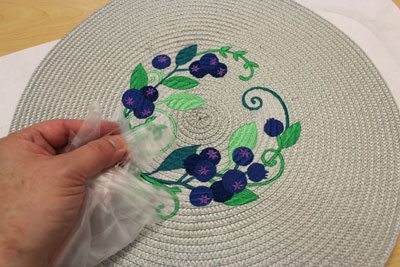
After embroidering, tear the water-soluble stabilizer away from the top. Use a damp sponge to remove any remaining bits.

Trim the cutaway stabilizer away from the back.
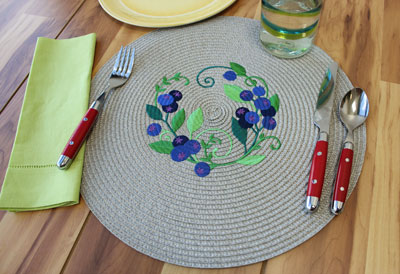
Enjoy adding a fresh and flavorful look to your table with these embroidered straw placemats!


