It's pretty and practical! You can use it as cover from spring showers or as shelter from the rays of the noonday sun.
Or, make a charming decoration for a baby or bridal shower. Expectant mothers and brides-to-be will be delighted to see this pretty parasol gracing the gift table or creating a backdrop for refreshments.
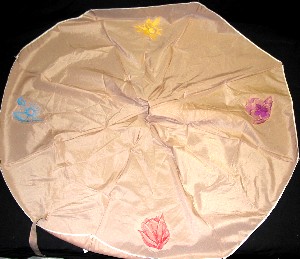
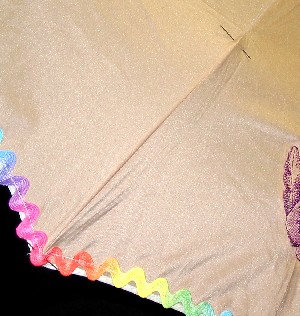
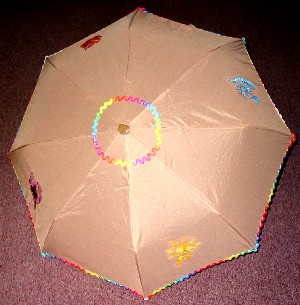
Pretty toile flower designs pop up with the umbrella. Colorful rickrack edges will brighten the cloudiest day. To create the perfect shower decoration, top it off with bows and daisies.
Designs Used

Supplies needed:
Standard umbrella in the color of your choice
2/3 yard of ribbon, 1-1/2 inches wide
4 yards of rickrack trim
Spring shower flowers -- we used little daisies.
Hand needle and thread to match the umbrella
Seam-sealer spray -- the kind used to seal the seams on a tent.
Embroidery Designs from Embroidery Library:
Preparing the Umbrella
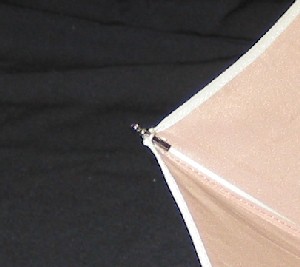
Examine your umbrella. You'll be able to see how the fabric is attached to the frame.
Sometimes the tips can just be pulled off the frame, and sometimes the fabric is attached with stitches through small holes in the frame.
Snip the stitches to release the fabric from the frame, but allow the stitches to remain in the fabric. This will help you later to know where to reattach the fabric to the frame.
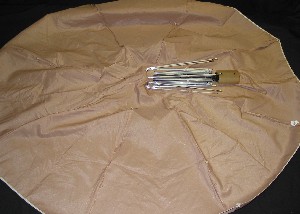
After you have detached the fabric from the spokes of the frame, fold the frame back up, and secure it with a rubber band. The top of the umbrella fabric should remain attached to the frame.
Lay out the umbrella fabric with the right side up.
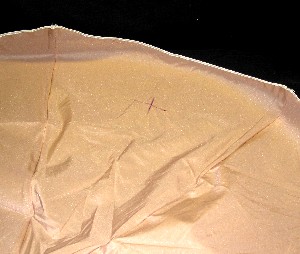
Mark the sections of the umbrella you want to embroider with center points for embroidery placement. For this example, we embroidered four sections, and centered the embroidery 4 inches from the bottom hem of the umbrella fabric.
Embroidering the fabric
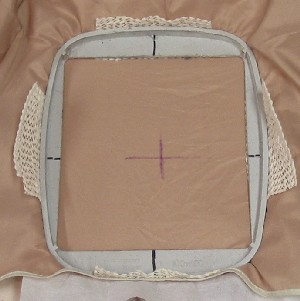
Hoop the area to be embroidered so that the bottom of the hoop is toward the hem of the umbrella. This way, the rest of the umbrella can be out of the way, to the back of your machine, during embroidery.
Since nylon fabric can be slippery in the hoop, I used a no-slip hooping technique. Click here for the Perfect Hooping article that outlines this technique.
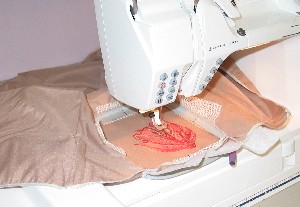
Embroider the designs onto the umbrella fabric. I placed the frame of the umbrella directly behind the machine, and it provided plenty of slack in the fabric to accommodate the embroidering.
Repeat the above steps for each section that you are embroidering.
Applying the Trim
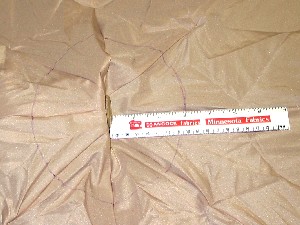
Measure out 3 inches from the top of the umbrella on each section
Connect the marks to create a circle around the top.
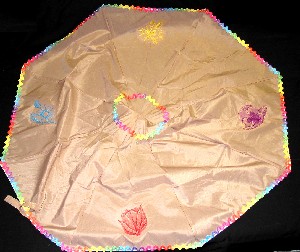
Stitch the rickrack around the outer edge of the umbrella, and around the marked circle in the center of the umbrella.
Reattaching the umbrella to the frame
Remove the rubber band from around the frame, and allow it to expand. Line up each spoke of the frame with its appropriate seam.
To hold the frame in place, I placed pins through the fabric and then through the holes in the frame.
Stitch the frame to the fabric in the same manner that it was attached before.
If the umbrella will be used for rain protection, spray the back and front of all the stitched areas with the sealer spray.
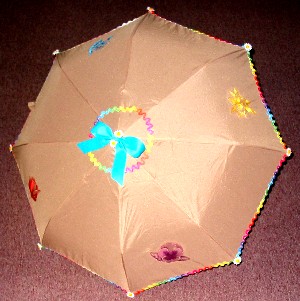
If you are using the umbrella as a decorative item, add as many cheerful embellishments as you wish.
We used our ribbon to make a bow and then glued it to the top, attaching daisy embellishments to each umbrella rib point and next to the bow.


