Designs Used
These days fur has a connotation of luxury, but it's one of the oldest materials worn by humans. Manufactured "fake fur" came into its own in the 1950s, when acrylic fibers were developed that vastly improved on the fake "furs" made with alpaca hair in previous decades. Faux fur is easy to find today at your local fabric store, and it comes in varieties from convincingly realistic to flamboyantly fake.
Faux fur might not be the first thing you think of as a surface for embroidery. But with furs available that are soft or rough, thick or wispy, long or short, you're sure to find something that will make for a unique and eye-catching project! Faux fur has lots of advantages over the real thing -- it's less expensive, easier to care for, and much easier to sew. Plus you can embroider on it!
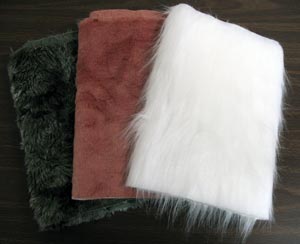
Choosing Your Materials
Fabric: You can embroider on pretty much any faux fur you like. If the fur is longer than about 1/4 inch, you'll want to trim it in the area to be embroidered - we'll talk about that later. As always, be mindful of the pattern on your fabric. A solid or nearly solid color is a better choice than a zebra-print faux fur to show off your embroidery design.
Design: Choose your design carefully. Bold, solid filled designs will work well on faux fur, but lightweight designs won't. Avoid redwork, toile, sheer, or similarly delicate designs. It's OK for there to be open spaces between the solid-filled parts of the design.
Needle: Use a 75/11 sharp sewing needle - the sharp needle will help keep your design crisp.
Stabilizer: Use medium-weight (2 oz.) cutaway stabilizer. If you look at the back of your fur, you'll probably see it's a knit fabric that's somewhat flexible. It will need the firm support that a cutaway stabilizer can provide. We recommend using AllStitch's Classic Cut Away stabilizer, which can be purchased here. (This is an affiliate link - to learn more about what that means click here.)
Topping: Faux fur is, well, furry, and it needs to be pressed into a smooth surface in order for your embroidery to look top-notch. Get that wild pile under control with heavyweight water soluble stabilizer as a topping. We recommend a heavy duty water soluble topper like Badgemaster when working with faux fur. Shop Badgemaster stabilizer here! (This is an affiliate link - to learn more about what that means click here.)
Embroidering on Faux Fur
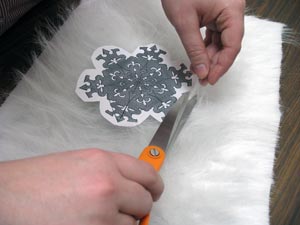
Preparation: The fur on the area to be embroidered should be no longer than 1/4 inch. If yours is shaggier than that, you'll need to give it a little trim. Here's how: Open your design in embroidery software and print it out at full size. Cut out the paper design and use it as a template for the area you need to trim.
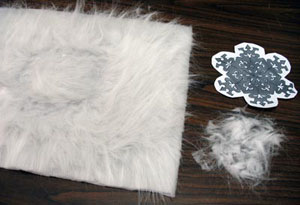
I rubbed the fur the "wrong" way to make it stand on end, then laid the template on top. I carefully clipped the fur around the edges of the template to about 1/4 inch, then trimmed everything inside. Keep the transition between clipped and not-clipped areas gradual, and don't cut too short - it won't grow back!
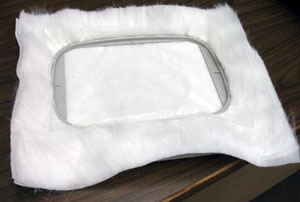
Hooping: Faux fur is thick, and we're adding two additional layers, so there's a lot to fit in this hoop. Cover your stabilizer in spray adhesive, then smooth the fabric on top. Make sure the fur is brushed the "right" way when you're done. Cut a piece of the heavyweight water soluble topping that's larger than your hoop, and place it on top. Hoop all three layers together, and test to make sure they're held firmly in place.
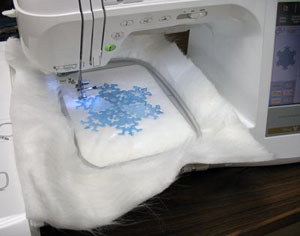
Embroider the design.
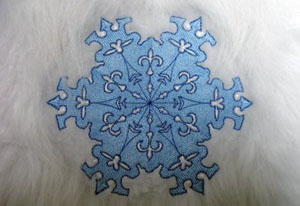
Finishing: Tear away the water-soluble stabilizer from the edges of the embroidery. Depending on what design you're using, you might find it helpful to use tweezers to remove smaller pieces of topping. When you've removed as much as you can, soak the fabric in warm tap water to dissolve the rest. Any remaining topping will clump up the fur when it dries, so you might want to use a bit of mild detergent to make sure it's all gone. When all the topping has dissolved, let the fabric air dry. If there's too much fur poking up between open areas of the design, feel free to trim it shorter.


