SALE EXTENDED! Treat yourself to 70% off Storewide! Click the deals tab for details.
 SALE EXTENDED! Treat yourself to 70% off Storewide! Click the deals tab for details.
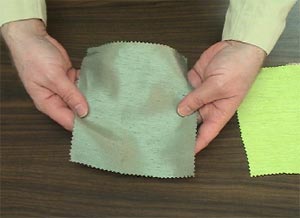
Satin fabric is smooth, luxurious and delicate, yet surprisingly sturdy and resilient. It's also a little slippery, so it takes a couple of tips and tricks to get good results when embroidering onto satin.
When choosing a design to embroider onto satin, consider two things: draping, and the thickness of the satin.
Some satin is sheer and translucent, so when working with that type of satin, choose a light and breezy design.
If you choose a light and breezy designs for satin, then you can use tear-away stabilizer. That will help the garment to drape beautifully.
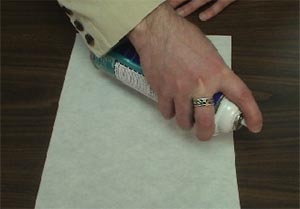
Sticky-back tear-away stabilizer is a great choice for stabilizing satin. If you're not able to find sticky-back tear-away stabilizer, then you can use tear-away stabilizer a bit of temporary spray adhesive.

Place the backside of the satin on the sticky side of the stabilizer.
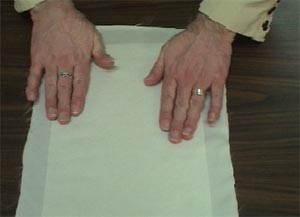
Smooth the satin onto the stabilizer.
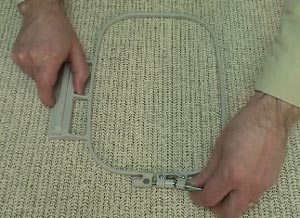
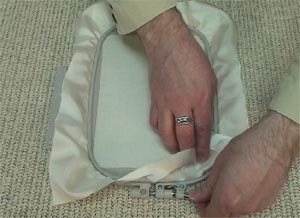
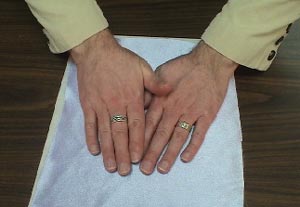
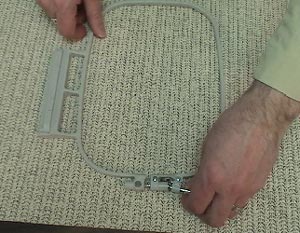
Hoop the fabric and stabilizer together. To do this, begin with a non-slip surface. We're using rubberized shelf liner, and laid it onto the table.
Place the outer hoop on top of the shelf liner, and loosen the screw a bit.
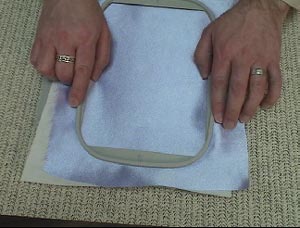
Place the fabric and stabilizer on the hoop.
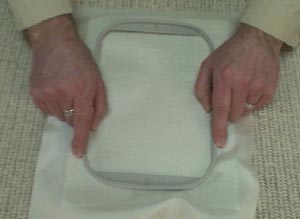
Press the top hoop gently -- but firmly -- into place. If the fabric is hooped well, the satin will be completely flat without any ripples or bumps.
Satin is resilient with a silky weave, and shouldn't be permanently damaged by the hoop.
Then, tighten the screw again.
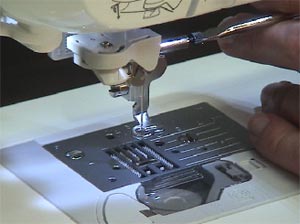
We found that a 75/11 sharp needle works well when embroidering on satin. A sharp needle has a small, fine point which perforates neatly and cleanly through the satin, making a tiny hole. A ballpoint or stretch needle will leave larger holes.
A size 11 embroidery needle works well, too.
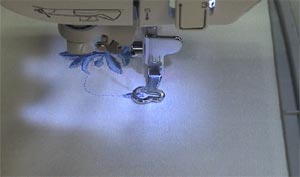
Embroider the design. The sticky-back stabilizer gets a nice grip on that slippery satin, and holds it in place so the sections of the design line up perfectly. The hoop holds the fabric taut and even, so you won't see any puckering.
And, the small, sharp needle leaves tiny holes in the satin, which means that your embroidery will look crisp, neat, and professional.
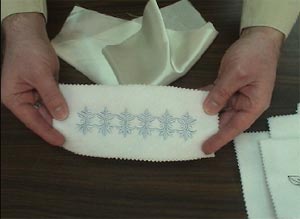
After the embroidery has finished, gently tear the excess stabilizer away.
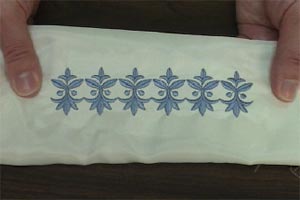
The result is perfect -- a delicate touch to this smooth and fine fabric.
Now that we've seen how a light design works on satin, we're going to try a more solid-stitched design. For this type of design, we'll use a crepe-backed satin, which is sturdy, and a cutaway stabilizer.
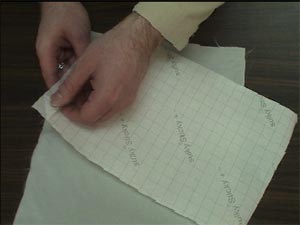
Spray the stabilizer with a bit of temporary adhesive.
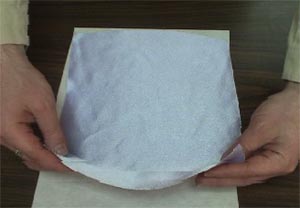
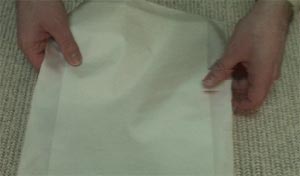
Lay the satin on top.
Smooth the satin onto the stabilizer so there are no bumps or wrinkles.
Follow the same hooping steps:
1. Start with a non-slip surface
2. Place outer hoop down
3. Loosen the screw
4. Place fabric and stabilizer
on top
5. Press top hoop into place
6. Tighten the screw
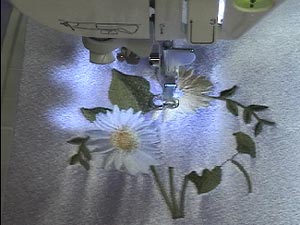
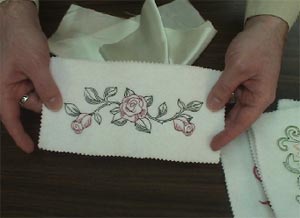
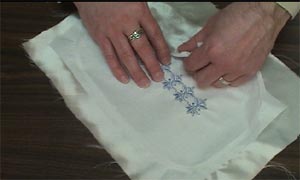
We're embroidering a trio of Gerbera daisies onto the crepe-backed satin. The flowers have short, small stitches to make the design look realistic. That means that the needle is perforating the fabric and stabilizer over and over again.
Cutaway stabilizer is the best choice, as it supports the fabric and stabilizer during the embroidery, and after. But one piece is enough -- no need to use multiple layers.
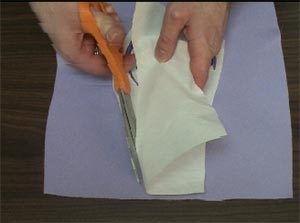
After the design has finished, trim the excess stabilizer away from the backside. We generally leave 1/2 to 1/4 inch of stabilizer around the design.
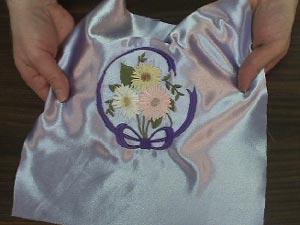
A delicate, lightweight satin can support the stitches of a solid, realistic design, when the satin is supported by cutaway stabilizer. These results are perfect -- the fabric isn't puckering, and the stitches look nice and crisp.
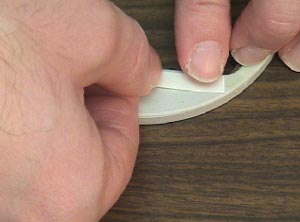
Then, as you press the inner hoop down, that tape will grip the fabric, giving you a little more sticking power.
Because satin is so slippery, you might see a little bit slipping around in the corners or sides of your hoop.
To prevent that, add double-sided tape to the bottom of the inner hoop.

While all designs can be embroidered onto satin, keep in mind that different designs affect how the fabric drapes. If you're working on a project like curtains or garments, choose lighter designs like toile, redwork, or vintage, so that you can use tear-away stabilizer and have the fabric drape well.
But if you're working on a project where draping isn't important, like pillows, album or scrapbook covers, purses or handbags, then you can choose any design, from light and breezy, to solid and stitch filled.


