Want to craft something truly luxurious? It's hard to go wrong with velour. Like its beloved cousin velvet, velour has a soft, dense pile that gives it a unique beautiful feel. The difference? Velvet is woven, while velour is knitted. This means that velour is naturally stretchy, making it a popular choice for casual wear and dance costumes. You're also likely to find it in Christmas stockings, fabric gift bags, upholstery, and draperies. Take this fabric's unique character into account, and it's easy to embroider!
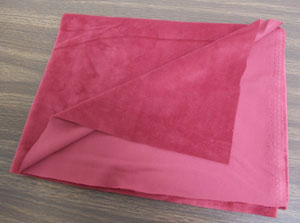
Choosing Your Materials
FABRIC: Velour can be made from natural cotton or synthetic material such as polyester. As always, cotton will shrink when you wash and dry it; pre-shrink it before embroidering so that the fabric won't pucker around the fabric with further wash and wear. Polyester, on the other hand, won't shrink.
DESIGN: Designs with thick areas of embroidery will stand out best. You may want to avoid running-stitch design such as redwork -- the thin lines of stitching can be hard to see in the plush texture of the velour.
NEEDLE: A 75/11 sharp sewing needle, which we recommend for use with most fabrics, will help you stitch a crisp, clear design on velour.
STABILIZER: Velour is a stretchy knit, so it needs some serious help to support the embroidery well. Affix a piece of medium-weight cutaway stabilizer to the back of the fabric using temporary spray adhesive.
TOPPING: As with terrycloth or microfiber plush (minkee), velour has little fibers that can poke up through the stitches if you don't keep them under control. Use a water-soluble stabilizer on top of the embroidery to keep the fabric's pile from showing through.
Embroidering on Velour
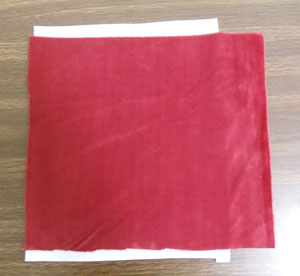
STABILIZER: Spray a piece of medium-weight cutaway stabilizer with temporary spray adhesive, and smooth the velour fabric on top.
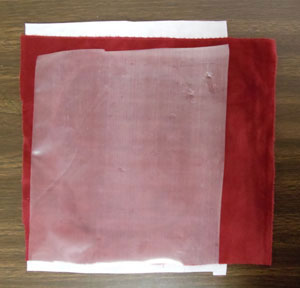
TOPPING: Cut a piece of water-soluble stabilizer slightly larger than your hoop. This will go on top of the fabric, to hold down the fibers while embroidering.
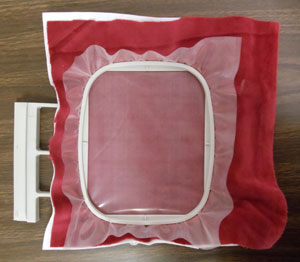
HOOPING: Hoop all three layers (stabilizer, fabric, and topping) firmly together.
At this point you may be wondering -- what about hoop burn? When you unhoop the fabric after embroidering, you'll probably see that it's left a mark. In most cases this can easily be removed by washing the item -- see this hoop burn article for more information. We recommend testing the fabric if you can by hooping a sample of it for awhile, then unhooping it and washing it to remove the mark.
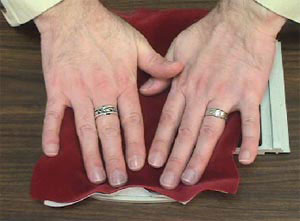
If you find that, for some reason, the hoop mark will not be removed by washing, this velvet article provides an alternative: "floating" the fabric by hooping just a piece of stabilizer, then sticking the fabric to it. This method does not hold the fabric as firmly in place as hooping everything together, so it's more likely to create subtle shifting or poor registration. Only use it if you must.
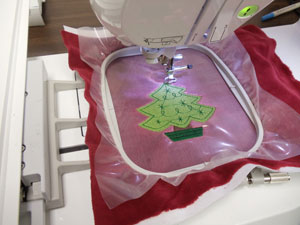
Embroider the design.
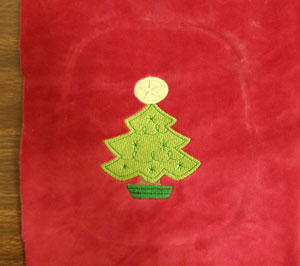
FINISHING: Tear away the excess topping. Cut away the excess stabilizer. Wash the item, if needed, to remove hoop burn.
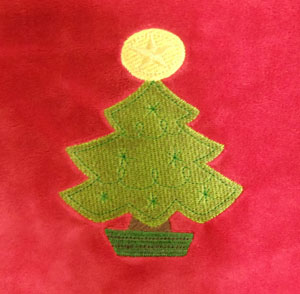
Your embroidery is finished! It'll add a beautifully personalized touch to an already sumptuous fabric.
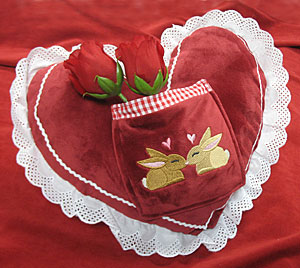
We used velour to give this love note pillow a romantic feel.
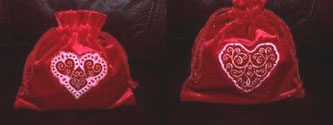
Karen stitched these lovely little gift bags out of sparkly red velour, and lined them with red satin. Just beautiful!
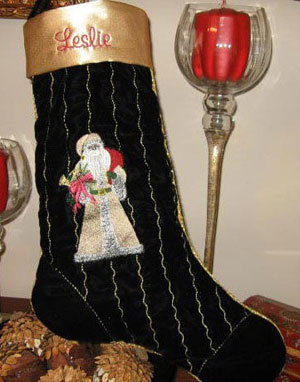
Rosalie stitched this rich Victorian stocking out of black velvet left over from a dress she made for her daughter. It would look great in velour, too!
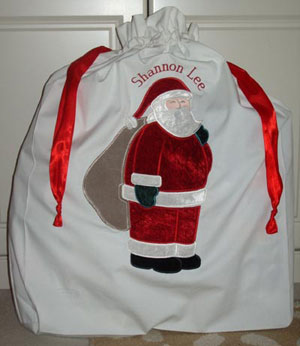
Tracey used crushed velvet as applique in this soft Santa design. Velvet or velour would be an adorable pick for applique animals, too!


