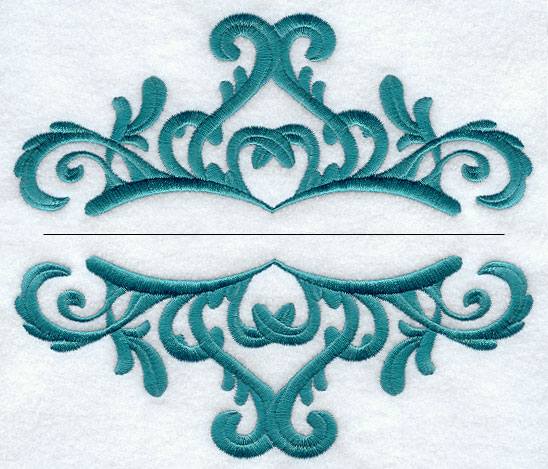
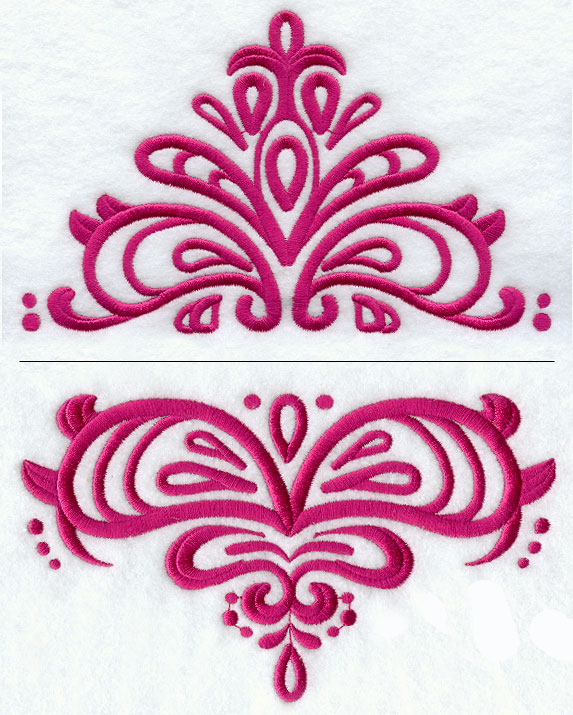
Here's an all-new way to accent monograms and more! Use a pair of swirling designs to frame a single initial, three-letter monogram, a name, or any word you like.
These labels are fantastic and versatile. The two-piece arrangement means that you can space the top and bottom as close together or as far apart as you'd like, depending on what you'd like to put on the label. You can add text frame flourishes to all sorts of projects including bags, pillows, quilts, and much more.
Read the instructions below to get started!
Supplies Needed:
**Two Piece Label design
**Fabric of choice
**Stabilizer -- for most fabrics we recommend using medium weight cutaway
stabilizer. Click here to view dozens of Fabrics 101 articles with specific fabric and
stabilizer recommendations.
**Temporary spray adhesive
Design used:
Stylish Symmetry Label (Two Piece) - small
Curly Script Letter "L" - A Curly Script Alphabet Design Pack (2 inch height)
Related Projects:
Monogrammed Clutch
Designs Used
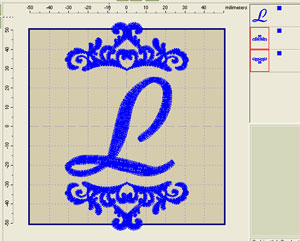
To begin, decide which design you would like to "sandwich" in between the labels. We are using a single letter to create a monogram for a clutch handbag. To see how to make the clutch, click here. You can use any design you like -- www.EmbLibrary.com has dozens of alphabets to choose from!
If you have embroidery software, you can combine the designs together. See the monogramming and quilt label instructions for more information on how to do this.
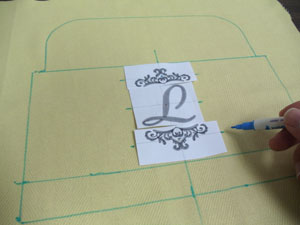
If you do not have embroidery software, you can arrange the designs and sew them out one at a time. To do this, create paper templates of the designs by printing them at full size or you can cut pieces of paper to the shape and dimensions of the designs to use for placement.
Arrange the templates how you would like them. We drew a vertical center line to help us keep the designs straight. Poke holes in the centers of the templates and mark the fabric. Also, mark the horizontal and vertical axis points.
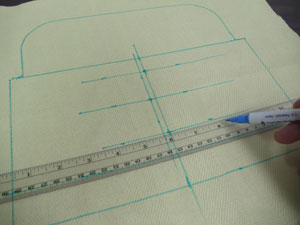
Remove the templates and draw lines connecting the axis points - these lines will be used for hooping.
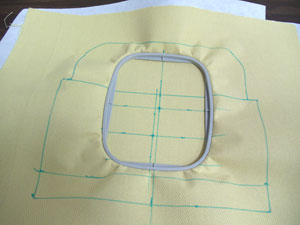
Hoop for the first design by aligning the marks on the hoop with the lines on the fabric.
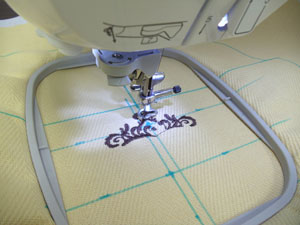
Attach the hoop to the machine and load the first design. Move the hoop so that the needle is directly over the center point on the fabric. Embroider the design.
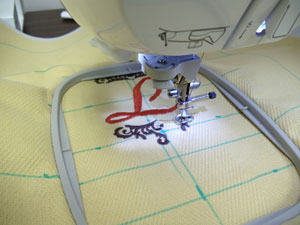
After the first design has finished, re-hoop the fabric for the second design. You may need to hoop over the first design - this is OK, the first design will not be damaged. Reattach the hoop to the machine and load the second design. Move the hoop so that the needle is directly over the center point on the fabric and embroider the design. Then, repeat the hooping and embroidering process for the third design.


