Monograms add a personal and unique look to embroidery projects. They're found on so many things -- shirts, robes, tote bags, pillows, and towels! Embroidery Library has more than 100 alphabets in a wide variety of styles and sizes. In this tutorial we'll show you several ways to use letters, as well as traditional rules for a classic look.
Browse through the alphabets at Embroidery Library and select your favorites to get started. The designs used in this tutorial include:
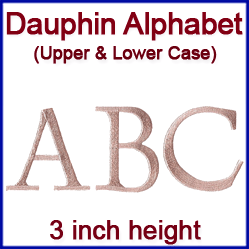
- X4002, Dauphin Alphabet Design Pack
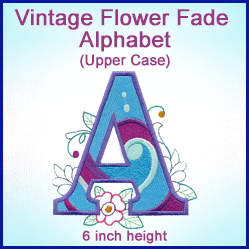
- X13297, Vintage Flower Fade Alphabet Design Pack
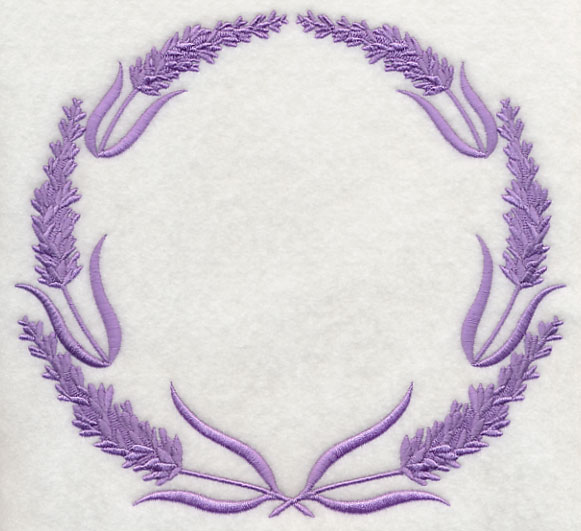
- J4732, Monogram Wreath - Lavender
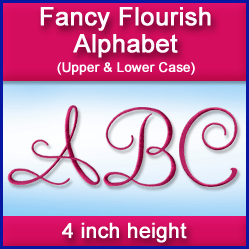
- X9194, Fancy Flourish Alphabet Design Pack
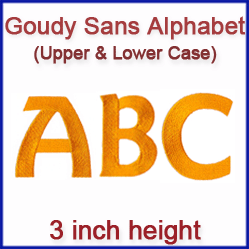
- X4022, Goudy Sans Alphabet Design Pack
Monograms can consist of one, two, three, or more letters. If you're using more than one letter in your project, you can either embroider the letters one at a time, or merge them together in embroidery editing software to make one new design.
Designs Used
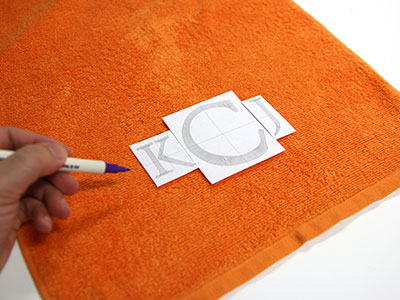
When using two or more letters for the monogram, using paper templates are excellent tool for planning where to stitch.
Print the templates with embroidery software. Cut around the designs and arrange the templates on the fabric and position them where you like.
Mark the center point and axis lines of each template.
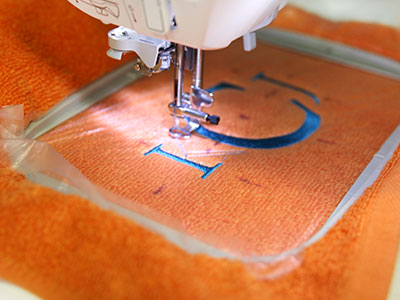
Remove the template and load the first letter file.
Move the hoop so the needle is directly over the center point on the fabric and embroider the design.
Then, load the second letter file, move the hoop over the center point, and embroider the design. Repeat this for each letter.
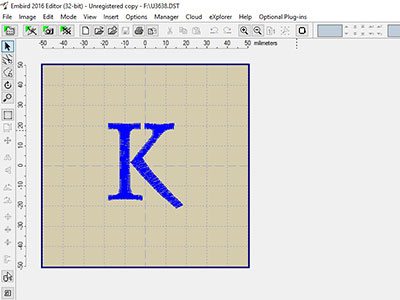
Or, you can use embroidery editing software to merge the letter design together.
This is helpful way to create a file when embroidering a three-letter monogram, or when using letters to write a name or a word.
This tutorial uses Embird Embroidery Software. To make a 3-letter monogram, we placed the letters K, J, and C in a folder on the computer (after downloading the designs).
Then, we opened the letter K.
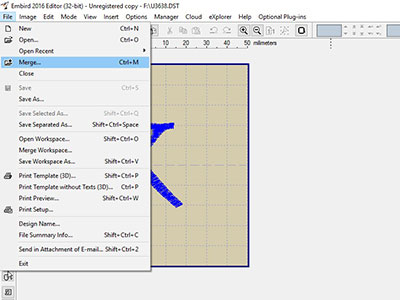
Next, we opened a second design, the letter C, and merged it on screen with the K.
Then, we repeated the steps to add the J.
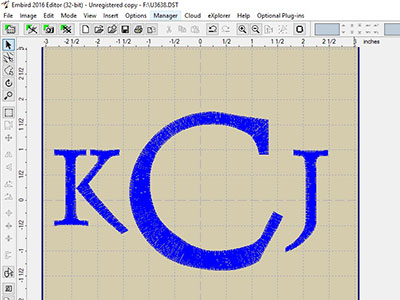
Move the designs around until they are positioned where you want them.
You can use the grid on the screen for a guide to get the letters nice and even.
Save the arranged letters as a new design.
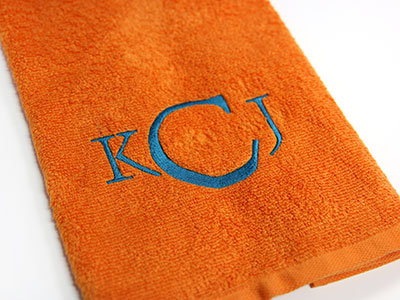
Load the design to the machine, and embroider the design.
The exact steps will vary depending on which embroidery software you use.
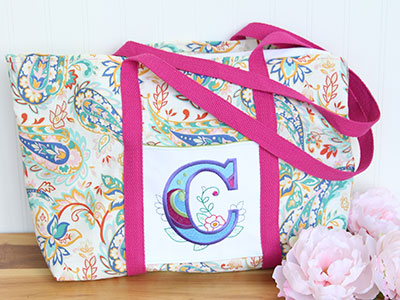
Here are some other fun examples of using monogramming with embroidery.
This Two Pocket Tote project features a letter from the Vintage Flower Fade Alphabet.
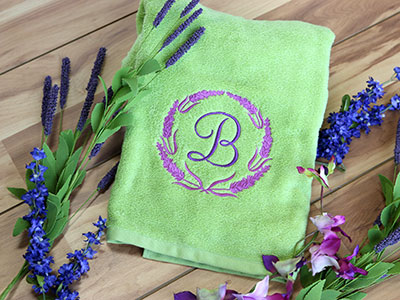
Frame a letter in a wreath with this simple yet elegant Monograms in Wreaths project.
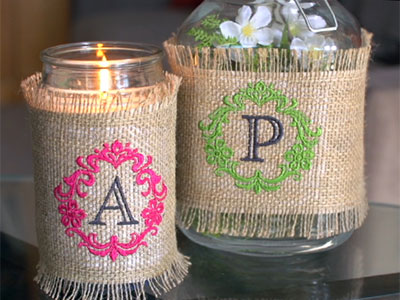
Add a rustic wrap to a jar, vase, bottle, or even a scented candle in a glass votive with this Beautiful Burlap Wrap.
Check out our Monogramming with Embroidery video for step-by-step instructions on how to make the wrap.
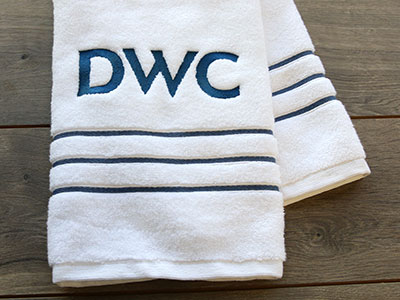
Three letter monograms are traditionally shown in two ways.
When using the letters of the same size, the order is first initial, middle initial, and last.
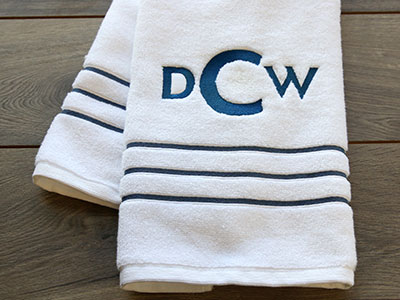
When using letters of varying sizes, the order is first initial, last initial, then middle initial.
