When working with long pieces of fabric, like table runners or tablecloths, repeating designs along the length of your project is a great way to add color and style. Learn the best way to ensure consistent placement when working with designs repeatedly.
Project Needs & Notes:
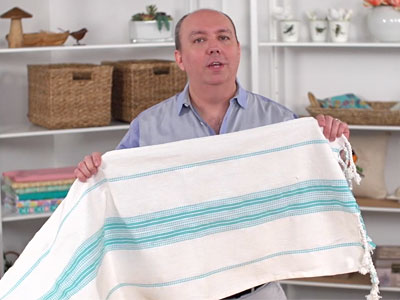
- Blanks (table runners, tablecloths, etc.)
- Air-erase marking pen
- Ruler
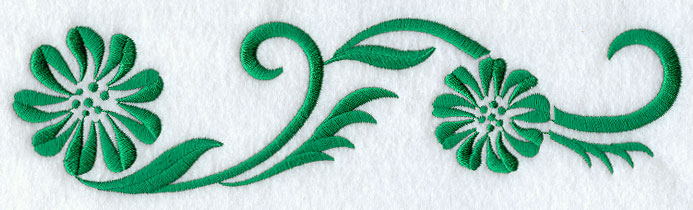
For this tutorial, I used D5572, the Simply Floral Border design. Use larger or smaller sizes depending on your project. Find an excellent variety of designs in the Borders and Corners Department.
Designs Used
When working with a long piece of fabric, and repeating a design over and over again, measuring and marking will help to line up the design straight.
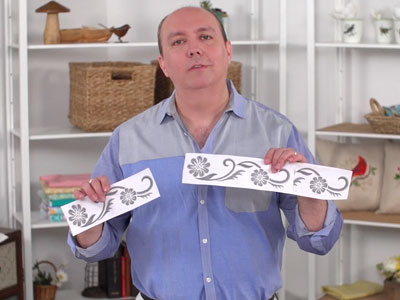
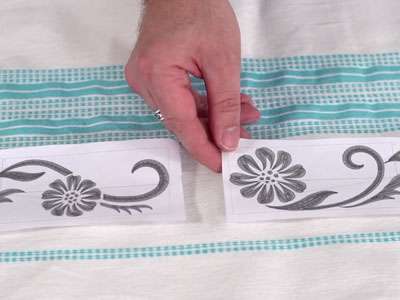
First, plan how many times to stitch the design. Templates help to determine the number of times to repeat a design.
Print several templates of the design from embroidery software. If you don't have software, Wilcom's TrueSizer is a free program that can print templates.
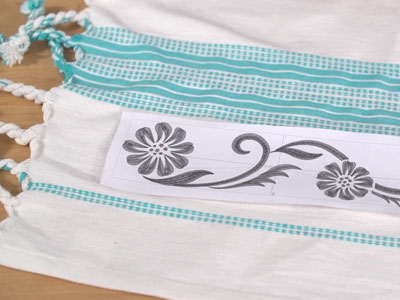
Arrange the templates on the runner. In this example, I'll stitch the design six times.
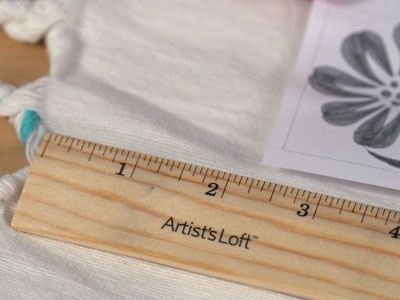
The table runner is 72" long, and the design is 9.4" long. That means that there will be 2 1/4" between each design, and 2 1/4" from the ends.
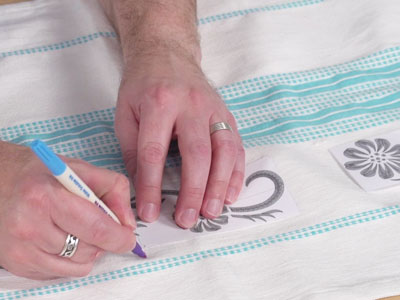
Start on the left end and place the template so it is 2 1/4" from the edge. Mark the center point and the vertical and horizontal axis lines.
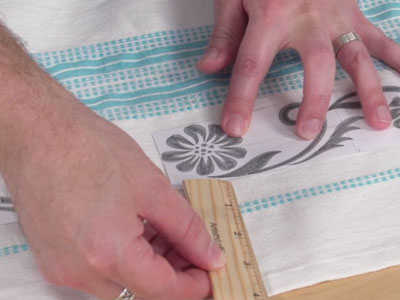
The design is positioned so the bottom is 4" from the edge.
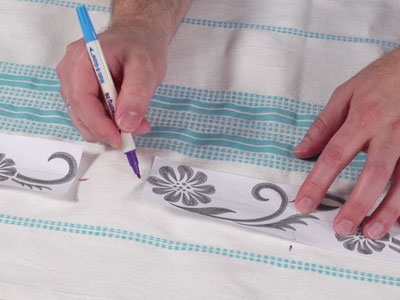
Place the next template 4" up from the edge, and 2 1/4" from the first design. Mark the center point, as well as the vertical and horizontal axis lines.
Repeat, and repeat, until all the templates have been marked.
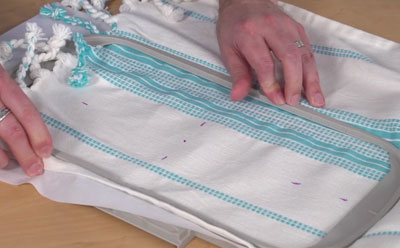
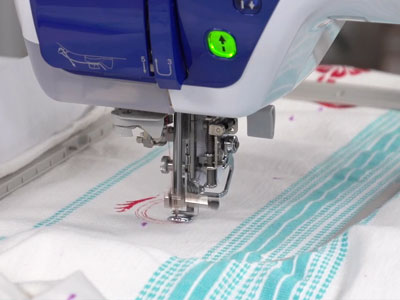
Hoop the fabric to stitch the first design. Use cutaway stabilizer for best results.
Line up the axis lines with the marks on the hoop.
Load the design to the machine, and move the hoop so the needle is right over the center point.
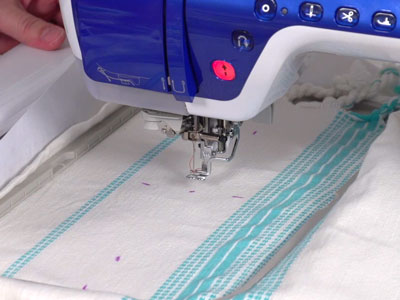
Check to make sure that the excess fabric is up and out of the way, and won't restrict the hoop's movement.
Embroider the design.
After the first design has finished, hoop the fabric for the second design.
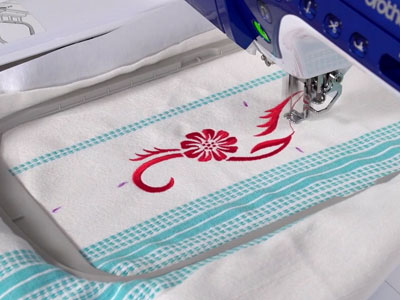
Embroider the design.
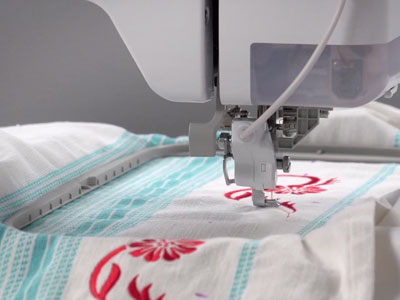
Repeat, and repeat, for all of the designs. Because the markings and measurements are consistent for each design, all of the designs will be in a straight line.
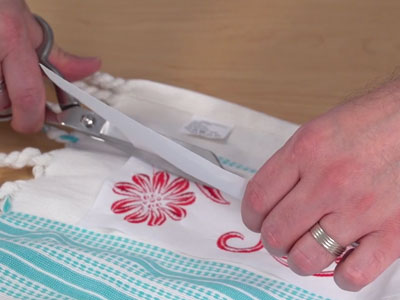
After embroidering, trim the stabilizer away from the back. Leave about 1/2" of stabilizer around the design.
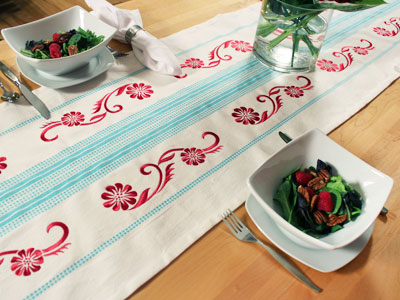
Measuring and marking each design for perfect placement (and making sure those measurements are consistent) is the key to getting excellent results.
Use this technique on hems of dresses and skirts, table cloths and runners, and blankets, too.


