Bring dimension to your embroidery with unique 3D applique! These specialized designs feature a freestanding embroidered piece added to a background design, creating lovely depth and texture. We'll show you how to stitch these stunning designs!
Supplies
Project Needs & Notes:
- Fabric to embroider on - we're stitching on a T-shirt
- Small piece of organza for 3D applique
- Cutaway stabilizer for the back of the fabric to be embroidered (medium cutaway or sheer mesh
cutaway for lighter designs and fabrics)
- Heavy duty water-soluble stabilizer, such as Vilene or Sulky Ultra Solvy
- Temporary spray adhesive
- Tailor's chalk or air-erase pen
- Button to attached applique to background fabric
- Hand sewing needle
- Hot glue gun
- Spray starch (optional)
Designs featured in this tutorial include:
- X14118 Perfect Petal Fashion Spray (3D Applique)
Designs Used
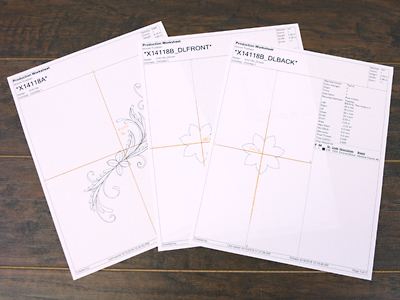
When you download a 3D Applique design, you will see four files. File "a" is the base embroidery design, file "b" is the embroidery design for the freestanding piece, and the two files marked with DL are dieline files for the front and back fabric pieces. Dielines are used to cut the fabric to the right shape and size.
Open the dieline file with an embroidery software, and print it. If you do not have embroidery software, Wilcom TrueSizer is a free program to use.
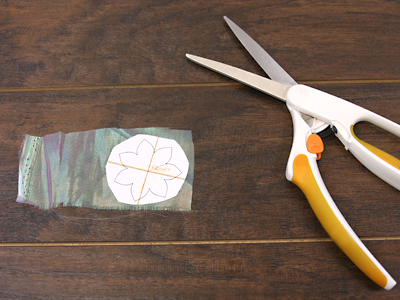
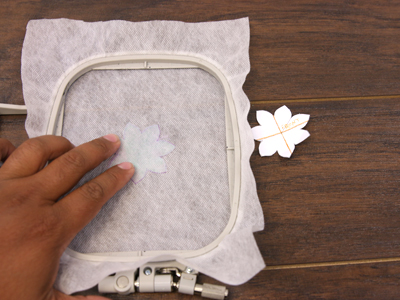
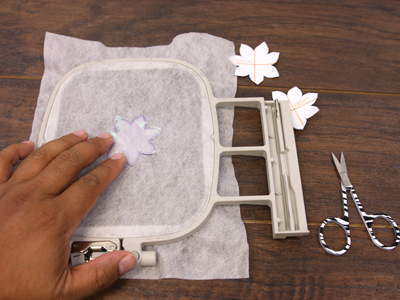
First cut out around both paper dielines.
Lightly spray the back side of the paper dielines with temporary adhesive, and smooth them onto the right side of the applique fabric
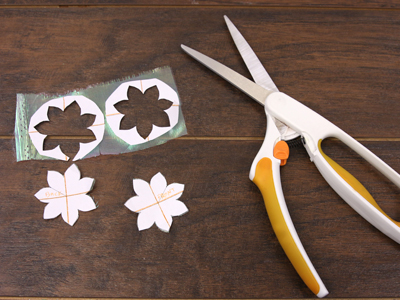
Cut out both fabric shapes.
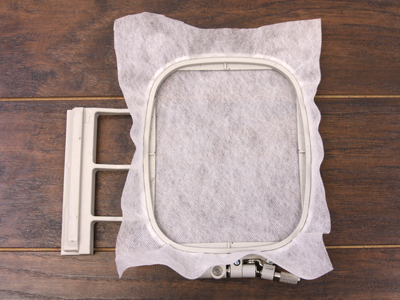
There are a couple of different kinds of water-soluble stabilizer. One is clear and plastic, and that brand is Sulky Ultra Solvy. The other is soft and fibrous, called Vilene. Both will work very well. Vilene is used in this demonstration.
Hoop the water-soluble stabilizer firmly, making sure it is nice and tight with no wrinkles.
Use a size 11 or 75/11 sharp sewing needle. A sharp sewing needle has a smaller, finer point than an embroidery needle. That means it will make smaller holes in the stabilizer.
The 3D fabric piece will be seen from both sides, so wind a bobbin with the same thread that you're using in the needle.
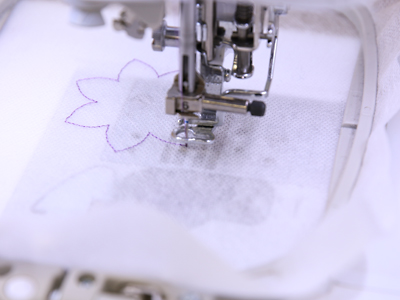
Attach the hoop to the machine and load the full embroidery file "a" (not the dieline files). Embroider the design. The first thing to embroider will be a dieline, or outline stitch. This marks the area on the stabilizer where we'll place the fabric piece.
Remove the hoop from the machine, but do not unhoop the stabilizer. Spray the back of both fabric piece with temporary adhesive. Place one piece right inside the sewn dieline.
Turn the hoop over and place the other fabric piece inside the same shape on the back.
Attach the hoop back onto the machine and continue embroidering the design. A tackdown will sew next to hold the fabric in place, followed by a decorative border and details.
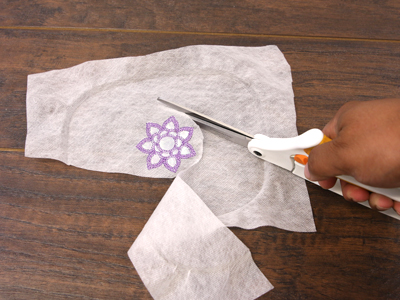
Once the design has completed, remove the hoop from the machine. Unhoop the stabilizer, and trim the excess stabilizer around the design.
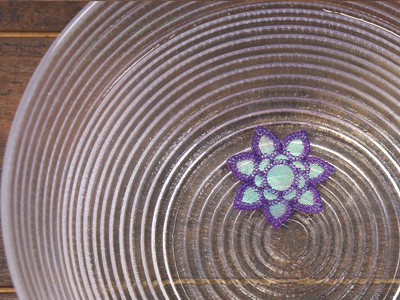
The stabilizer's packaging should give instructions for removing the excess. For Vilene, soak the embroidered pieces for a few moments.
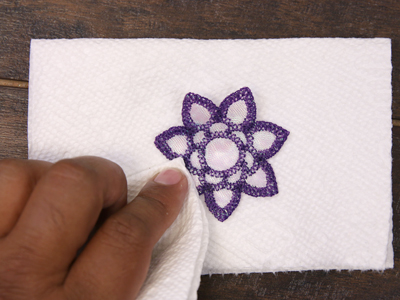
Blot the finished embroidery to remove excess moisture, and allow it to air dry completely.
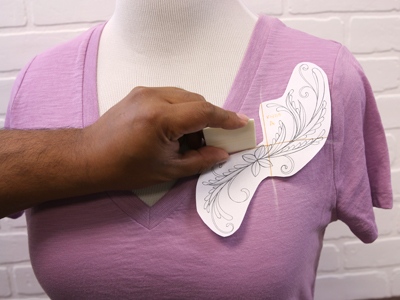
While the flower is drying, embroider the background design. Start by printing a template of file "a" as described above. Cut out around the paper shape. Arrange the template where you want it on the fabric (we're using a T-shirt), then mark the axis lines using tailor's chalk or an air-erase pen.
To apply stabilizer smoothly to the back of a T-shirt, turn the T-shirt inside out and lay it flat.
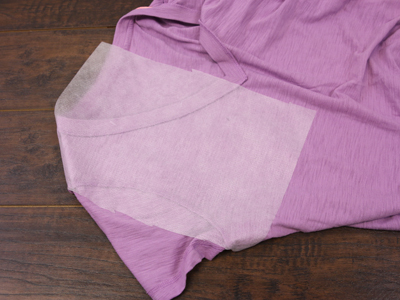
Spray a piece of stabilizer with temporary spray adhesive, and smooth it over the back of the area to be embroidered. Make sure there is enough stabilizer to be hooped on all sides.
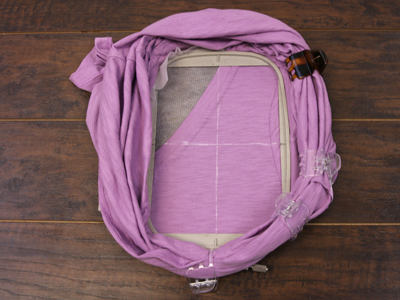
Hoop the fabric and stabilizer tightly together, making sure that the axis marks align with the marks on the hoop.
For a T-shirt, depending on your chosen design placement, the shirt may not be hooped on all sides. We used hair clips to hold the excess fabric out of the way.
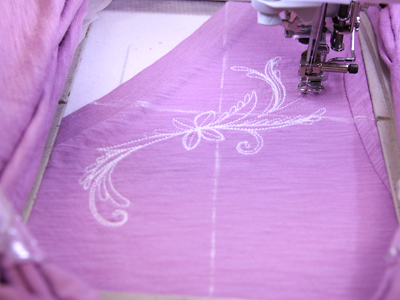
Attach the hoop to the machine and load the full embroidery file "b." Embroider the design.
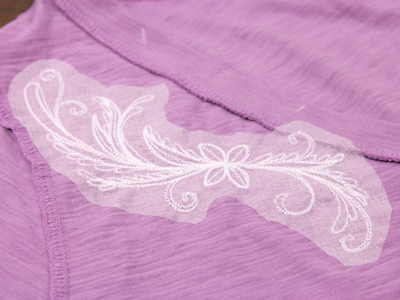
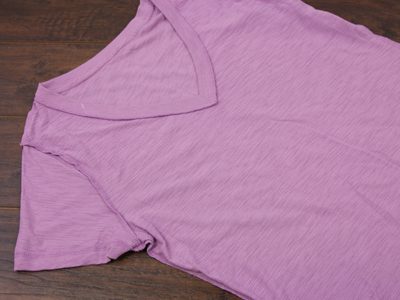
When the design has finished, unhoop the fabric and trim away the excess stabilizer on the back side of the design.
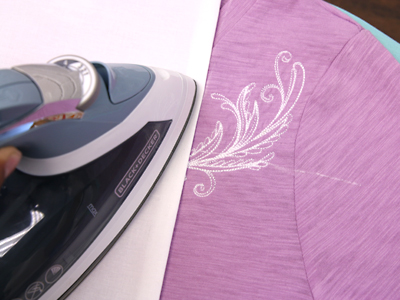
Lay a pressing cloth over the embroidery, and use steam to remove the chalk marks from the fabric.
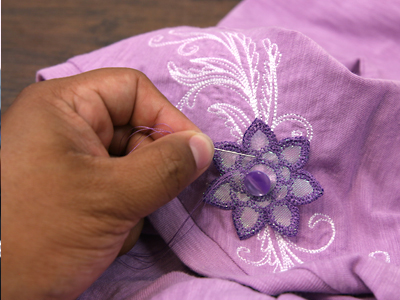
Layer the button, fabric shape, and background fabric, and hand-sew them together using a thread that matches the fabric color.
