
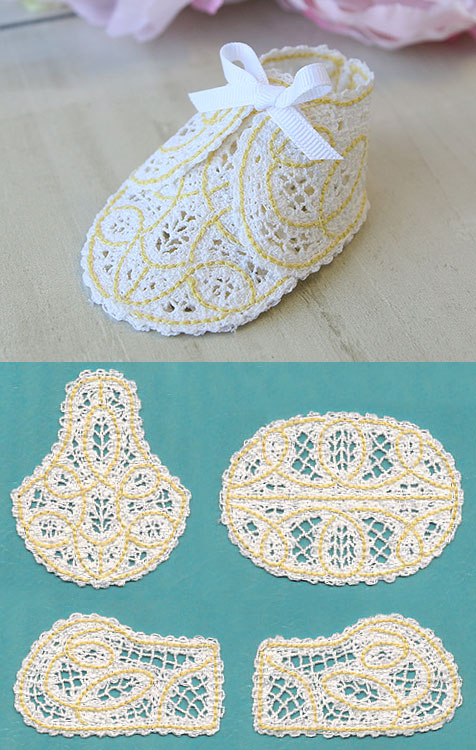
These decorative 3D baby booties are made using beautiful Battenburg lace for a soft and sweet look. Give the oh-so-adorable lace as a baby shower gift, or hang in your nursery!
Finished Size:
2 3/8" wide by 3 3/8" long by 1 3/8" tall
Supplies
- Water-soluble stabilizer (like Vilene or Sulky Ultra Solvy)
- 1/4" ribbon- Needle for hand sewing
- Large needle (for adding ribbon)
- Fabric Starch
Tools
Designs Used
Freestanding lace designs have been specially digitized for water-soluble stabilizer. After the stabilizer is removed, beautiful lace remains behind.
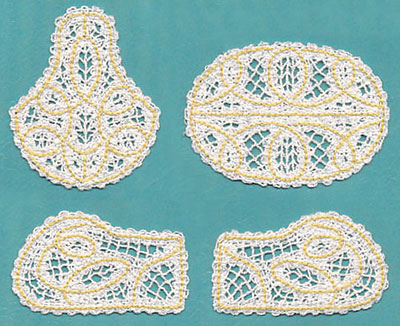
When you download the design, you will find a total of 4 files.
The file marked with the letter "a" is the front piece, the file marked with the letter "b" is the bottom piece, and the files marked with "c" and "d" are the two side pieces.
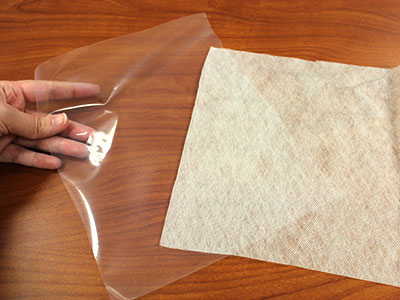
There are a couple of different kinds of water-soluble stabilizer. One is clear and plastic, and that brand is Sulky Ultra Solvy.
The other is soft and fibrous, called Vilene. Both will work very well. Vilene is used in this demonstration.
Use a size 11 or 75/11 sharp sewing needle. A sharp sewing needle has a smaller, finer point than an embroidery needle. That means it will make smaller holes in the stabilizer.
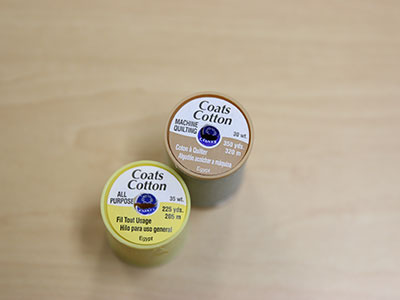
Battenburg lace is digitized for 30-35 weight cotton thread. This thread brings a classic, hearty, and traditional look to the lace pieces.
30-35 weight cotton thread is found under different names, such as mercerized cotton or all-purpose cotton.

Freestanding lace is seen from both sides, so wind a bobbin with the same cotton thread that you're using in the needle.
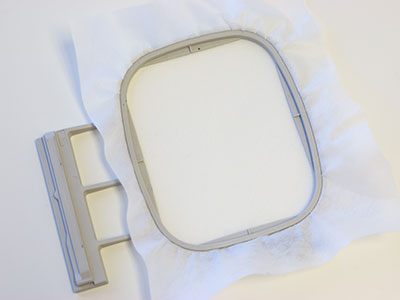
Hoop the stabilizer firmly. Make sure it is nice and tight with no wrinkles.
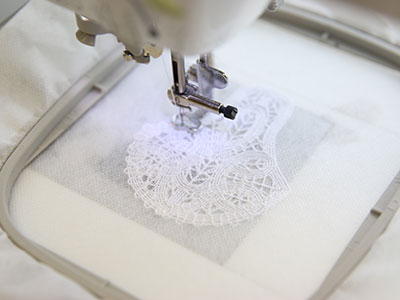
Attach the hoop to the machine and embroider the design.
First, the cotton portion of the design will sew.
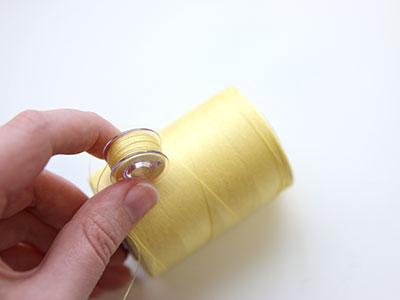
Follow the color change sheet, and stop the machine after it is finished sewing the first color.
Wind a bobbin to match the second cotton thread color.
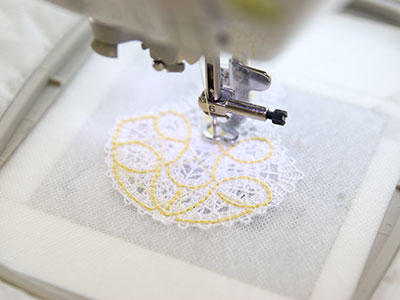
Place the new bobbin into the machine, and continue to embroider the design.
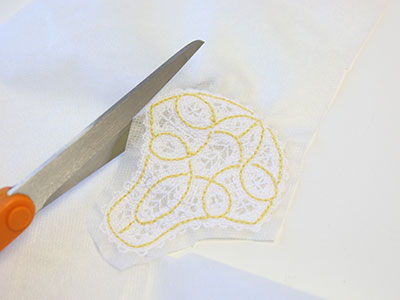
After embroidering, trim away the excess stabilizer.
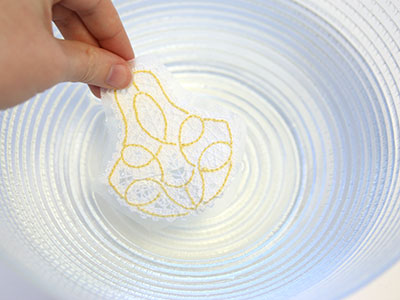
The stabilizer's packaging should give instructions for removing the excess. For Vilene, soak the lace pieces for a few moments.
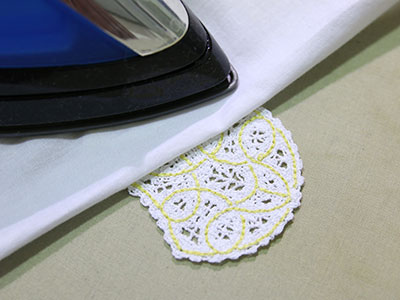
Allow the lace to air dry, then press with a pressing cloth on top.
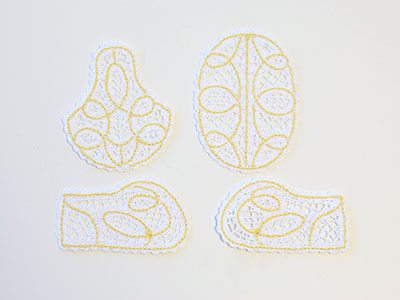
Repeat the steps above to embroider the other three pieces of the baby bootie.
Once they are all completed, you can also starch the lace to give it more sturdiness.
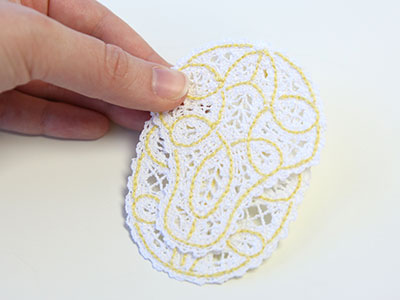
Place the front piece ("a") and the bottom piece ("b") together with the wrong sides facing each other.
Make sure to line the bottom center of the front piece up with the center of one of the shorter sides of the bottom piece.
Using the same thread from the main part of the lace, hand sew the two pieces together, carefully lining up the edges.
Make sure to start in at the center and sew out towards each side to assure that the pieces will line up properly.
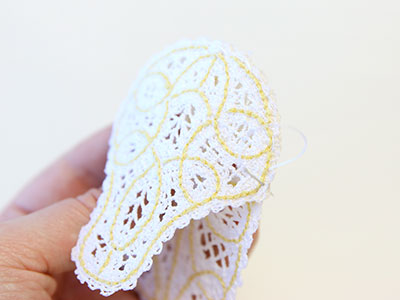
Next take the two side pieces ("c" and "d"), and line them up with the right sides together.
Hand sew along the short, straight side to create the back seam of the baby bootie.
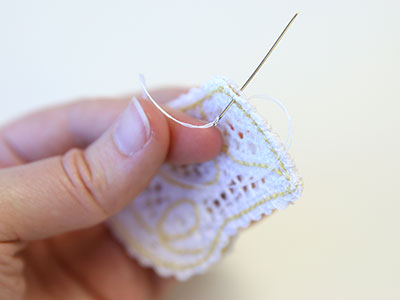
Align the back seam with the center back edge of the bottom piece.
Starting at the at the back seam, hand sew along the long flat edge of the side pieces to connect them to the bottom piece of the baby bootie.
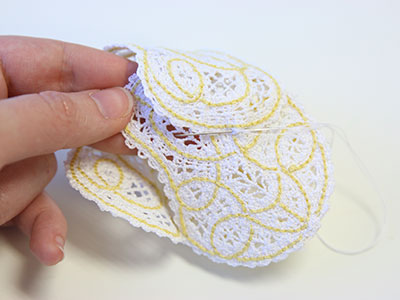
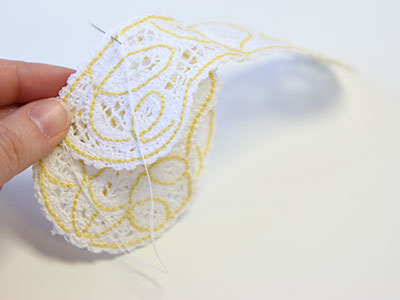
Hand tack the side pieces onto the front piece to help the baby bootie hold its shape.
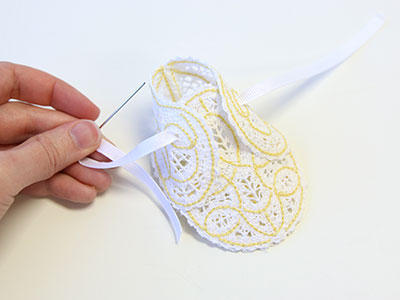
Now that the lace baby bootie is completely assembled, cut a 11" length of ribbon.
Use a large needle to thread the ribbon through the holes found on each of the side pieces, and make sure the ribbon goes under the tongue of the front piece.
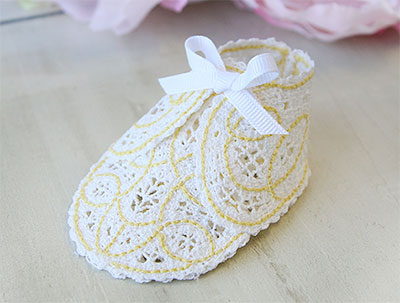
Tie the ribbon into a bow to complete the look.
Give this adorable lace baby bootie as a gift for your loved ones at baby showers or welcome parties.
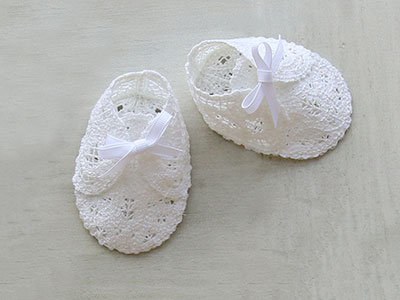
Or, make a pair to hang in a nursery!
Sew in different colors to match your decor, or in all white for a beautiful look.

This project is featured on the Embroidery Library Pinterest page.
Pin it yourself using the "Pin It" button on this page.


