Set your spirits soaring with these colorful little decorations! Featuring a mix of rayon and cotton threads, they'll bring joy and beauty anywhere you perch them.
Supplies
Project Needs & Notes:
- Heavy water-soluble stabilizer (such as Vilene or Sulky Ultra Solvy)
- Hand sewing needle
- Clear jewelry cord, invisible thread, or fishing line
- 1 oval-shaped jump ring
- Fabric glue or hot glue gun (optional)
Designs featured in this tutorial include:
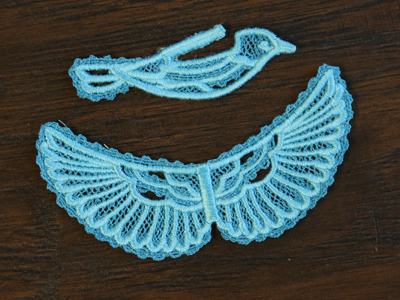
- X13849, Bluebird (Battenburg Lace with Rayon)
Special Notes:
If the lace pieces are too floppy once dry, dissolve a few scraps of water-soluble stabilizer in a spray bottle, and spray the lace pieces while flat. Allow them to air dry, test them, and repeat as needed to get the desired stiffness.
Designs Used
Freestanding lace designs have been specially digitized for water-soluble stabilizer. After the stabilizer is removed, beautiful lace remains behind.
When you download the design, you will find a total of two files. The file labeled with the letter "a" is the body of the bird, and the file "b" is the wings.
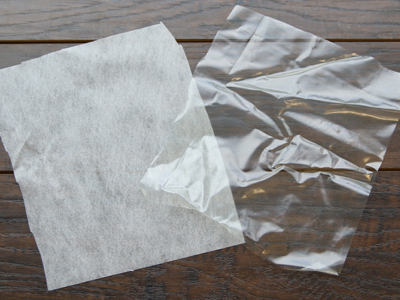
There are a couple of different kinds of water-soluble stabilizer. One is clear and plastic, and that brand is Sulky Ultra Solvy. The other is soft and fibrous, called Vilene. Both will work very well. Vilene is used in this demonstration.
Use a size 11 or 75/11 sharp sewing needle. A sharp sewing needle has a smaller, finer point than an embroidery needle. That means it will make smaller holes in the stabilizer.
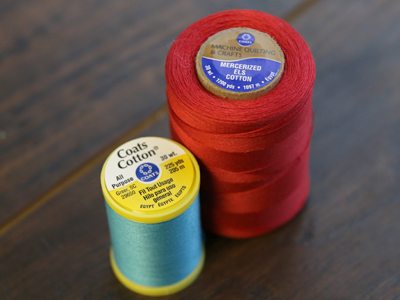
Battenburg lace is digitized for 30-35 weight cotton thread. This thread brings a classic, hearty, and traditional look to the lace pieces. 30-35 weight cotton thread is found under different names, such as mercerized cotton or all-purpose cotton.
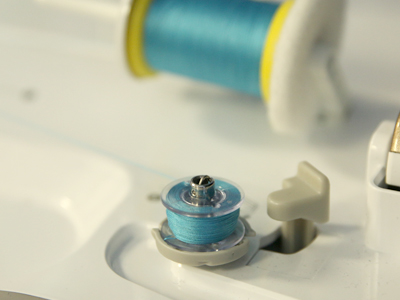
Freestanding lace is seen from both sides, so wind a bobbin with the same cotton thread that you're using in the needle.
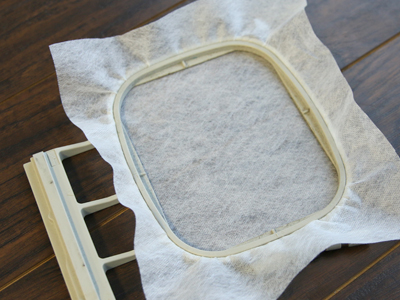
Hoop the stabilizer firmly. Make sure it is nice and tight with no wrinkles.
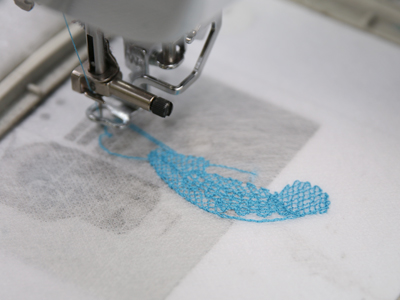
Load the first file (piece a) onto your machine. First, the cotton portion of the design will sew.
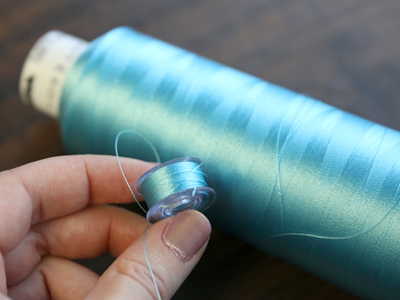
Then wind a bobbin to match the second thread color. In this example, 40 weight rayon embroidery thread is used, but cotton thread can also be used for this step if desired.

Embroider the rest of the design.
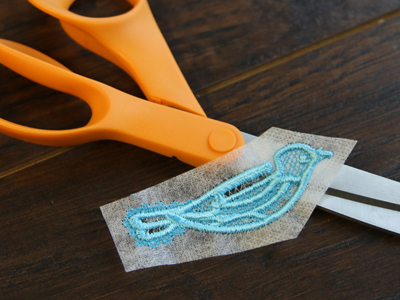
After embroidering, trim away the excess stabilizer.
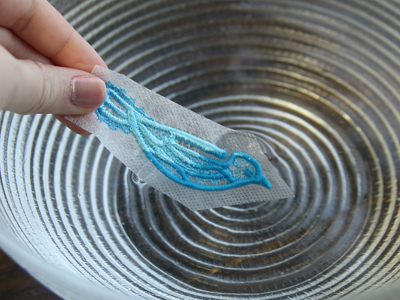
The stabilizer's packaging should give instructions for removing the excess. For Vilene, soak the lace pieces for a few moments. To help the lace pieces retain some of the stiffness from the stabilizer, just soak the lace pieces until you cannot see any of the stabilizer around it. Then run the piece under the faucet, using your fingers to gently scrub any visible remaining stabilizer from the lace piece.
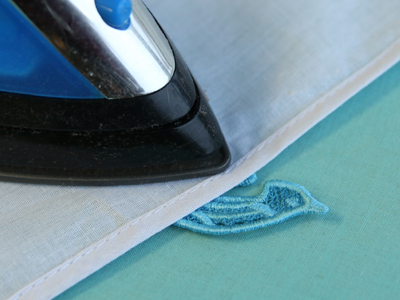
Allow the lace to air dry, then press with a pressing cloth on top.
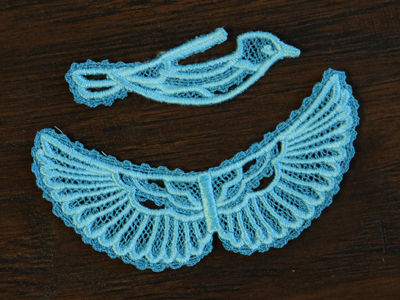
Repeat the steps above to embroider the second lace piece. Then soak, dry, and press the final piece.
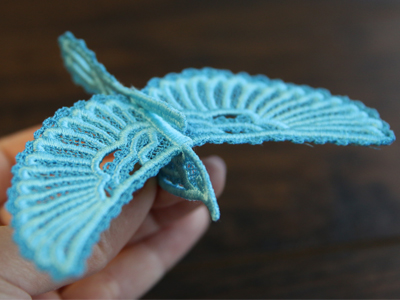
Insert the wings into the slot on the back of the bird, making sure the right side of the lace wings is facing up.
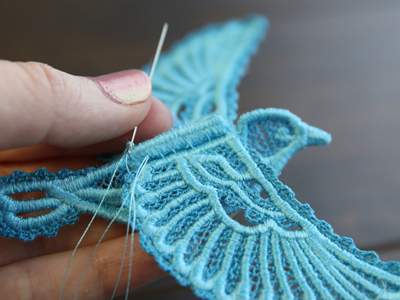
Then use a hand sewing needle and matching thread to sew the wings to the body. Make sure to attach them on both the top and the bottom sides of the wings. You can also use fabric glue or a hot glue gun if desired.
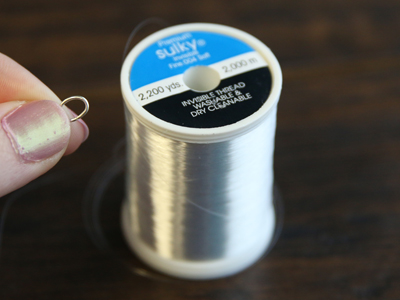
To make the hanger, use invisible thread or cord for a free flying effect. In this example, however, we are just using normal thread, so that the steps can be seen better. Also, an oval jump ring is used instead of a round one to help prevent the thread from falling out of the small opening in the ring.
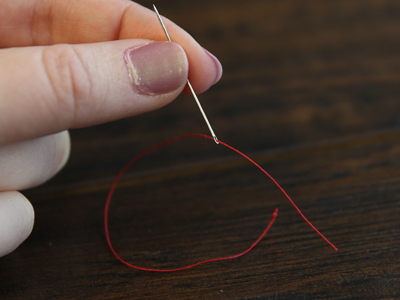
First, cut a piece of thread that is 6" long, and tie a knot at one end. Thread the opposite end through the needle.
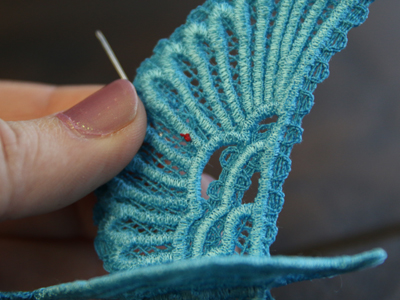
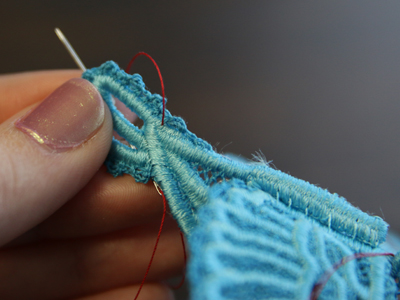
Pick a spot in the center of one wing that is easy to remember, and push the threaded needle though that spot starting from the bottom side of the wing, and going towards the top. Make sure to sew through one of the satin lines and not one of the openings or sewn grid areas.
Pull the thread through until the knot is resting on the bottom side of the wing, and the other end of the thread is pulled all the way through.
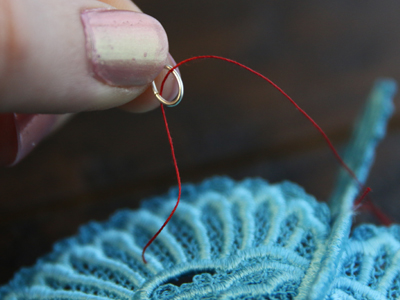
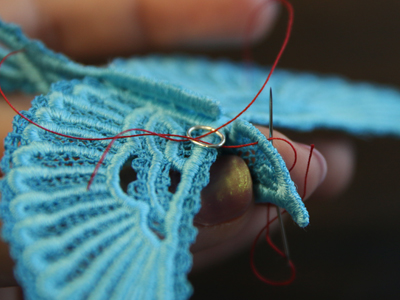
Then, go through the jump ring with the threaded needle, so that the thread running through the ring.
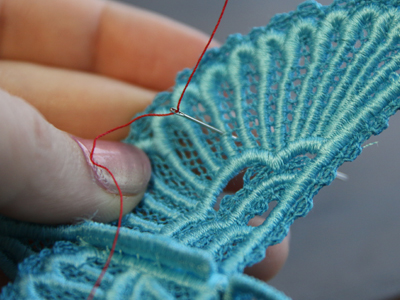
Find the same center spot on the opposite wing, and push the threaded needle through it. However, this time make sure to start on the top side of the wing, and sew through to the bottom side.
Make sure that when held up by the jump ring, the ring hovers 1"-2" above the bird. Then Tie a knot to keep it at that length, and pull on the string until the knot it resting on the bottom side of the wing.
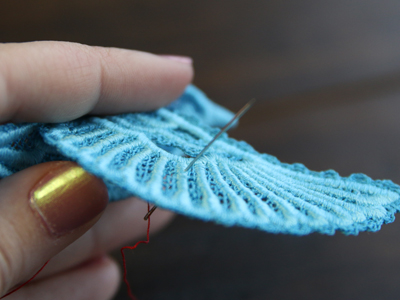
Next, cut another piece of thread 6" long, tie a knot in one end, and thread the other end into the needle. Pick a spot along the top edge of the bird's back near where the tail starts, and sew through the lace piece until the knot is resting against the side.
Then run the needle through the jump ring, and pick a place by the back of the head along the top edge. Sew through the spot, but do not tie a knot yet.
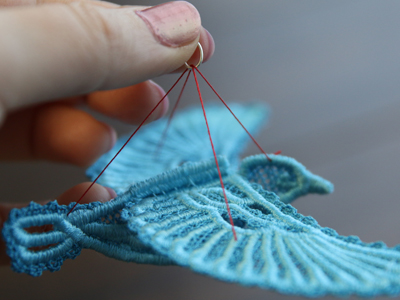
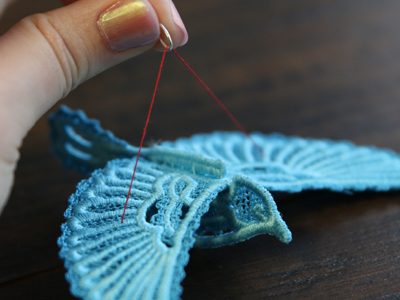
Lift the bird up by the jump ring, and pull on the loose thread to adjust its length until both strings running trough the jump ring are taut when hanging. Then tie a knot right against the side of the bird.
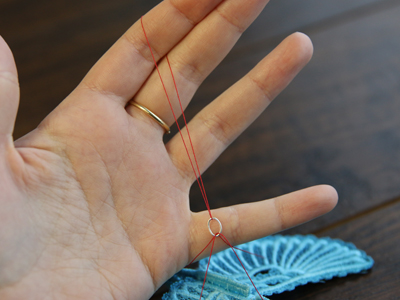
Finally cut a piece of thread of thread 6"-12" long, and thread it through the jump ring. Then tie it into a loop to make the final part of the hanger. Adjust the length of this hoop as desired, to make the bird hang lower or higher.


