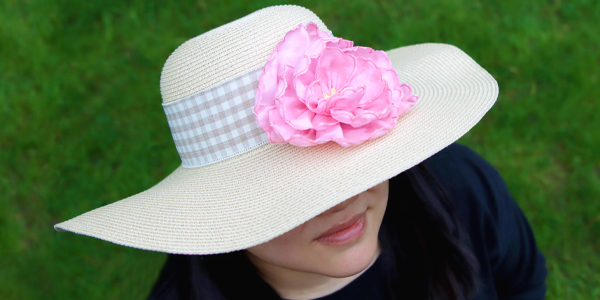
Embellish hats, dresses, and more with a 3D freestanding fabric and lace flower that is as beautiful as it is simple to construct! Simply stitch out your flower petal pieces using fabric and water-soluble stabilizer, then stitch the freestanding lace center before assembling with glue or a needle and thread. The project instructions below will show you how.
Supplies
Project Needs & Notes:
- 1/4 yard of fabric
- A small piece of felt
- Embroidery thread
- Scissors
- Water-soluble stabilizer (like Vilene or Sulky Ultra Solvy
- Temporary spray adhesive
- 75/11 sharp sewing needle
- Pressing cloth and iron
- Hand sewing needle and thread
- Fabric glue or hot glue
- Fabric marking tool
Designs featured in this tutorial include:
- EMP80746-1, Fabric and Lace 3D Flower (In-the-Hoop)
When you download the 3D freestanding fabric and lace flower design you will find multiple file types. Most are the freestanding petal embroidery files, one is a freestanding lace file, and one is a dieline file that will be used to cut out a felt piece for construction.
The freestanding petal embroidery files have been specifically digitized to sew on fabric hooped with a piece of water-soluble stabilizer. After the excess fabric is cut away and the stabilizer is removed, beautiful embroidery and fabric remains.
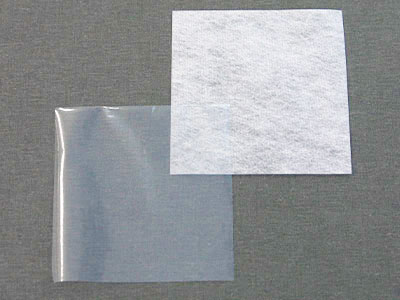
There are a couple different kind of water-soluble stabilizer. One is clear and plastic, and that brand is Sulky Ultra Solvy. The other is soft and fibrous, called Vilene. Both work well. Vilene is used in this demonstration. Use a size 11 or a 75/11 sharp sewing needle. A sharp sewing needle has a smaller, finer point than an embroidery needle. That means it will make smaller holes in the stabilizer.
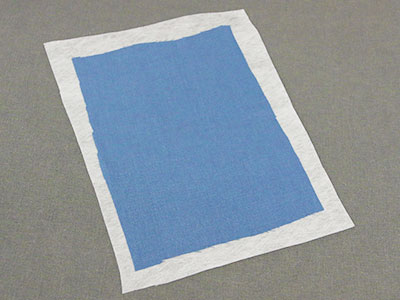
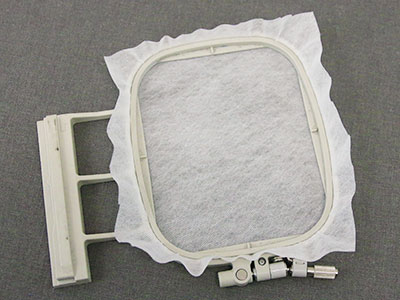
Cut a piece of fabric and water-soluble stabilizer that are both larger than the embroidery hoop. Spray the water-soluble stabilizer with temporary adhesive and smooth the piece of fabric on top of it.
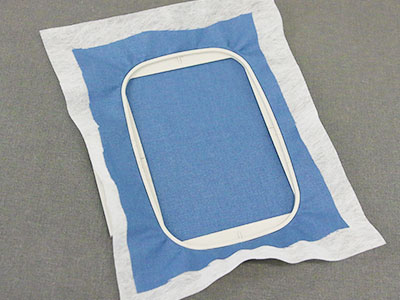
Hoop the fabric and water-soluble stabilizer firmly together. Make sure it is nice and taut with no wrinkles.
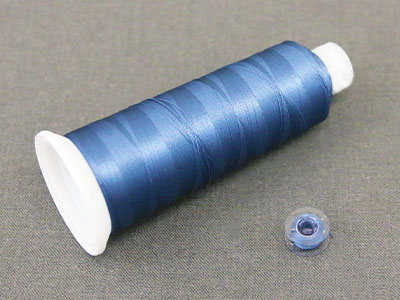
As the petals will be seen from both sides, wind a bobbin to match every thread color used in the design.
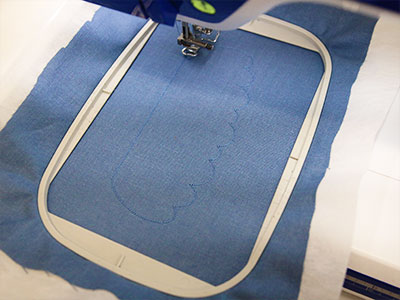
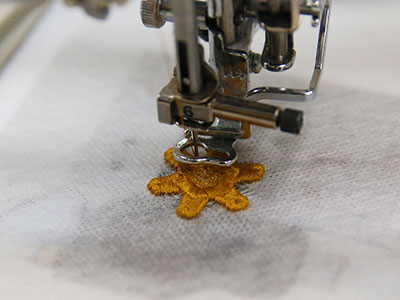
Place the hoop onto the machine and load the first petal file (file "a"). Follow the color change sheet to embroider the first of the freestanding petals. If the petal has more than one color, continue to match all bobbins, and embroider the remaining details.
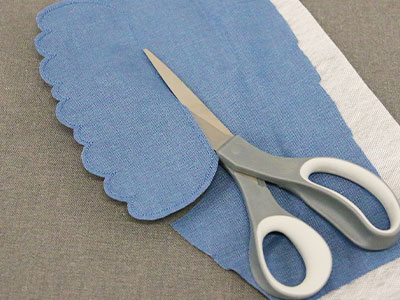
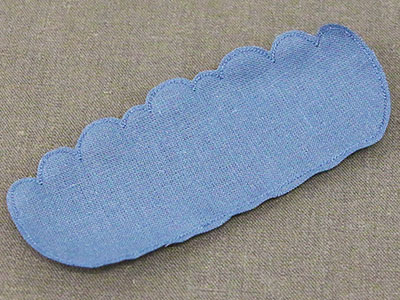
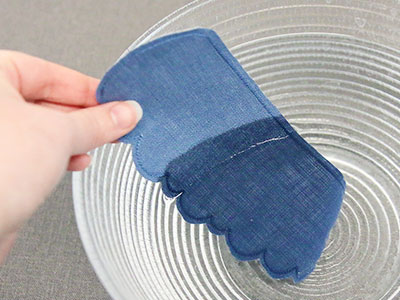
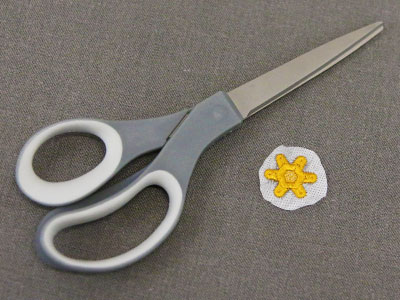
Once all the petal embroidery is finished, unhoop the design, and carefully cut around the outer edges of the petal. Cut as close to the embroidery as you are comfortable, but make sure not to cut into the embroidery. If you accidentally cut the embroidery, use a small amount of clear fabric glue to adhere the stitching in place so it does not unravel.
The stabilizers packaging should give instructions for removing the remaining water-soluble stabilizer. For Vilene, soak the embroidered design in water for a few hours.
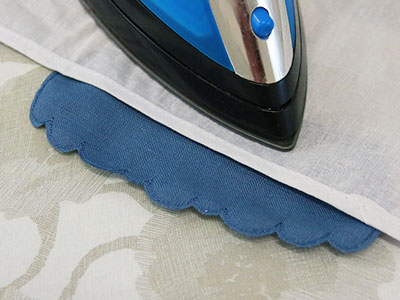
Allow the piece to air dry. If needed, press the design with a pressing cloth on top to remove any wrinkles in the fabric.
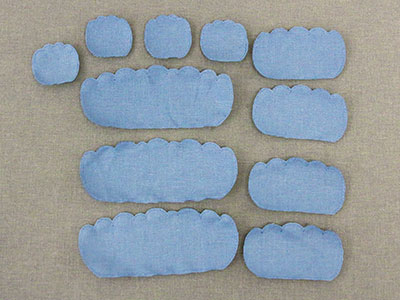
Repeat to embroider all of the fabric petals for the flower. In this example we embroidered three of largest petal, and four of the two smaller petals. These floral designs are flexible and more or fewer petals can be used in the final flower as desired. Some embroidery files may have multiple petals in one file if they fit together in the hoop (such as "file b" in the flower design shown).
Freestanding lace designs have been specially digitized for only thread water-soluble stabilizer. After the stabilizer is removed, beautiful embroidery remains.
Hoop a piece of water-soluble stabilizer firmly. Make sure it is nice and tight with no wrinkles.
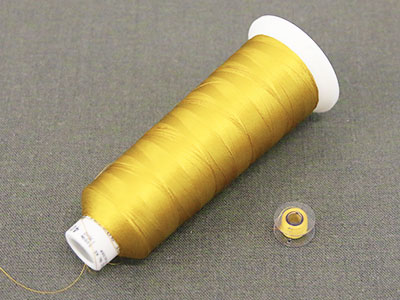
As the freestanding lace will be seen from both sides, wind a bobbin to match every thread color used in the design.
Attach the hoop to the machine and load the lace embroidery file. Embroider the lace piece using a matching bobbin.
After embroidering, trim away the excess stabilizer. Be careful not to cut the embroidery.
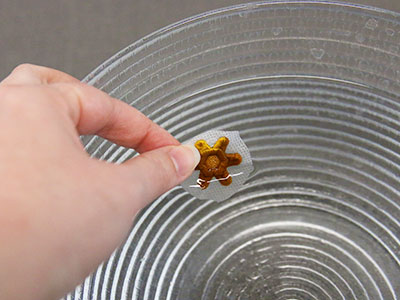
The stabilizer's packaging should give instructions for removing the remaining stabilizer that can't be trimmed away. For Vilene, soak the embroidered lace in water for a few hours. The longer you soak the lace piece, the more flexible it will be to sew through.
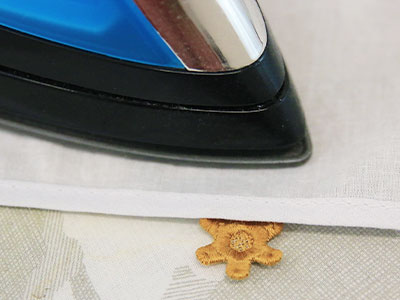
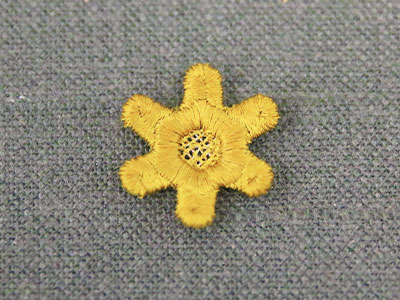
Allow the lace to air dry and then press it with a pressing cloth on top.
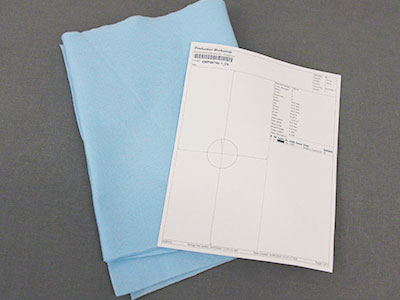
To assemble, the flower needs a felt circle base. This circle can be drawn and cut by hand (the flower needs a 1.5" diameter circle), or you can use the included dieline files to cut the circle.
Dieline files are marked with the letters "DL" and are used to cut fabric to the correct shape and size. Open and print the dieline file using embroidery software. If you do not have an embroidery software, cut the circle by hand or take a look at our helpful video on using dielines.
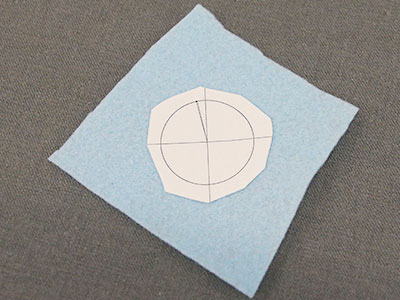
Once the dieline is printed, cut around it, and use temporary adhesive to adhere it to one side of the felt piece.
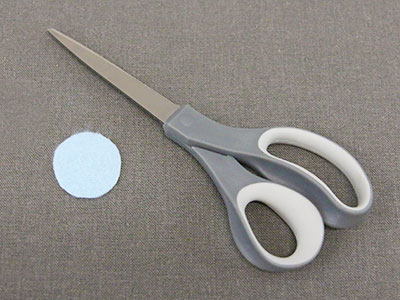
Then cut the felt circle out using the dieline. If preferred this circle can be cut by hand like mentioned earlier. Simply use a compass or freehand a circle onto the felt with a fabric marking tool, and cut it out. It does not need to be perfect as it will be covered by the petals and lace center after assembly. The flower needs a 1.5" diameter circle.
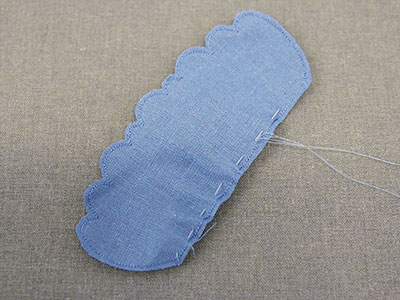
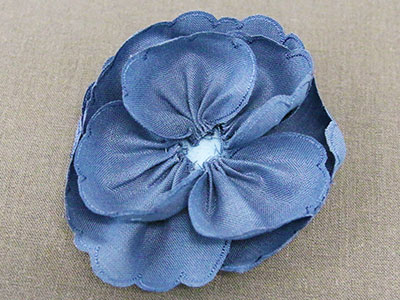
To make the petals have a natural ruffled and textured look, hand sew a wide gathering stitch along the bottom edge of the petal. The bottom edge is the flat side of the petal. Use thread matching the fabric color for best results.

Then pull the gathering stitch to scrunch & ruffle the petal. Tie a knot to secure it in place. The amount the petal is gathered can vary as desired.
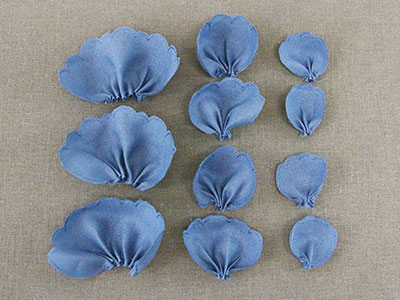
Then repeat to gather all of the petals being used to make the flower. In this example, we did not gather the largest petals all the way, leaving them a little loose. We did gather the smaller two petals all the way. Each petal does not need to be gathered the same amount. The amount of gathering can be varied across the petals to give the flower a natural look, but don't skip gathering any petals as they will look very flat.
In this tutorial we will be hand sewing the flower together for easier control over placement. Use thread matching the fabric color for best results.
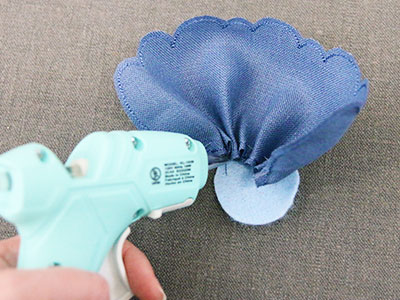
If preferred, the flower can also be glued together using a fabric or hot glue. Simply add the petals in the same order as seen below, but use glue instead.
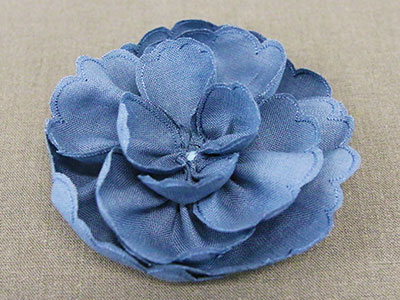
The flower will look best if the petals are added onto the felt circle in order from the largest petals to the smallest. It is also best to start placing them along the outer edge, and slowly work your way inwards toward the center of the circle. It is also important to remember to leave room in the center of the felt piece for the lace center. That way it will not crush or flatten the petals when you add it last.
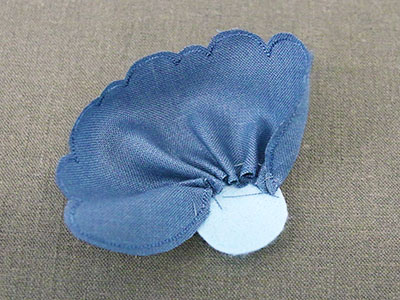
To begin, take one of the largest petals and adhere it in place along the outer edge of the circle.
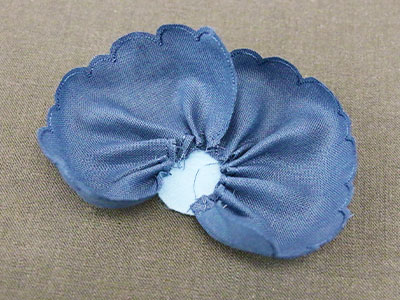
Then repeat to adhere a second largest petal along the outer edge of the felt circle. Keep in mind how many petals of each size you are using, and position the petals with enough space in between them to fill out the flower as needed.
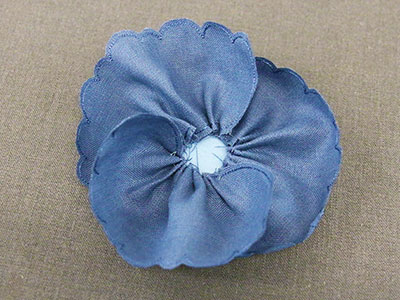
Continue to adhere all the largest petals in place so they are evenly spaced or positioned as desired around the outer edge of the felt circle.
Next, adhere one of the medium petals onto the felt circle. Having it overlap and sit in between the larger petals will help give the flower a more natural look. Try and position the petal close to the outer edge of the felt circle still so you can leave room for the lace center in the end.
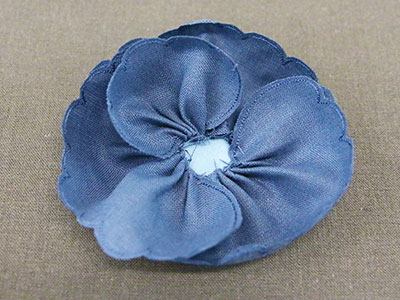
Then repeat to adhere all of the medium petals onto the felt circle.
Repeat to adhere all the smallest petals onto the felt circle. Overlap as desired and keep them as near the outer edge of he felt circle as possible to leave room for the lace center.
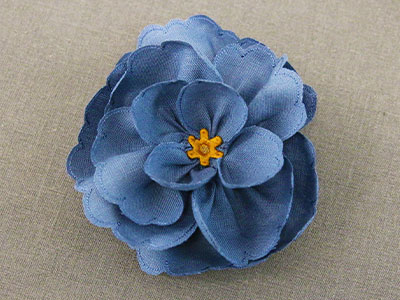
Finally, hand sew or glue the lace flower center in place in the middle of all the petals on the felt circle. If hand sewing, use the same thread as was used in the embroidery, and hand sew in the same direction as the stitching to make the hand sewing nearly disappear.


