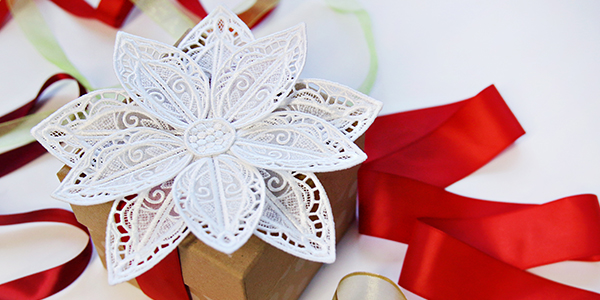
A beautiful poinsettia made of freestanding lace and organza pieces is a stunning addition to any holiday decor! See how to assemble the three-dimensional festive flower in this tutorial.
Supplies
- 1/4 yard organza
- Water-soluble stabilizer (like Vilene or Sulky Ultra Solvy)
- Temporary spray adhesive (such as Gunold's KK100)
- Hand sewing needle or glue
Designs Used
A beautiful poinsettia made of freestanding lace and organza pieces is a stunning addition to any holiday decor! See how to assemble the three-dimensional festive flower in this tutorial.
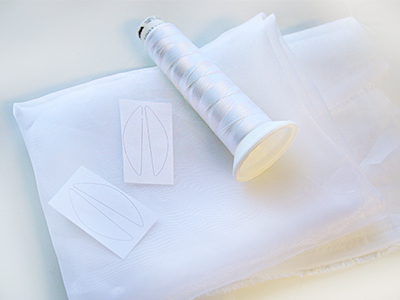
When you download the in-the-hoop 3D lace and organza poinsettia design, you will find multiple files. Some are the embroidery files, and the others are dieline files marked with the letters "DL". Dielines are used to cut the fabric to the correct shape and size. Open and print each dieline file using an embroidery software. If you do not have an embroidery software, take a look at our helpful video on using dielines.
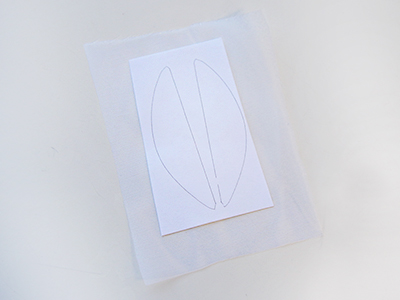
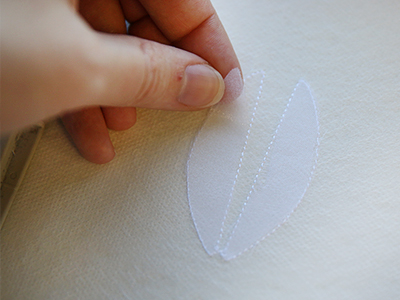
Starting with piece "a", spray the backside of the front dieline printout with temporary adhesive and smooth it on top of the fabric.
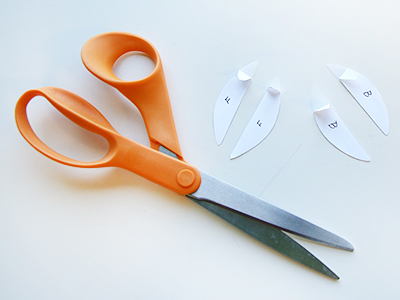
Cut out the shape and repeat to make the back dieline piece for file "a". After cutting, make sure to fold up one corner of the paper dieline to make it easier to remove later. You can also label the paper with a "F" for "front" and a "B" for "back" to keep the pieces in order and prevent them from being mixed up.
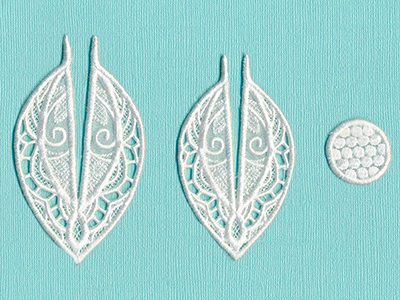
Freestanding lace and organza designs have been specially digitized for water-soluble stabilizer. After the stabilizer is removed, beautiful lace and organza remains behind.
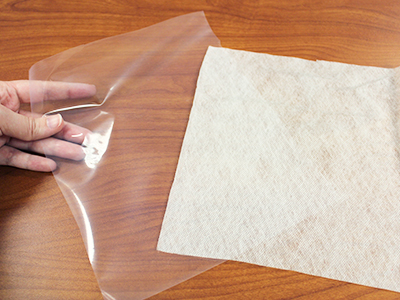
There are a couple of different kinds of water-soluble stabilizer. One is clear and plastic, and that brand is Sulky Ultra Solvy. The other is soft and fibrous, called Vilene. Both will work very well. Vilene is used in this demonstration. Use a size 11 or 75/11 sharp sewing needle. A sharp sewing needle has a smaller, finer point than an embroidery needle. That means it will make smaller holes in the stabilizer.

Freestanding lace and organza is seen from both sides, so wind a bobbin with the same thread that you're using in the needle.
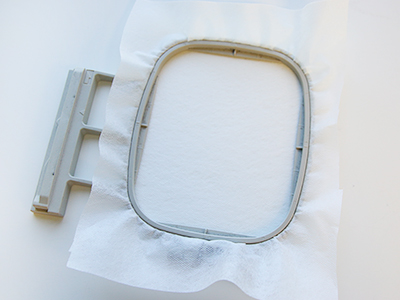
Hoop the stabilizer firmly. Make sure it is nice and tight with no wrinkles.

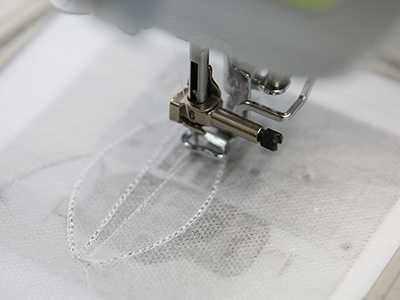
Load the embroidery file labeled with an "a" onto the machine, and embroider the design. The first thing to embroider will be a dieline, or outline stitch. This marks the area on the stabilizer where we'll place the front fabric piece.
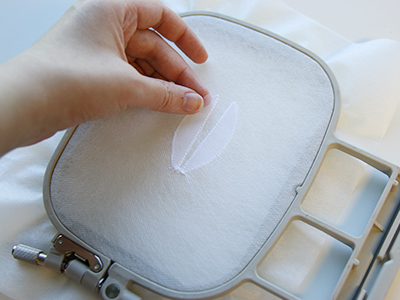
Spray the back of the front piece with temporary adhesive. Remove the hoop from the machine, but do not unhoop the stabilizer. Place the fabric piece right inside the sewn dieline (after removing the paper).
Reattach the hoop to the machine and continue with the design. A tack down will sew next. This binds the front fabric piece in place for the remainder of the design.
Look at the color change sheet, and stop the machine before sewing "back piece tack down". Remove the hoop from the machine, but do not unhoop the stabilizer. Spray the backside of the back dieline with temporary adhesive, and place it on the back of the embroidery.
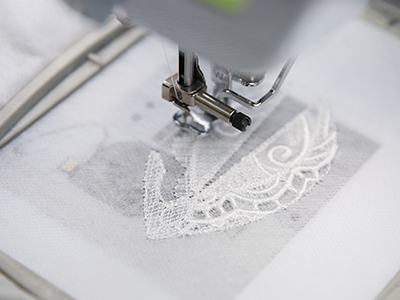
Place the hoop back on the machine, and embroider the back piece tack down. Next, all of the inner elements will sew followed by the final outer border along the edge of the organza pieces.
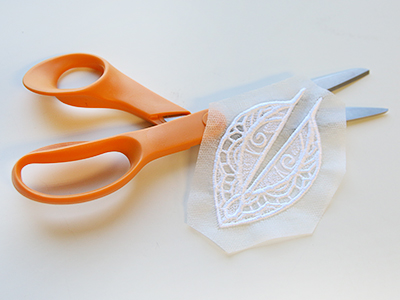
After embroidering, cut the excess stabilizer away.
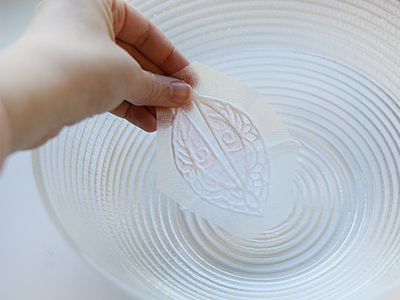
The stabilizer's packaging should give instructions for removing the excess. For Vilene, soak the organza pieces for a few moments.
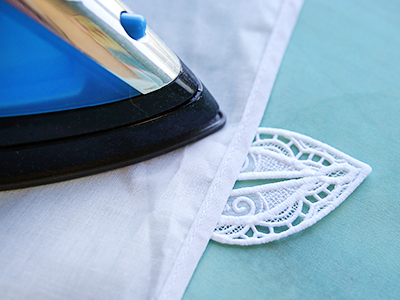
Let the piece air dry, then press using a pressing cloth.
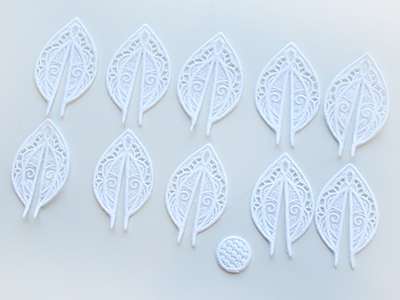
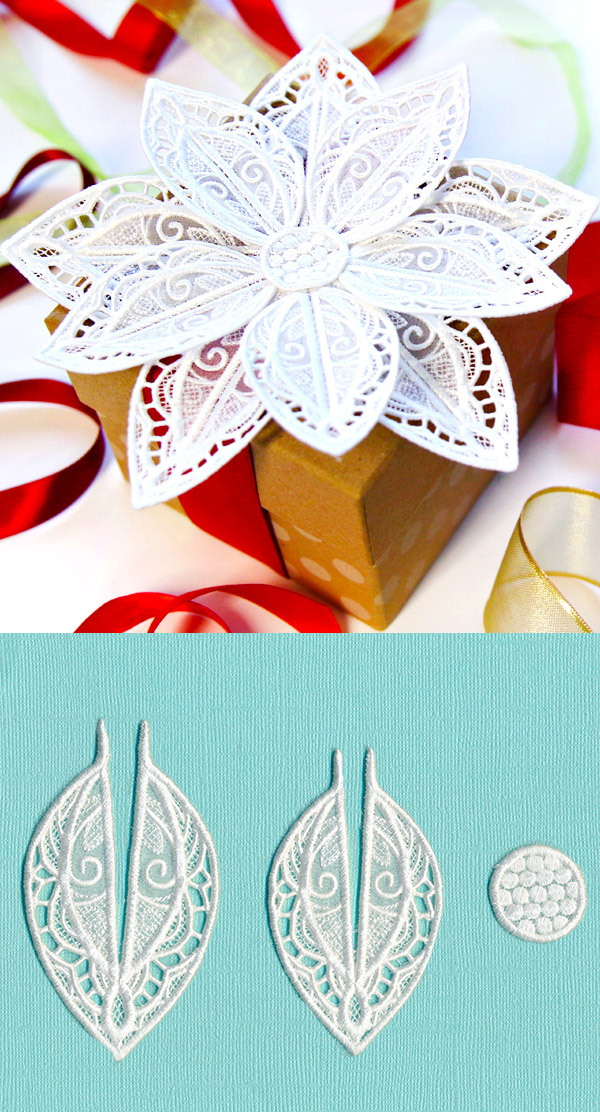
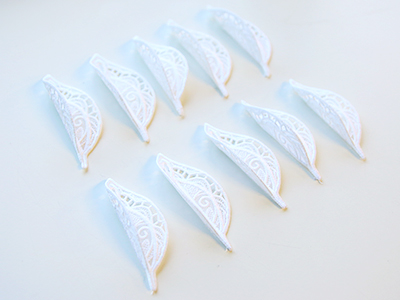
Repeat the previous steps to prepare and embroider the other lace organza pieces. Make sure to sew five of petal piece "a" and five of petal piece "b".
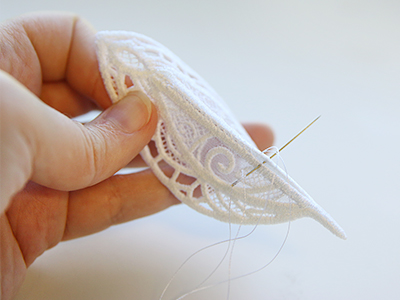
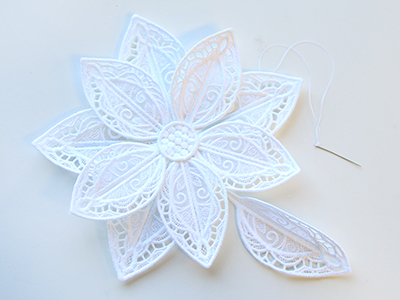
Now it is time to assemble the poinsettia. Take one of the ten petal pieces (labeled with "a" or a "b"), and fold it so that the right sides are together, making sure to match up the edges of the triangle dart cutout. Hand sew along the straight open edges to make the dart.
Then repeat to sew the dart on each of the other nine petal pieces.
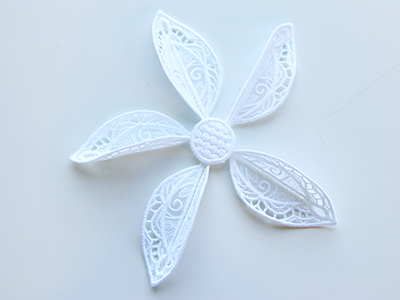
Take the smaller petals (labeled with a "b") and the center of the flower (labeled with a "c"), and lay them on the table with the right side of the lace facing up. Then arrange the petals evenly around and under the center piece.
Hand sew or glue the petals in place by attaching them to the center piece one by one. Make sure to keep them evenly spaced.
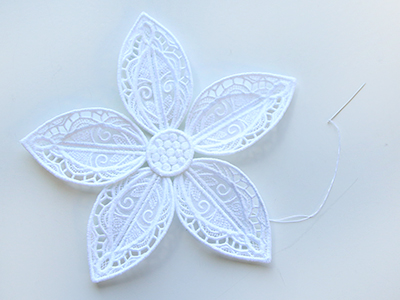
Then arrange the larger petal pieces (labeled with an "a") under and around the smaller petals, making sure they rest in-between each of the small petals and not directly under them. Hand sew them to the smaller petals and center to hold them in place.


