Dimensional projects are only a stitch away when you embroider multi-piece applique flowers to pillows and more. Step-by-step project instructions below will walk you through the process of re-creating this type of machine embroidery design.
Supplies
- Small pieces of fabric (for applique pieces)
- Main fabric or project
- Embroidery Thread
- Medium weight cutaway stabilizer
Tools
- Masking or painter's tape
- Scissors
- Fabric marking tool
- Temporary spray adhesive (such as Gunold KK100)
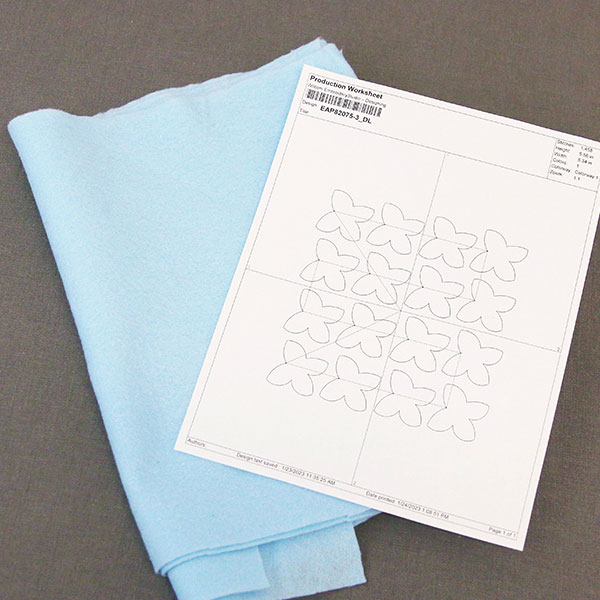
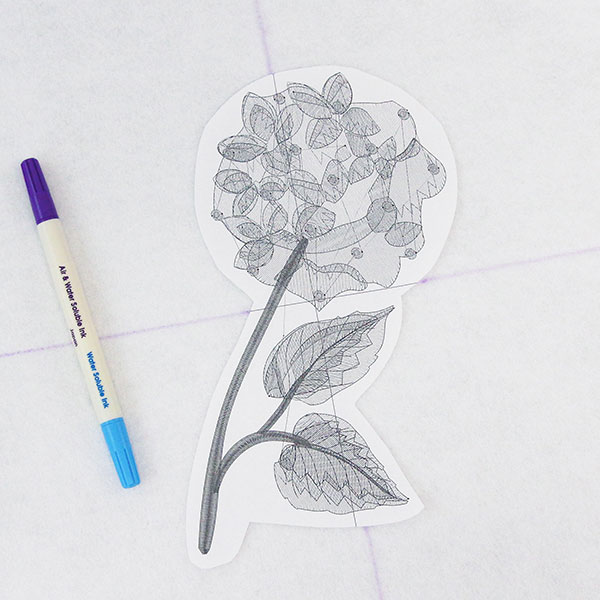
When you download the multi-piece applique design, you will find multiple files. Some are embroidery files marked with the letters "DL". Dielines are used to cut the fabric to the correct shape and size. Open and print each dieline using an embroidery software. If you do not have embroidery software, take a look at our helpful video on using dielines.
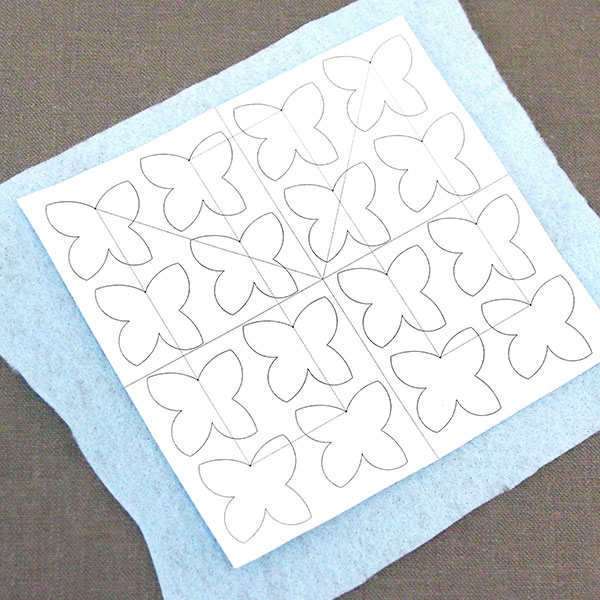
For all the applique pieces, spray the back of each printed dieline with temporary adhesive. Then smooth them onto the right side of the fabric. In this example, we are using felt as it will not fray. Any fabric can be used, just keep in mind that using some fabrics will cause the edges of the applique to fray over time and some will not.
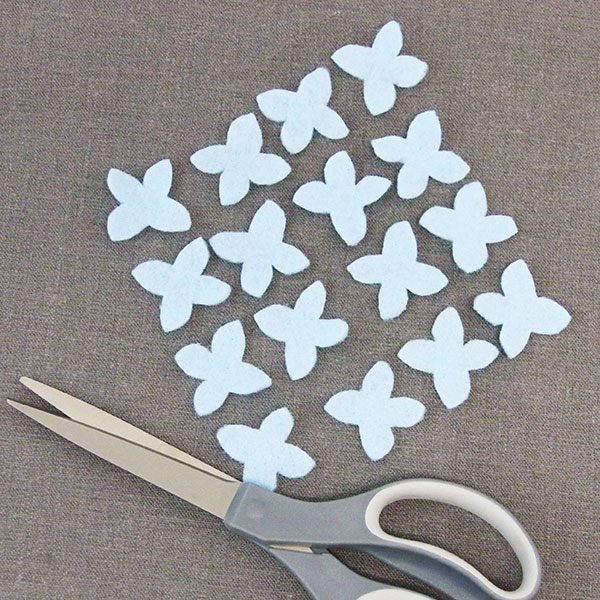
Then cut all the applique pieces out of felt following the dieline shape. Remove the paper dieline after cutting.
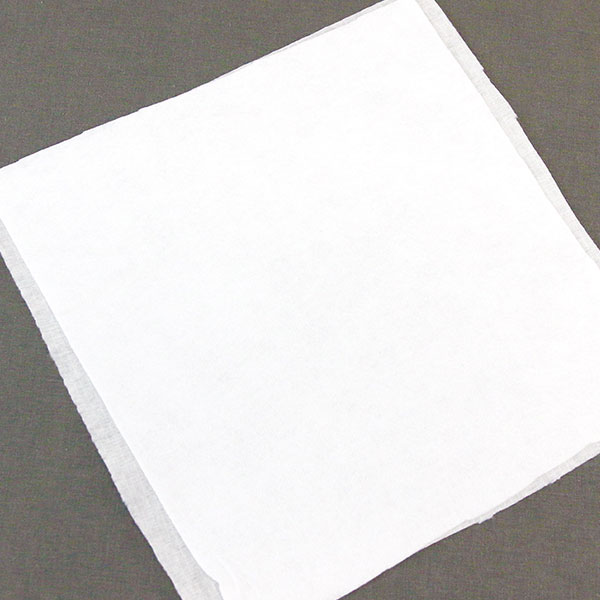
Before embroidering, spray a piece of stabilizer larger than the embroidery with temporary adhesive. Then smooth it onto the wrong side of whatever fabric or object you are embroidering the design onto. In this example, we are using a medium weight cutaway stabilizer.
To help with placement, a template (or printout), of the design can be used. Print a template of the design using your embroidery software and position it as desired on the fabric. Once in position, mark the horizontal and vertical axis points using a fabric marking tool. Then use a ruler to connect or extend these marks. Make sure the center point of the design is marked as well.
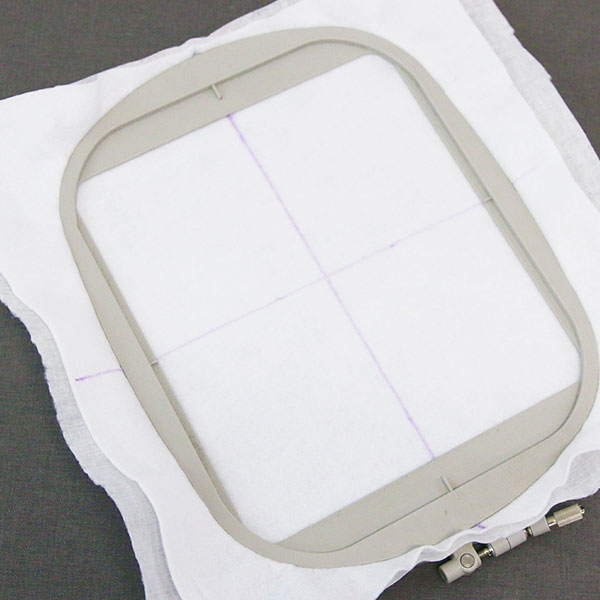
Hoop the fabric and stabilizer together firmly. If using a template, make sure to match the drawn axis lines up with the vertical and horizontal center marks on the hoop.
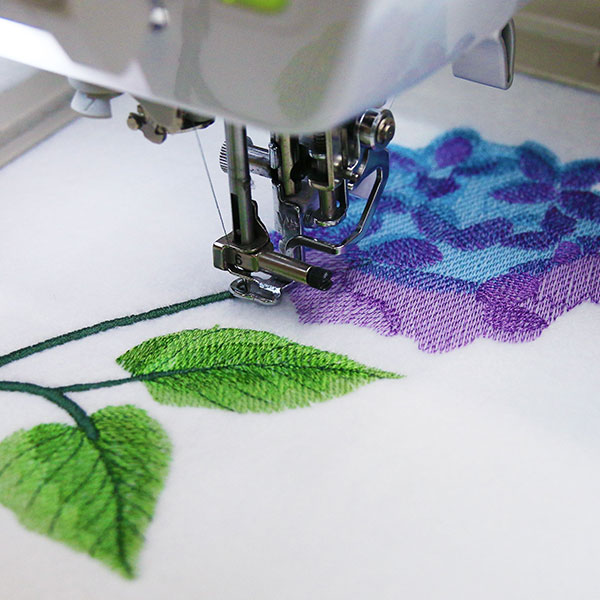
Attach the hoop onto the machine and load the embroidery file (not the dieline) onto the machine. Use a 75/11 sharp sewing needle instead of an embroidery needle. The sharp sewing needle has a finer point, and it will make smaller perforations in the fabric. Then embroider the design. The first thing to embroider will be all of the embroidery details under the applique pieces. Follow the color change sheet and embroider the design until you get to the first "dieline" step.
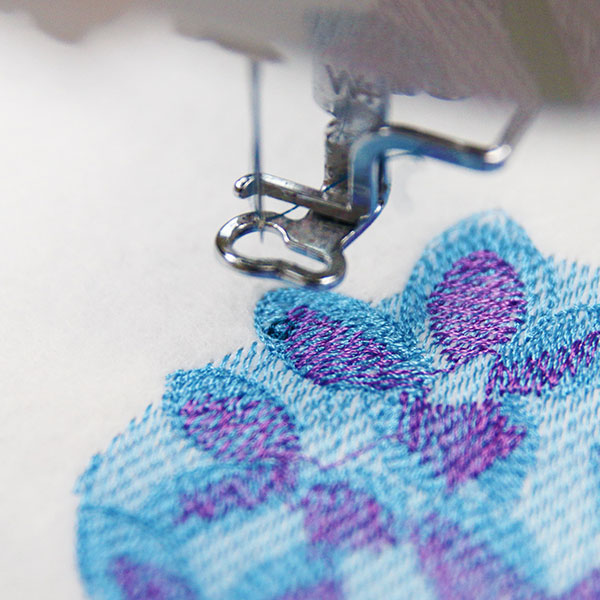
Placing all the applique pieces begins with the first applique piece's "dieline". This step will sew a small mark to show where to place the center of the first applique piece. For this hydrangea, the dieline stitches a tiny circle. To make it easier to see, we recommend sewing the dieline in a color different from the embroidery so it stands out. The dieline will be completely covered by the embroidery of the tackdown.
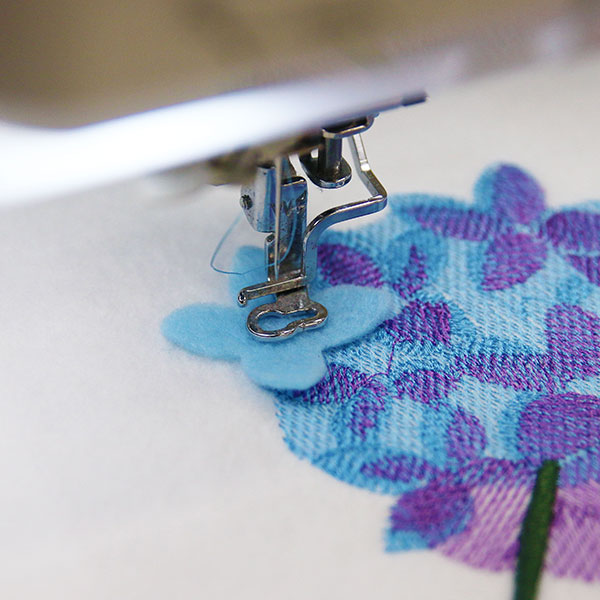
After the dieline has sewn, you can either place the applique piece while the hoop is on or off the machine, but do not unhoop the design. As explained before, the dieline shows where the center of the applique piece should be placed, but the rotation of the piece does not matter. Center the piece over the sewn dieline. If you are placing it while it is still on the machine, you can use the needle to double check position the piece. For the hydrangea, the tackdown will be a small embroidered circle, and the embroidery for it starts on the left edge of the circle (so the needle is pointing to the left side of the circle after the dieline sews).
Keeping that in mind, we placed the applique piece with its center slightly to the right of the needle, so when it sews the circle from left to right, the circle ends up centered on the petal. Spray adhesive is optional for these applique pieces as the stitching on top of them is so sparse. Use your best judgment to decide if you need the spray adhesive to hold the applique piece in place while sewing. In this example, the felt stays in place well enough that we did not used spray adhesive as spray adhesive can make the petals sticky and not as 3D until it wears off.
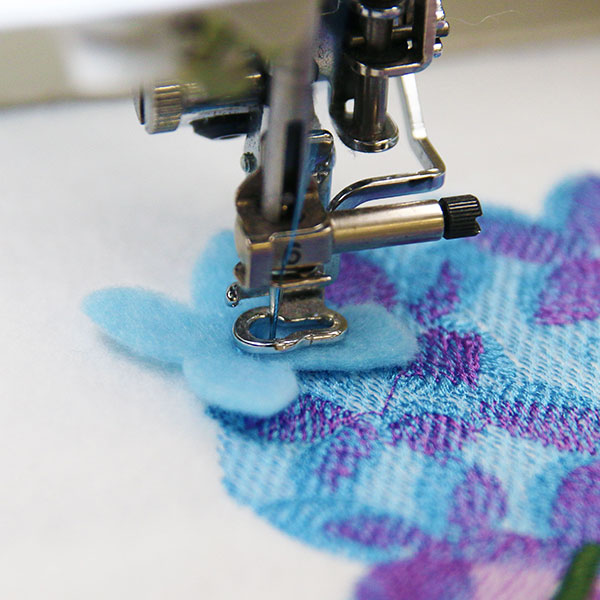
Then embroider the tackdown for the first applique piece. This tackdown will sew it in place on the fabric.
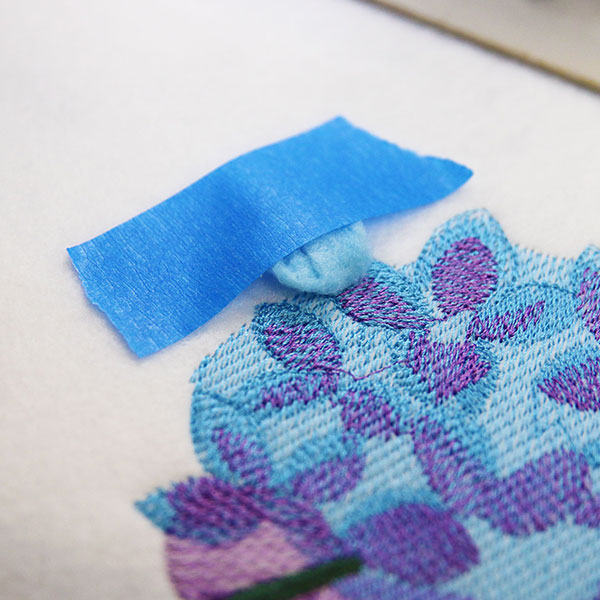
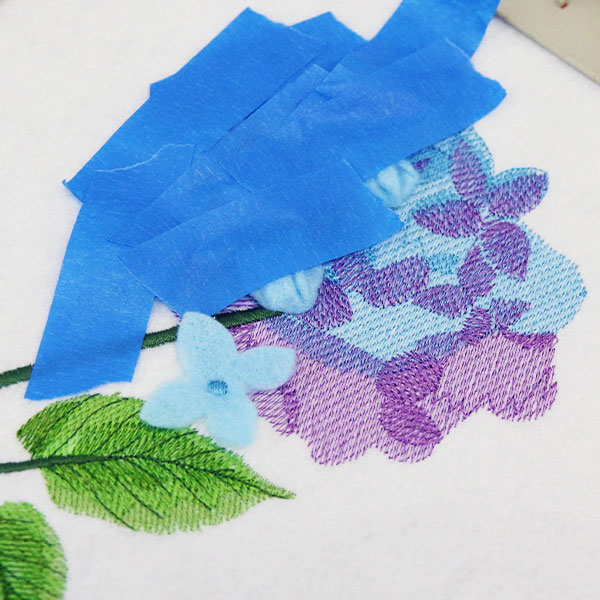
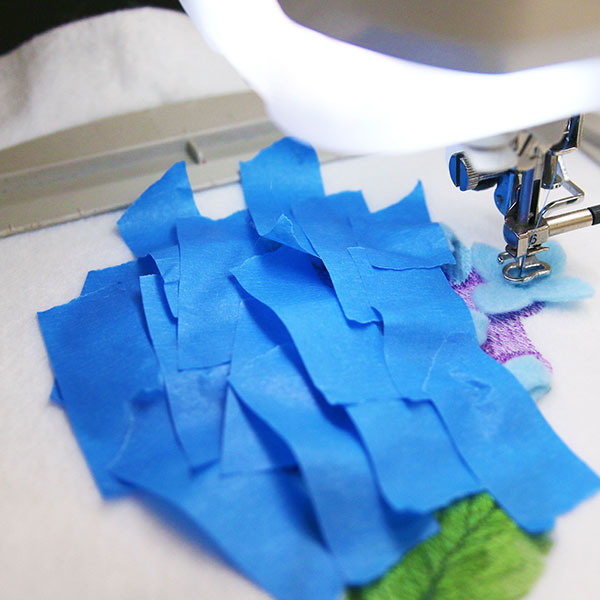
Multi-piece applique designs sew the applique pieces in order from left to right. To prevent the first applique piece from being sewn under the dieline or tackdown of any other applique pieces, fold it over toward the left side of the hoop, and tape it in place. As you sew each applique piece, you will need to fold it to the left, and tape it in place before sewing the next dieline. If using a fabric that frays, stick the piece of tape on and off a piece of fabric a couple times to make it less sticky. This way it is less likely to shred the edges of your fabric when you pull it off at the end.
Repeat the previous steps for the next applique piece. Embroider the dieline, center the applique piece, and embroider the tackdown.

Also make sure to fold the applique piece to the left, and tape it in place to avoid it being sewn under the following dielines or tackdowns.
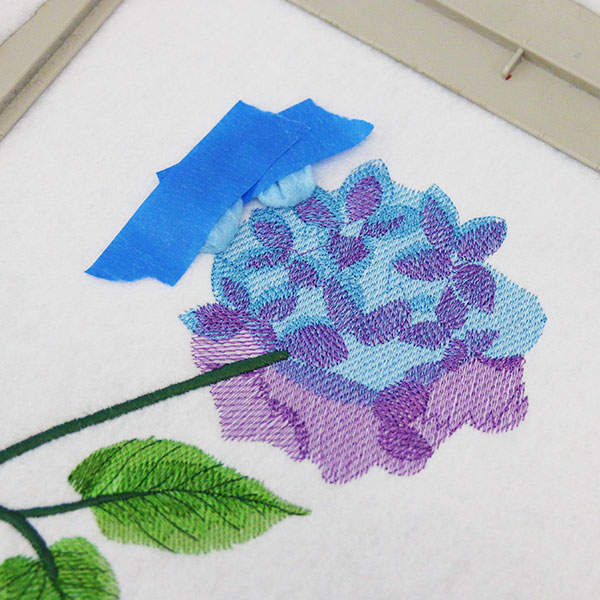
Continue to repeat those steps to embroider each dieline, center the applique piece, and embroider the tackdown. As you sew each applique piece, make sure to fold it to the left and tape it in place before sewing the next dieline.
Repeat for all the applique pieces, and make sure to follow the color change sheet closely until you have embroidered the entire design. The hydrangea design has sixteen applique pieces in total.
Attach the hoop back to the machine and continue embroidering the design. A tackdown and the final border will sew around the outer edge of the fabric. This binds all the layers together.
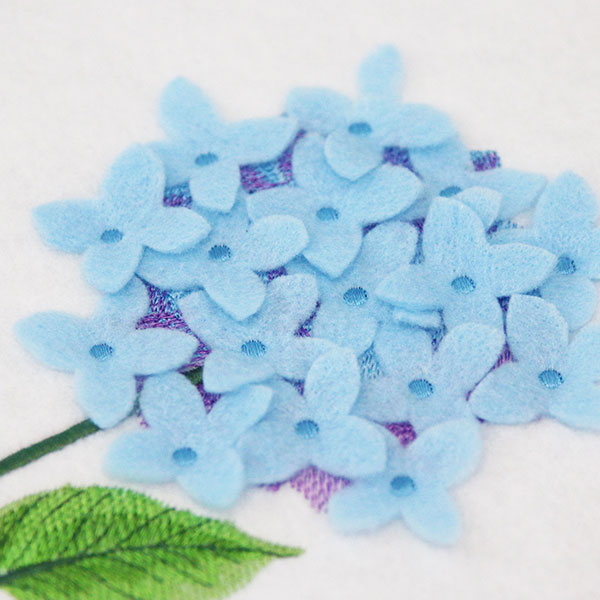
Then carefully remove all the tape. Be careful to not stretch or shred and fray your fabric while removing the tape. Once all the tape is removed, fluff and arrange all the 3D applique pieces as desired.
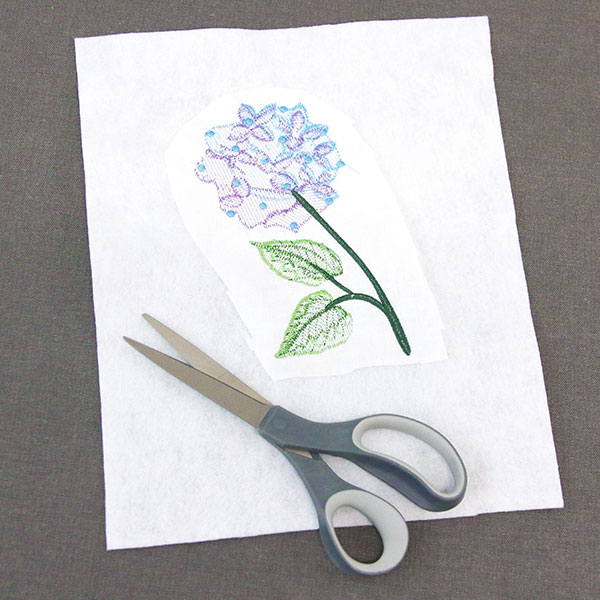
Now that the design is completed, flip it over, and trim the stabilizer as desired. If the fabric is sheer at all, the edge of the stabilizer can sometimes be seen from the front side of the fabric. To hide this, you can either leave the stabilizer across the whole back of the fabric, or you can carefully trim it as close to the design as possible where it will be less noticeable.
