Whether you're making a brooch to decorate lapels for Memorial Day, or want to create embellishments for purses, hair barrettes, writing implements, and more, 3D organza flower designs are just the motif for the job. There's even a freestanding lace center added for extra dimension. Project instructions will show you how to stitch and assemble this type of machine embroidery design.
Supplies
- 1/4 yard of Organza
- Embroidery Thread
- Water soluble stabilizer (Such as Vilene)
Tools
- 75/11 Sharp sewing needle
- Pressing cloth and Iron
- Fabric Glue or hot glue
- Hand sewing needle
- Temporary spray adhesive
When you download the layered organza flower you will find multiple file types. Most are going to be freestanding embroidery files, one is a freestanding lace file. The petal embroidery files have been specifically digitized to sew on a piece of fabric hooped with a piece of water-soluble stabilizer. After extra fabric is cut away and the stabilizer removed, beautiful embroidery and fabric remains.
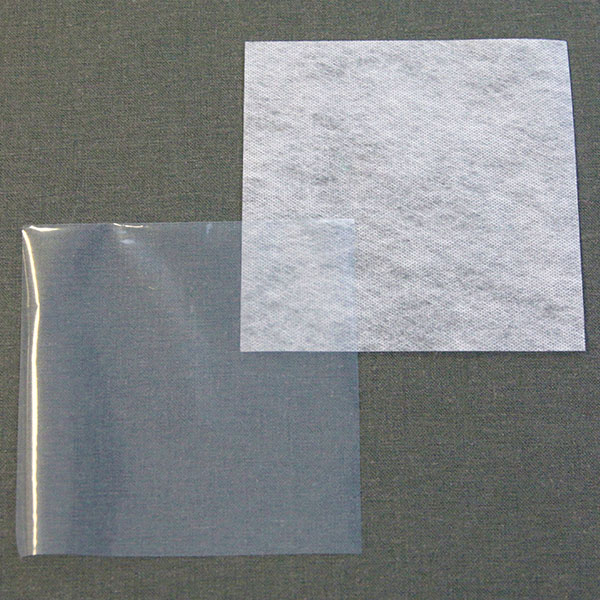
There are a couple different types of water-soluble stabilizer. One is clear and plastic, and that brand is Sulky Ultra Solvy. The other is soft and fibrous, called Vilene. Both will work well. Vilene is used in this demonstration.
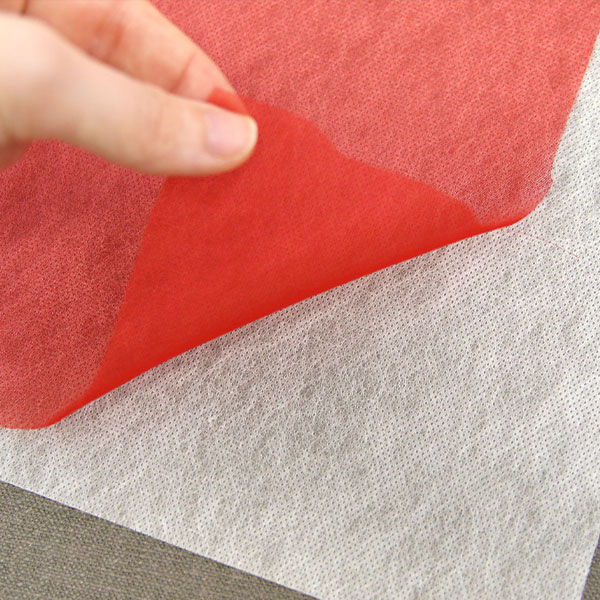
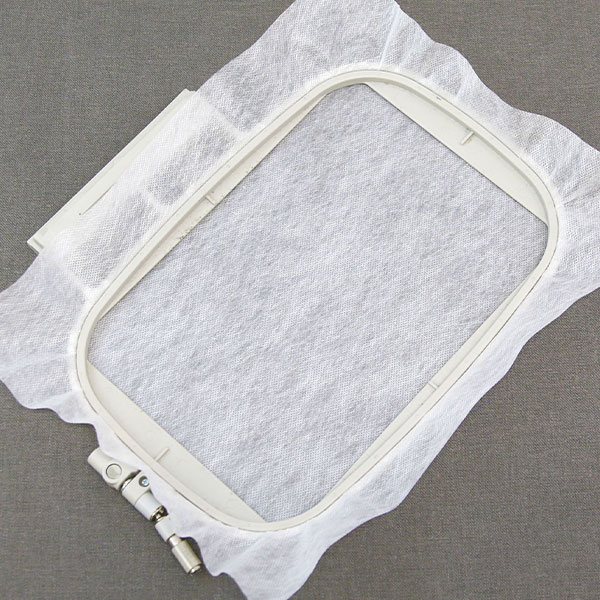
To start, cut a piece of organza or fabric and water soluble stabilizer. They should be big enough to hoop. Spray either the stabilizer or the fabric with temporary spray adhesive, then smooth the fabric and stabilizer together.
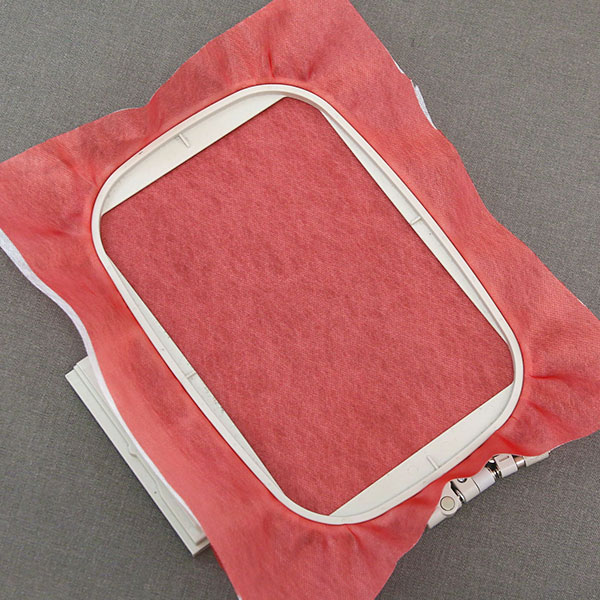
Hoop your fabric and stabilizer together so that they are nice and taut with no wrinkles. Be careful not to pull the fabric so that it stretches or skews.
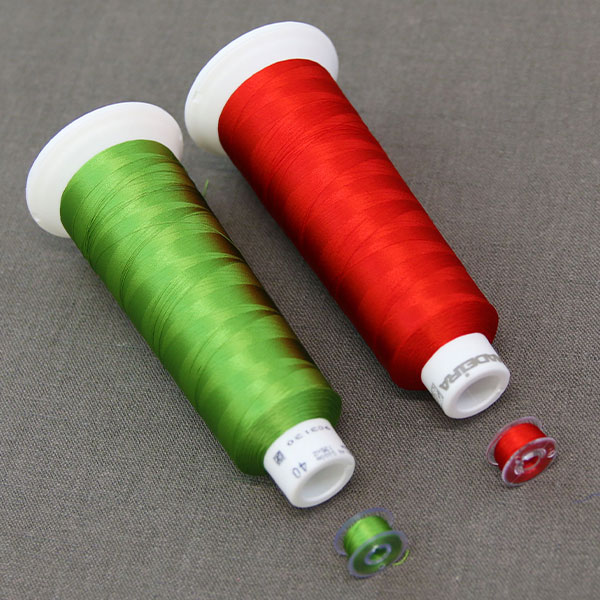
As your embroidery will be seen from both sides, wind a bobbin to match every thread color used in the design.

Follow the color change sheet to embroider all of the petal files. If the design has more than one color, continue to match all the bobbins and embroider the remaining details. For embroidering the lace center, see the steps below.
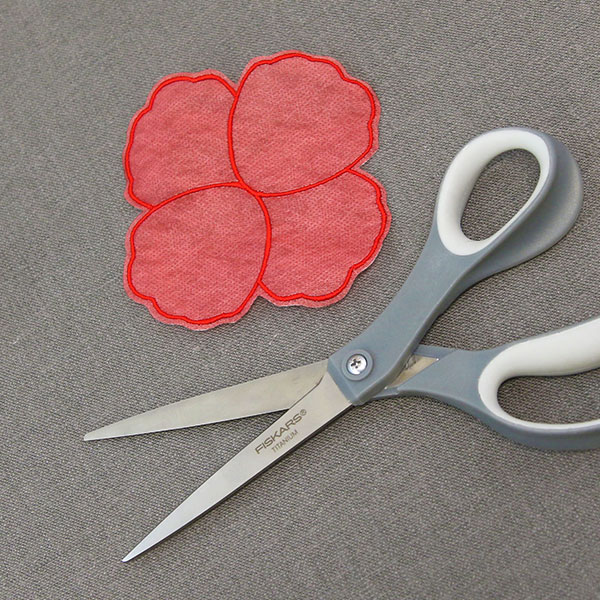
Once all the embroidery is finished, unhoop the fabric design and carefully cut around the outer edges of the petal. Cut as close to the embroidery as you are comfortable, but make sure not to cut into the embroidery. If you accidentally cut the embroidery, using a small amount of clear fabric glue can help adhere the stitching in place so it does not unravel.
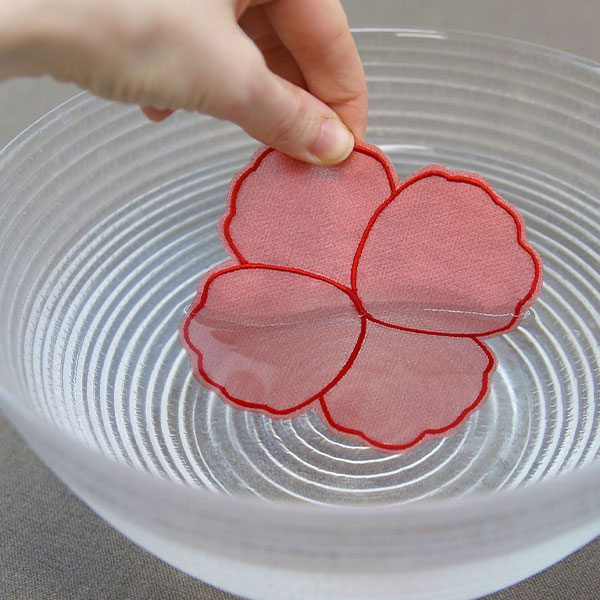
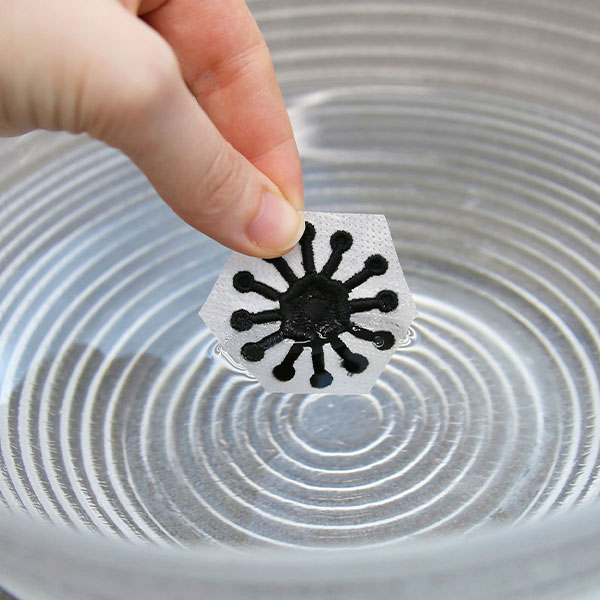
Soak your embroidery to remove the water soluble stabilizer. The stabilizer's packaging should give instructions for removal. For Vilene, soak the embroidered design in water for a few hours.
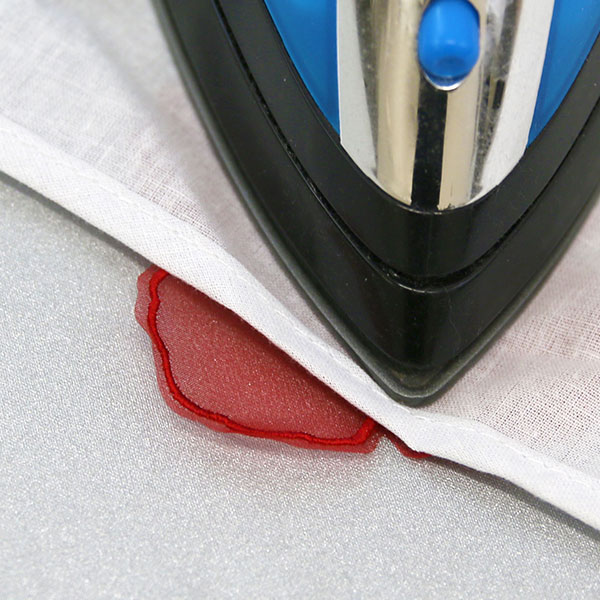
Allow the petals to air dry. If needed, press the design with a pressing cloth on top to remove any wrinkles in the fabric.
Repeat the above steps to embroider all of the fabric pieces.
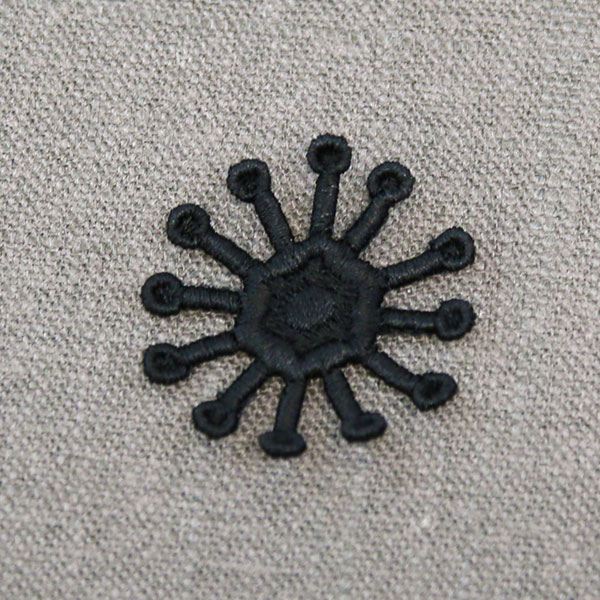
Freestanding lace designs have been specially digitized for water-soluble stabilizer. After the stabilizer is removed, beautiful embroidery remains.
To stitch the freestanding lace center, hoop the stabilizer firmly. It should be nice and taut with no wrinkles.
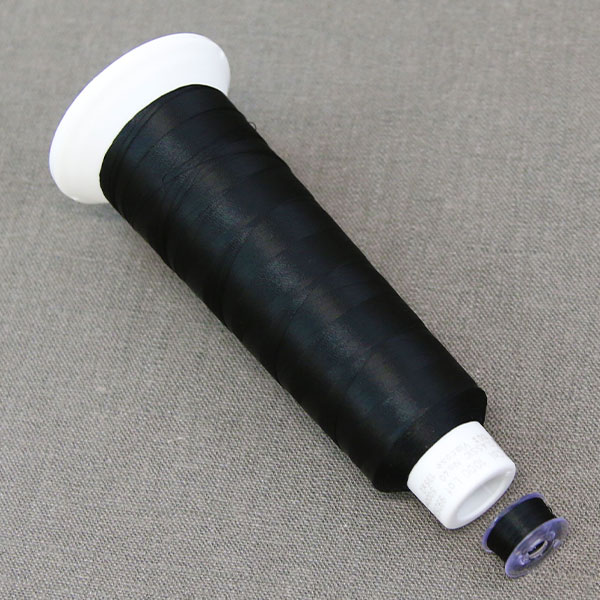
As the lace will be seen from both sides, wind a bobbin to match.
As all the embroidery from here on out will be seen from both sides, wind a bobbin to match each of the remaining thread colors used in the design.
After embroidering, trim away the excess stabilizer. The stabilizer's packaging should give instructions for removing the remaining stabilizer that can't be trimmed away. For Vilene soak the embroidered lace in water for a few hours. The longer you soak, the easier it will be to sew through.
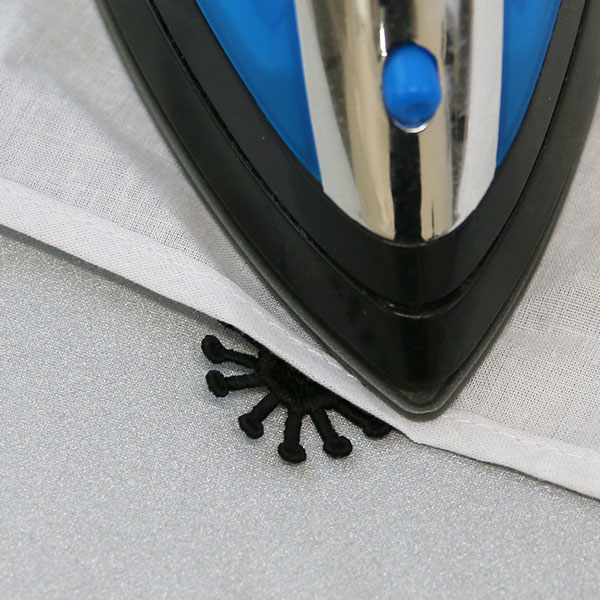
Allow the lace to air dry, then press it with a pressing cloth on top.
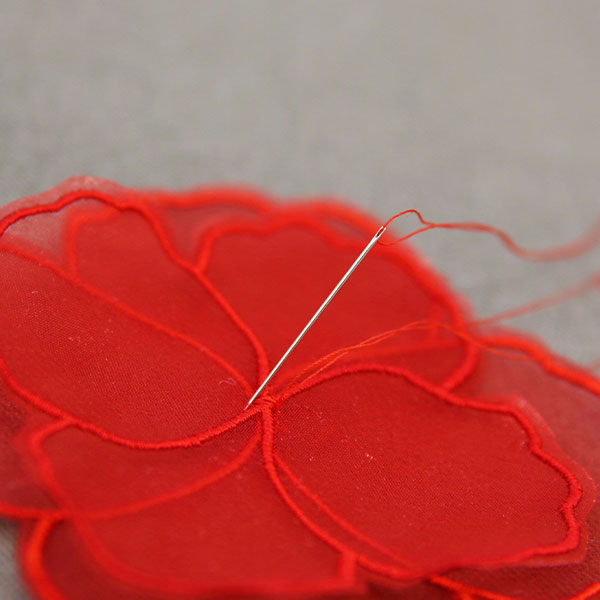
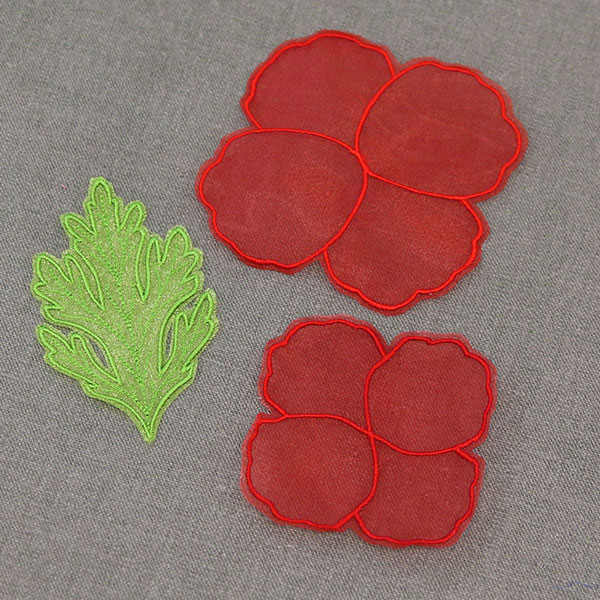
To assemble, start by layering your petal pieces. If preferred, these can be hand sewn together
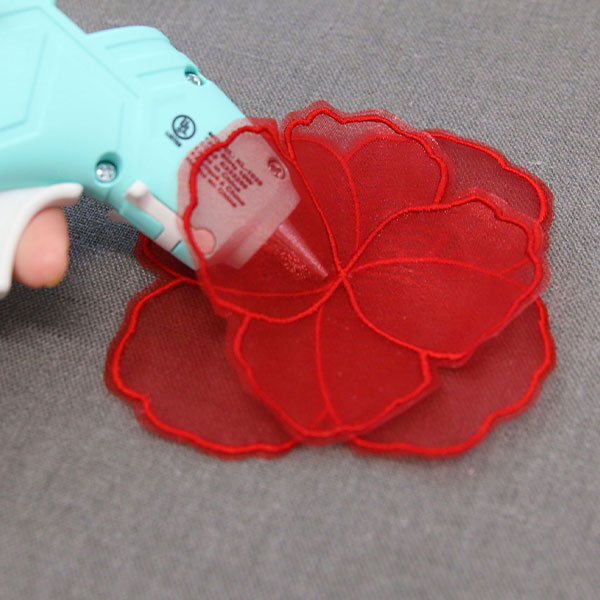
For this demonstration we are assembling the flower using a hot glue gun.
Start by layering the petal pieces one over the other with the right side of the larger petal piece matching the wrong side of the small petal piece. Only use a small amount of glue.
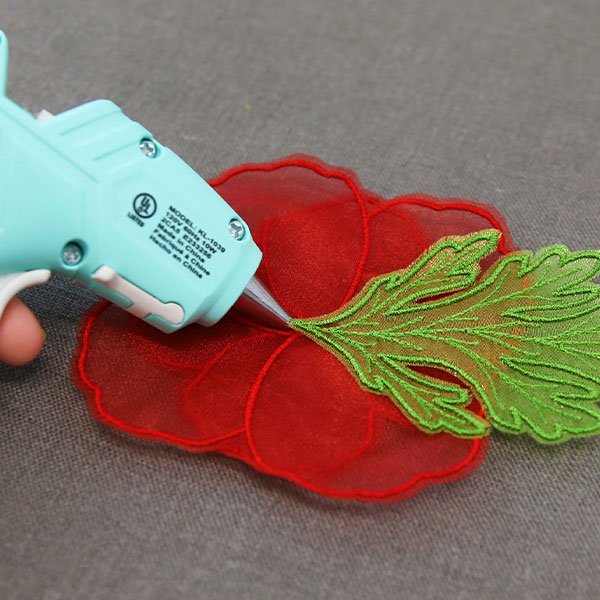
Then take your leaf and glue it to the bottom petal at the center.

Finally, glue the lace center on the top.
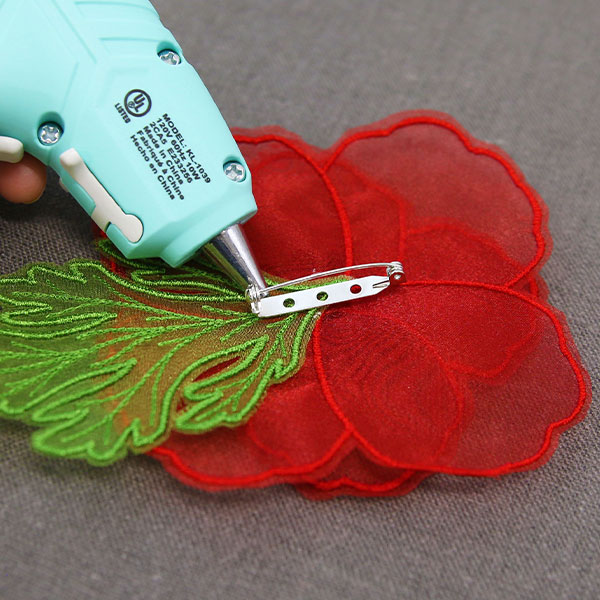
Finish your 3D organza flower by adding a pin to make your own brooch, or turn it into hair barrettes, pen toppers, and more.


