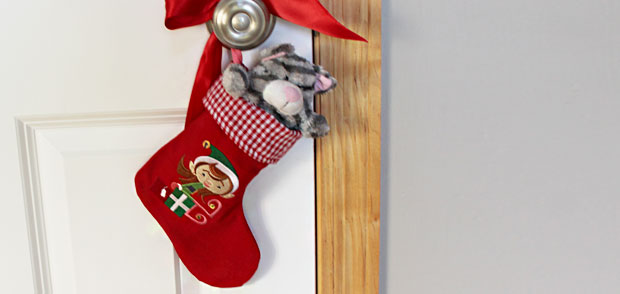
This small stocking is just the right size for doorknobs. Fill it with chocolates, peppermints, gift cards, and other small gifts for a sweet holiday treat. It's a terrific size for teachers, coworkers, book clubs, or even as an extra-special surprise for the cookie exchange, too!
Supplies
Project Needs & Notes
- 1/4 yard linen for outer shell
- 1/4 yard linen for inner lining
- Small pieces of gingham for cuff
- Medium-weight (2.5 ounce) cutaway stabilizer
- Temporary spray adhesive (like Gunold KK100)
- Air-erase pen for marking
- 3" length of 1/4" wide ribbon for hanger loop
- 40" length of 1 1/2" wide ribbon for hanger and bow
- Scotch tape
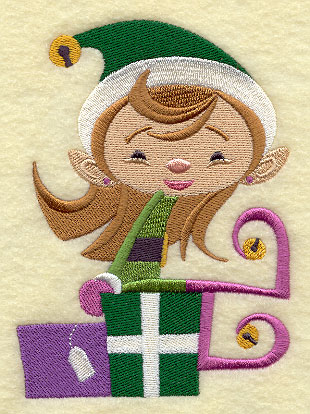
For this tutorial, I used the small size of the Elf Esther Sitting on Gifts design. Browse through the Christmas category to find something that matches your preference and decor. Choose designs that are
3" x 4" or smaller for this project.
Finished size:
6 3/4" from cuff to heel
6" from heel to toe
4" opening
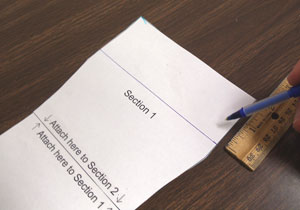
To get started, print the PDF of the stocking pattern by clicking the link below. There are two pieces of the stocking pattern that print on standard 8 1/2" x 11" pieces of paper.
Designs Used
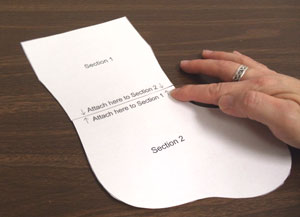
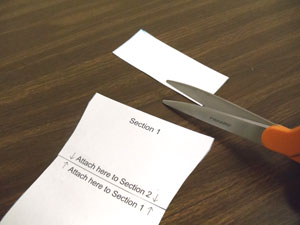
Cut out each piece and tape them together.
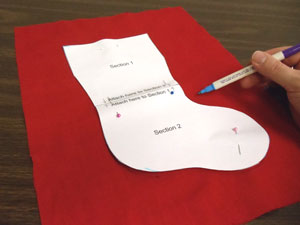
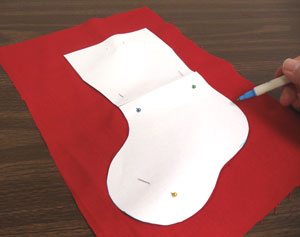
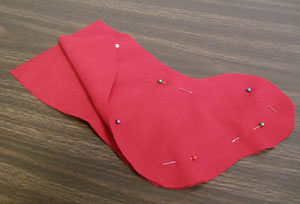
Lay the pattern piece on the linen fabric for the outer stocking.
Pin in place. Trace the shape using an air-erase pen.
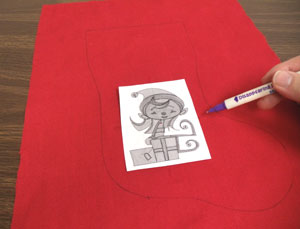
Print the design from embroidery software to make a template. If you don't have software to make templates, use Wilcom's TrueSizer, a free program.
Place the template in the traced stocking. There should be at least 3/4" between the outer edge of the design and the edge of the stocking shape.
Mark the center point of the design, as well as the vertical and horizontal axis points.
Remove the template and draw lines connecting the axis points. These lines will be used for hooping.

Spray the cutaway stabilizer with temporary adhesive and smooth the linen on top.
Hoop the fabric and stabilizer together, aligning the marks on the hoop with the marks on the fabric.
Attach the hoop to the machine and load the design. Move the hoop so that the needle is directly over the center point on the fabric.
Embroider the design.

After the design has finished, trim the stabilizer away from the back of the fabric. Leave about 1/2" around the design.
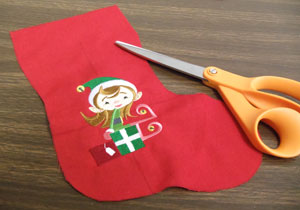
Cut out the stocking shape.
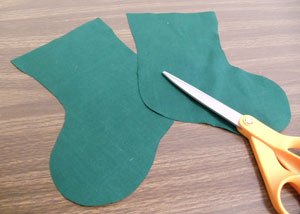
To prepare the fabric for the back of the stocking, flip the pattern piece over to the wrong side and pin it to the right side of the fabric.
Trace and cut out the shape.
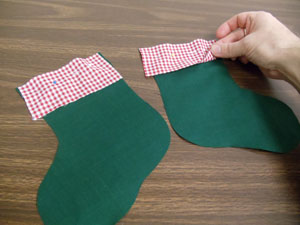
To assemble the outer shell of the stocking, align the front and back pieces together, right sides facing.
Pin in place and sew a 1/4" seam around the side and bottom edges. Leave the top edge open.
Turn the fabric right side out and press the seams with an iron.
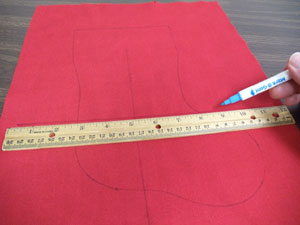
Next, prepare the pattern piece for the inner lining of the stocking.
Measure and mark 2" down from each top corner of the pattern. Draw a line connecting the marks.
Trim the pattern by cutting along the line you just drew.
Using the modified pattern piece, cut two pieces of the inner lining fabric.
To prepare the cuff fabric, cut two pieces of cotton gingham fabric that are 5 1/2" x 3".
Align the cuff fabric pieces with the top edges of the inner lining fabric, right sides facing.
Pin in place along the top edge and sew a 1/2" seam along the pinned edges only.
Then, press the back seams.

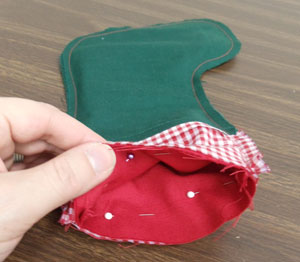
To assemble the inner lining, align the front and back fabric pieces together, right sides facing.
Cut a piece of 1/4" wide ribbon 3" long. Bring the ends of the ribbon together to form a loop and place the loop at the back edge of the inner lining, just under the bottom edge of the cuff.
Place the loop with raw edges extending about 1/4" out past the edge of the fabric and pin in place. Then, sew a 1/4" seam along the side and bottom edges of the fabric. Leave the top edge open.
Insert the outer shell of the stocking inside the inner lining, right sides facing.
Align the side seams and the top raw edges.
Pin in place and sew a 1/2" seam along the top edge, leaving about 2" open for turning.
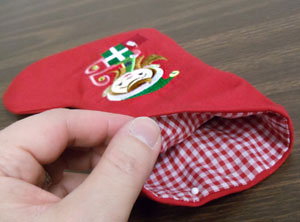
Pull the inner lining out through the opening and then insert the inner lining inside the outer shell.
Turn the fabric of the inner lining in 1/2" and press. Then, top stitch a 1/4" seam along the entire top edge of the stocking.
Fold the cuff over about 2" and then cut a 40" length of 1 1/2" wide ribbon.
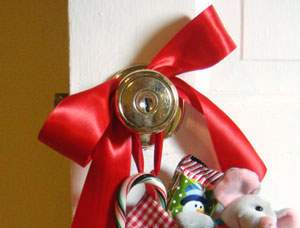
Thread the ribbon through the small loop. Then, tie around a doorknob with a pretty bow!

Fill this merry miniature stocking with small treasures and candies for the little ones in your lift, or give it as a gift for friends and family!


