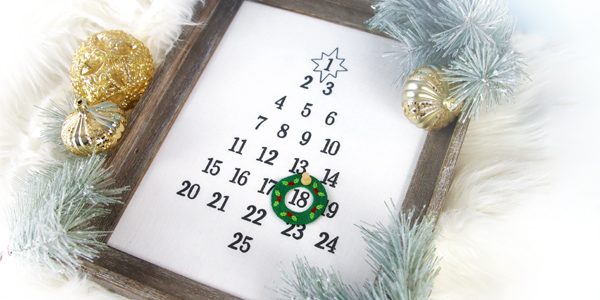
Count down the days to Christmas in classic style! This advent calendar features numbers arranged in a sweet, simple tree shape - combined with a freestanding wreath to move each day as December 25 approaches. We'll show you how to stitch and assemble your own embroidered advent calendar!
Supplies
Project Needs & Notes:
- Fabric for embroidery design
- Medium weight cutaway stabilizer
- Water-soluble stabilizer
- Temporary spray adhesive (such as Gunold KK100)
- Embroidery thread
- Scissors or rotary cutter
- Craft knife
- Cutting mat
- Quilting ruler
- Ruler
- Masking tape or painter's tape
- Satin pins or dressmaker's pins
- Decorative tack or pin
- Frame
- Foam board sheer (same size or larger than frame)
- Thimble (optional)
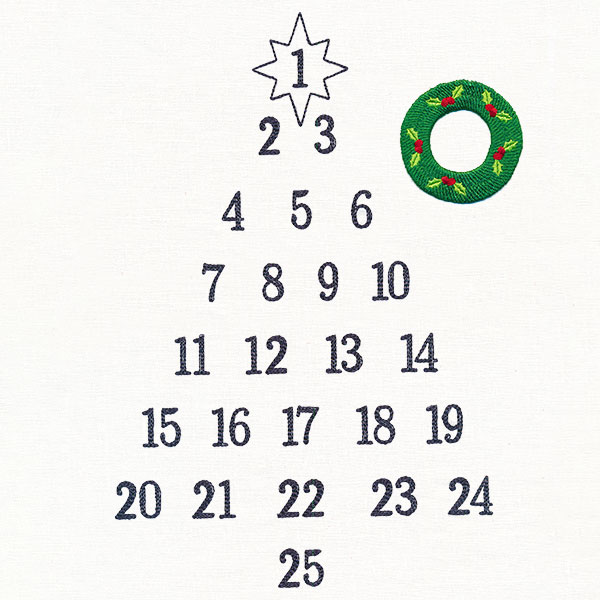
Designs featured in this tutorial include:
- X14986, Christmas Tree Advent Calendar
Special note:
For best results, make sure your frame size is at least 2 inches taller and wider than your finished embroidery design. This way it will have at least a 1 inch border or fabric around the entire design once framed.
Designs Used
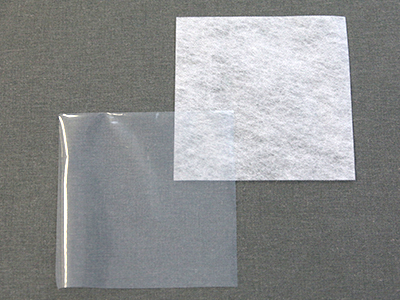
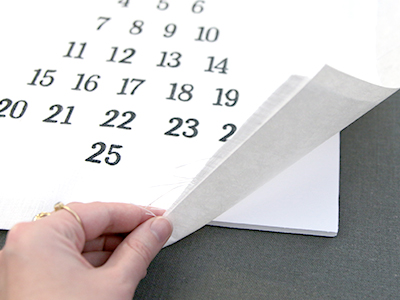
For the freestanding embroidery piece, there are a couple of different kinds of water-soluble stabilizer. One is clear and plastic, and that brand is Sulky Ultra Solvy. The other is soft and fibrous, called Vilene. Both will work very well.
Use a size 11 or 75/11 sharp sewing needle. A sharp sewing needle has a smaller, finer point than an embroidery needle. That means it will make smaller holes in the stabilizer.
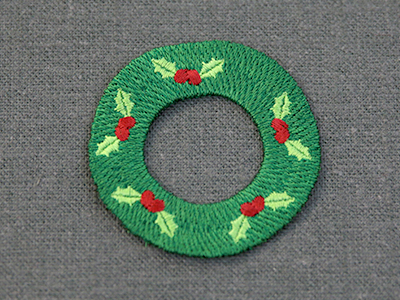
Hoop the water-soluble stabilizer firmly, and embroider the design.
Wind bobbins to match the thread colors if desired. Once the embroidery is complete, trim away the excess stabilizer, and follow the manufacturer's instructions to remove the rest of the stabilizer.
For more information on embroidering freestanding designs, click here.
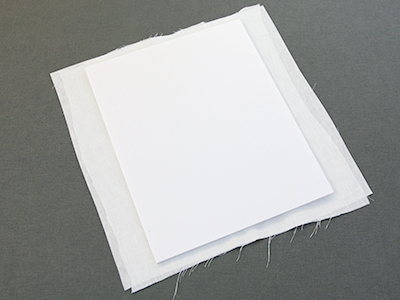
Before embroidering the main design, make sure the fabric piece is at least 1-2 inches wider and taller than the foam board.
This will ensure that there is enough fabric to wrap around the foam board when framing the design later.
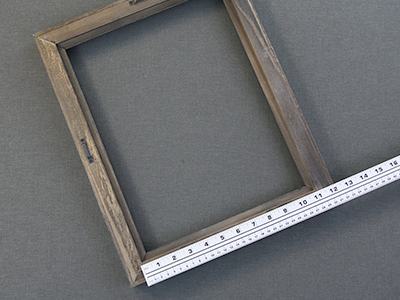
To find the final size of the foam board, measure the opening on the back side of the chosen frame.
Make sure you are measuring from the back side of the frame. If you measure from the front, the foam board will end up too small.

To allow the foam board to fit in the frame once wrapped in fabric, it needs to be slightly smaller than the opening. To find this size, subtract 1/4 inch from the height and width of the frame opening. (In this example, our back frame opening is 11 inches x 14 inches, so our size will be 10 3/4 inches x 13 3/4 inches).
Use a craft knife and quilting ruler to cut the foam board to that size. For best results, cut about halfway through the foam with your first cut, and then cut the rest of the way through with one or more cuts after that. This is much easier than trying to cut all the way through the board with one single cut.
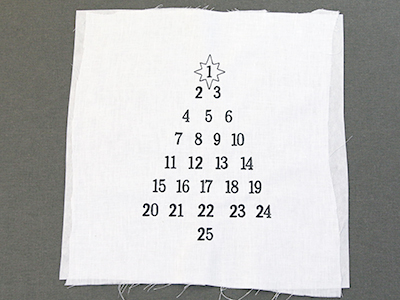
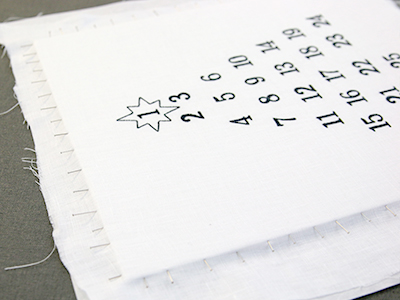
Now that the foam board is cut, and the fabric piece is cut larger than that, spray a piece of cutaway stabilizer with temporary adhesive, and smooth it onto the back of the fabric piece. Hoop the fabric and stabilizer together firmly, and embroider the calendar design. Make sure to center the design on the fabric as best as possible.
Once the design is complete, unhoop it, and iron away any wrinkles or creases from the hoop. Then lay it on top of the foam board so the embroidery is facing up. Center the design on top of the foam board and make sure it is not crooked.
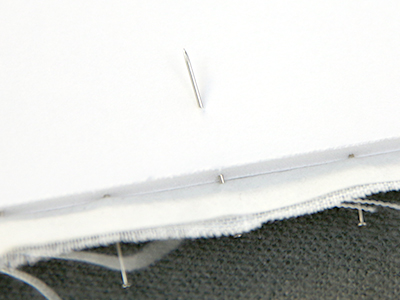
The fabric will be mounted in the frame by lightly stretching and pinning the embroidered design onto the foam board. The pins will be pushed into the sides of the foam. For best results, only push the pins in halfway initially. This will make them easy to move and adjust as needed. Once all the pins are in place they can be pushed in the rest of the way.
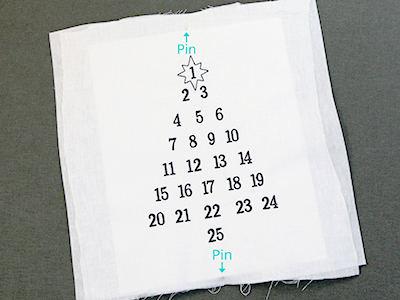
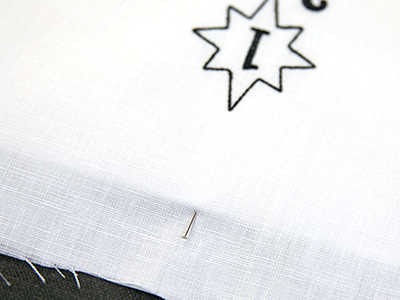
To start, position your design and place two pins. Place one pin at the center top of the design, and one at the center bottom. Once the first pin is in place, you can pull gently to stretch the fabric just until it is flat and taut, then place the second pin to hold that tension. Do not pull and stretch the fabric too much, however, as it will cause the foam board to begin to bend.
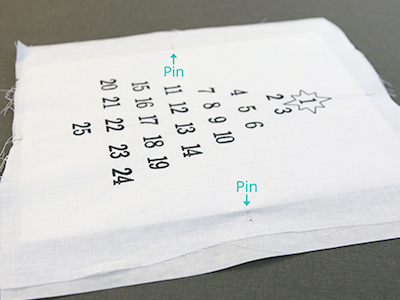
Then repeat to stretch and place two more pins. This time they will be at the center right and center left sides of the piece.
Stretching works best if you do it gradually. So if you add two pins to one side, make sure to add two matching pins to the other three sides as well before doing anything else.
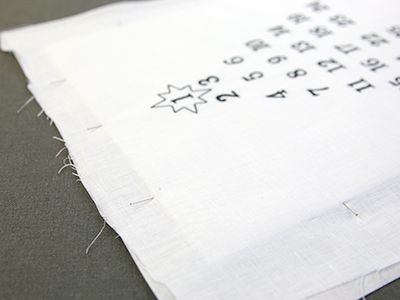
For example, next you can add two more pins to each side, simply place them between the center pin that is already there and each of the corners.
Continue to stretch and add more pins gradually. For best results, keep adding pins centered between two pins or a pin and a corner. Keep going until you have all your pins 1/2 - 3/4 inches apart, around all four sides.
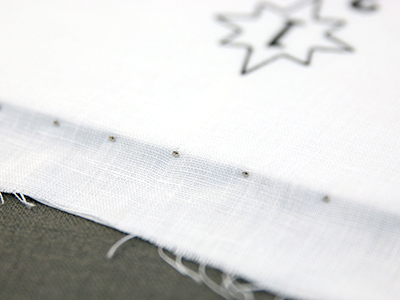
Once you are happy with how your design is stretched and pinned, carefully push all the pins in the rest of they way. To prevent this from making your fingers sore, you can use a metal thimble.
While you are pushing the pins in, also make sure they are going straight into the foam. If they are not, they will poke through the sides of the foam board. This means they would stab through your design on the front, or stab through the back and make it harder to frame.
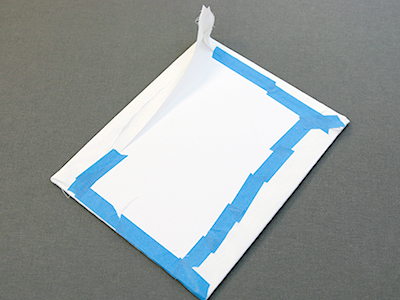
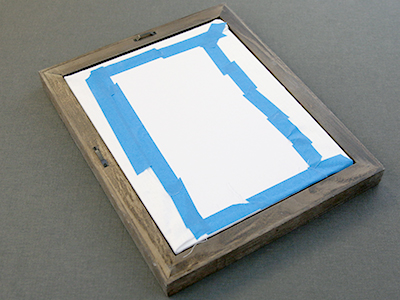
After the pins are all pushed in, wrap the remaining fabric around to the back of the foam board.
Fold it to lay as flat as possible and tape it in place using masking tape or painter's tape. Be especially mindful of how you fold your corners to try and get them very flat.
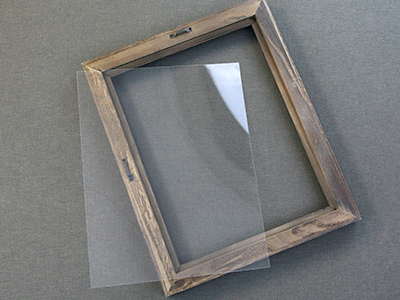
Remove the glass from the frame, and set it aside or throw it away. It will not be used at all in this project. Taking it out makes room for the embroidery design to fit in the frame.
Place the design in the frame with the right side facing the front.
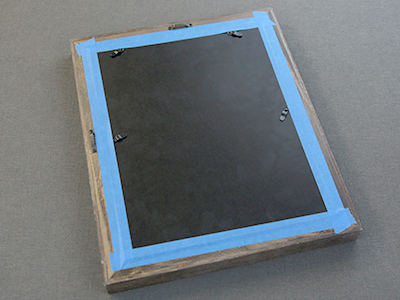
If your frame had actual glass in it, there should be enough room left to just place the back piece of the frame on like normal using the attached tabs.
If the frame has clear acrylic or is simply not deep enough to accommodate the foam board and still latch shut, tape the back piece in place instead.
If you never intend to remove the design from the frame, you can also hot glue it in place.

If the hanger for your frame is on the back piece (rather than on the frame itself) and you intend to hang your framed project, do not use tape to hold it in place. It is not strong enough to hold the back in place while the frame is hanging from the back. Instead you will have to hot glue it in place or use a different frame.
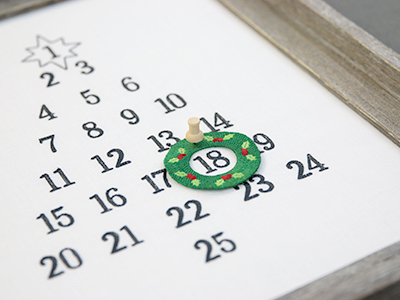
To use your advent calendar, place your freestanding piece around the desired number. Use a decorative pin or tack to stab through the freestanding piece into the foam board, and it will stay in place. Simply move the freestanding piece and pin together to count up or down to Christmas as the days pass.


