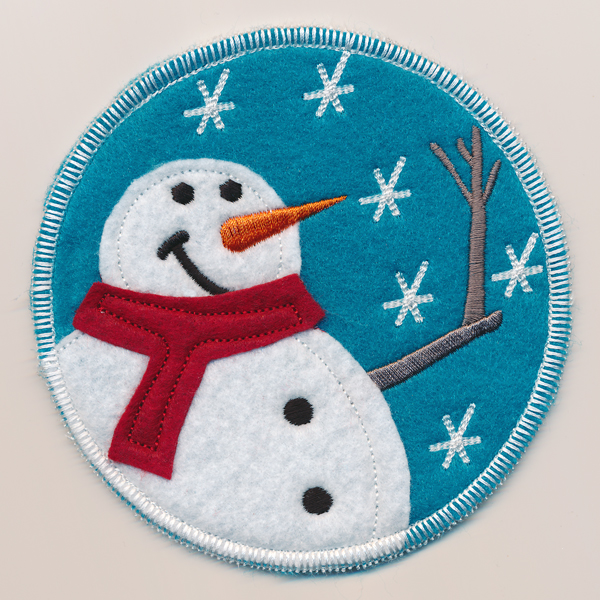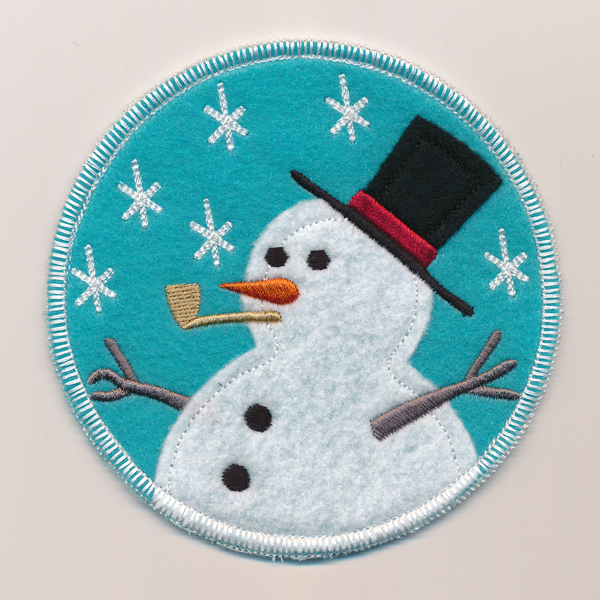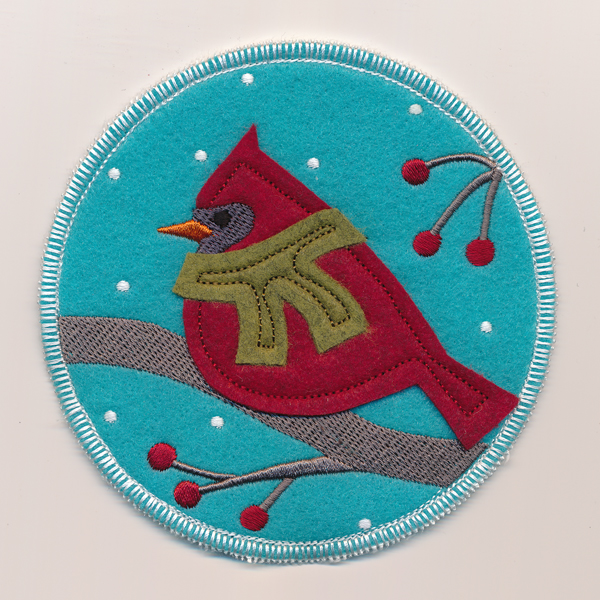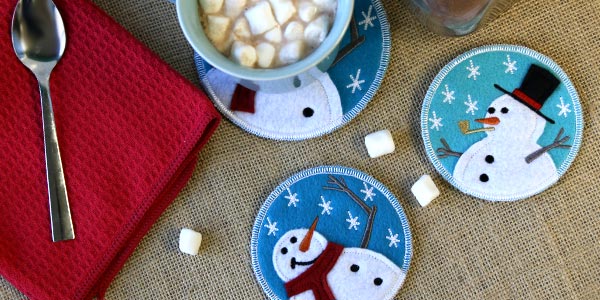
Pour yourself a warm drink and cozy up with these cute coasters! Each coaster stitches together in-thehoop, complete with applique details. We'll show you step-by-step how it's done!
Supplies
- Small pieces of felt (3 colors)
- Tear-away stabilizer
- Temporary spray adhesive (Gunold's KK100)
Designs Used
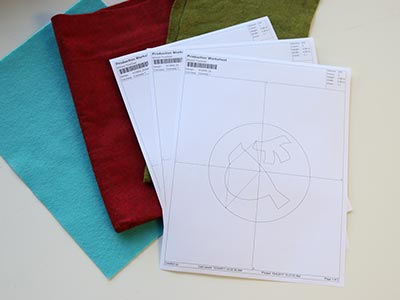
When you download the in-the-hoop coaster design, you will find multiple files. Some are the embroidery files, and the others are dieline files marked with the letters "DL". Dielines are used to cut the fabric to the correct shape and size. Open and print each dieline file using an embroidery software. If you do not have an embroidery software, take a look at our helpful video on using dielines.
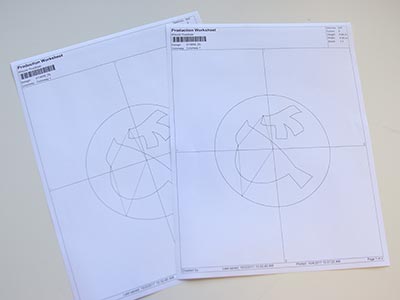
Make sure to print two copies of the front dieline file. This will allow you to have all the paper dielines separate from one another, and make them easy to use.
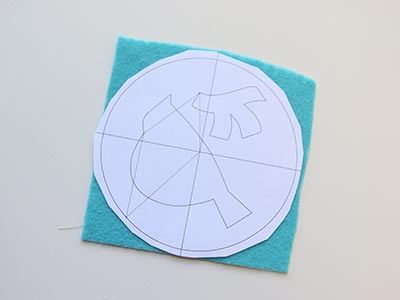
Spray the backside of the printed dieline for the front circle with a small amount of temporary adhesive. Smooth it onto a piece of felt.
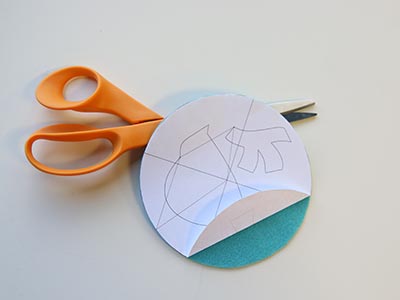
Cut out the shape.
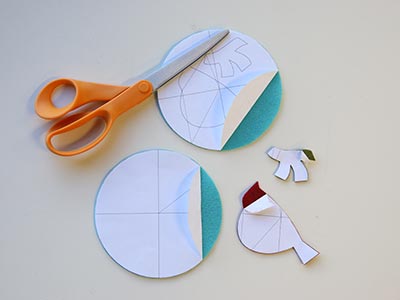
Repeat this process for the back dieline and fabric, making sure it is the same fabric as used in the front. Then repeat for the two other dieline pieces, using felt that are different colors. These will be the body of the bird and the scarf.
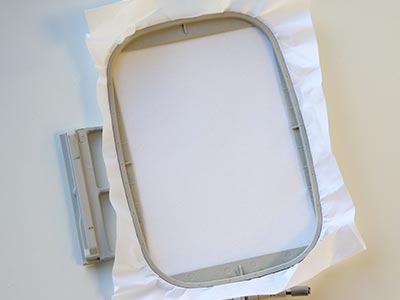
Now that the fabric pieces are cut to the proper shape and size, it's time to embroider the design. Hoop a piece of tear-away stabilizer. Madeira E-Zee Tear 1.5 oz. or Floriani Tearaway Medium are good choices. Those brands are more fibrous, less paper-like, and will tear more cleanly.
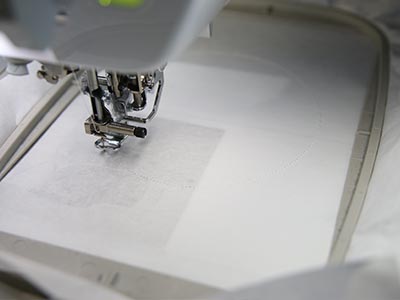
Attach the hoop to the machine and load the full embroidery design (not the dieline files). Use a size 11 or 75/11 sharp sewing needle, rather than an embroidery needle. A sharp sewing needle has a smaller, finer point than an embroidery needle, so that will make smaller perforations in the stabilizer. Embroider the design. The first thing to embroider will be a dieline or outline. This marks the area on the stabilizer for the front fabric circle.
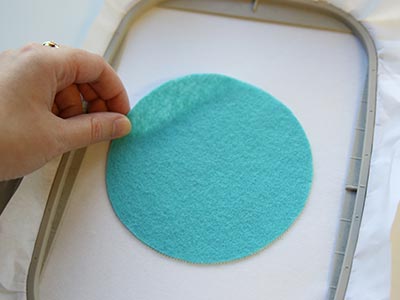
Remove the hoop from the machine, but do not unhoop the stabilizer. Spray the back of the front fabric circle with a small amount of temporary adhesive. Place the fabric right inside the sewn outline.
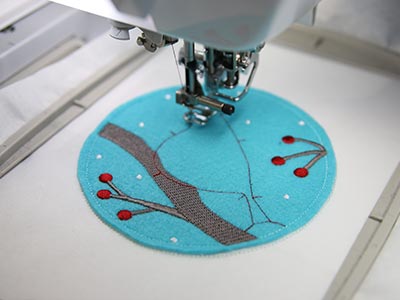
Attach the hoop back onto the machine and continue with the design. A running stitch tack down will sew next. This holds the front fabric in place for the remainder of the design. Some of details will embroider, followed by the dieline for the body of the bird. Watch the color change sheet and stop the machine before sewing the next tackdown step.
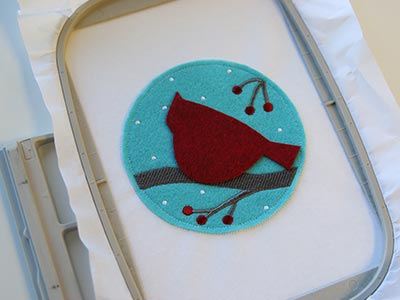
After the dieline is finished sewing, stop the machine, and remove the hoop, but do not unhoop the stabilizer. Take the fabric dieline for the body of the bird, and spray the backside of the fabric with temporary adhesive. Place the felt piece right on the sewn dieline, matching up the edges of the piece with the small extended lines on the sewn dieline.
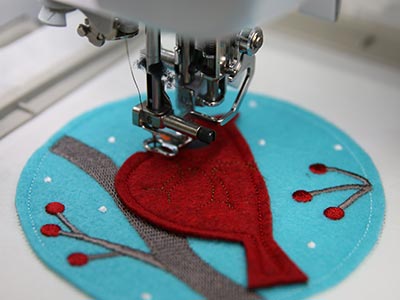
Then continue to embroider the design. A tackdown will stitch the fabric piece into place, and then more details will sew. Again, watch the color change sheet and stop the machine before sewing the next tackdown step.
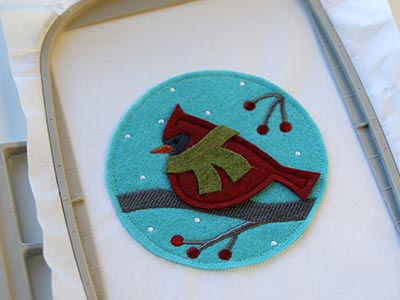
Once the dieline for the scarf has sewn, stop the machine, and remove the hoop without unhooping the stabilizer. Spray the back of the felt scarf piece with temporary adhesive, and smooth it into place.
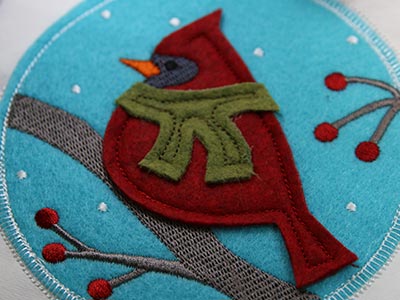
Place the hoop back on the machine, and embroider the tackdown step and any remaining detail steps. On the color change sheet, look for the note that says "finishing seam," and stop the machine before sewing this step.
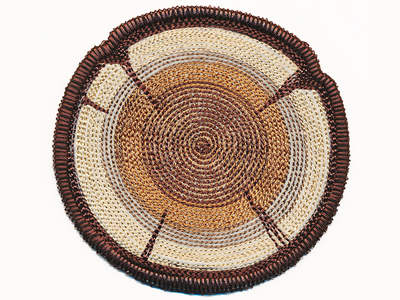
This Rustic Wood Slice Coaster (In-the-Hoop) looks different, but stitches together in a similar way. After you lay down the front fabric piece, a placement dieline for the inner fabric piece will stitch. Lay down the applique fabric, then continue stitching to embroider all the inner details. Stop before sewing the "finishing seam" step to add the back piece to the coaster.

Take the hoop off of the machine, but do not unhoop the stabilizer. Spray the back side of the back fabric piece, and place it inside of the sewn circle on the back of the hoop.

Place the hoop back on the machine and embroider the finishing seam.
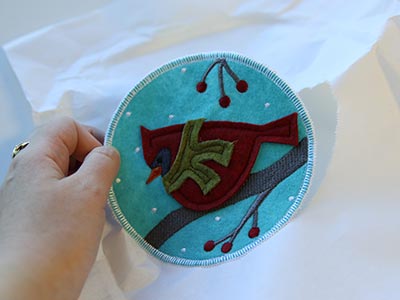
Once the embroidery is finished, remove the hoop from the machine. Unhoop the stabilizer, and carefully tear it away.
