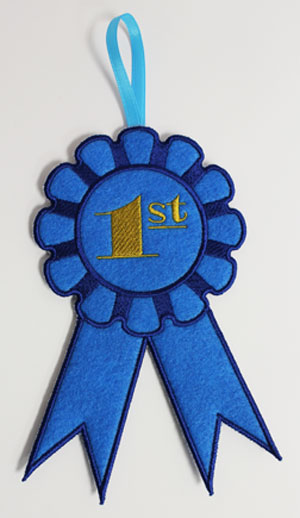
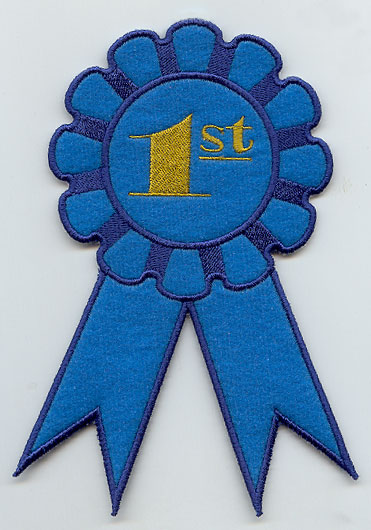
Make your own award ribbons, right in the hoop!
These applique designs are stitched onto tear-away stabilizer, with a fabric back. The result is a freestanding ribbon to commemorate and celebrate special occasions and events.
Stitched in traditional blue, red, and white colors, these in-the-hoop ribbons make great awards for friendly competition during craft fairs, classroom games, family reunion activities, and more.
And stitch one for yourself to hang in your sewing room to show off your prize-worthy handiwork!
Read below for instructions for how to make your own in-the-hoop award ribbons.
Supplies
**Small pieces of fabric (for front and back - I used felt)
**Temporary spray adhesive
**Medium weight cutaway stabilizer
**Tear-away stabilizer
**Masking tape
**7” length of 1/2" wide ribbon or button magnet and hot glue (optional)
Designs Used
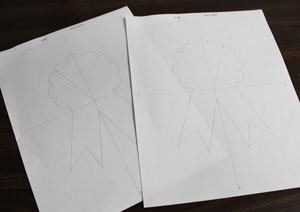
When you download an in-the-hoop award ribbon design, you'll find three files. One file will begin with the letter "X" followed by 4 numbers -- that's the embroidery file. The other files are marked with "_DL" -- those are the dielines. The dielines are used to cut the fabric for the front and back (the files are marked as "_DLFront" and "_DLBack"). If you have embroidery software, open the DL (dieline) files and print them at full size. These are the templates we will use to cut the shapes. If you do not have embroidery software, you can sew the dielines directly onto paper. To do this, hoop a piece of paper and embroider the dieline files.
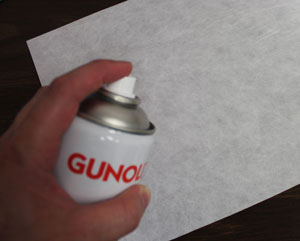
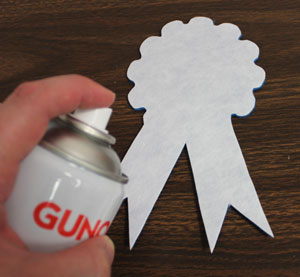
Next, spray a piece of medium weight cutaway stabilizer with temporary adhesive.
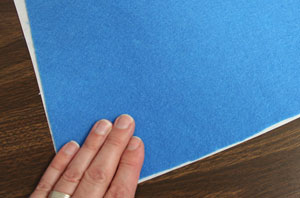
Smooth the fabric on top of the stabilizer.

Then, spray the backside of the paper template with a quick shot of adhesive and smooth it on top of the fabric. Cut out the shape. Do this for the front dieline, and the back dieline too.
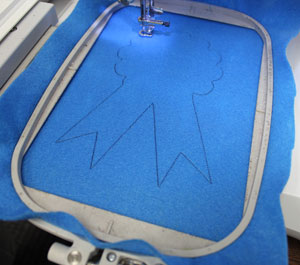
If you do not have embroidery software, another option is to embroider the dielines directly onto the fabric. Cut a piece of medium weight cutaway stabilizer and fabric a bit larger than your hoop. Then, spray the stabilizer with temporary adhesive, smooth the fabric on top, and hoop the fabric and stabilizer together. Attach the hoop to the machine, load the first dieline file (the files that end in "_DL"). Embroider the dieline.
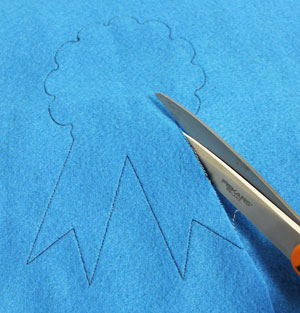
Cut out the shape.
Now that the fabric pieces are cut and ready to go, it's time to assemble the ribbon.
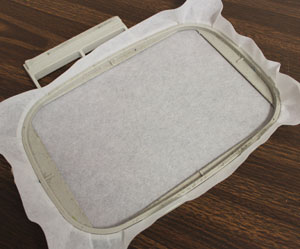
Hoop a piece of tear-away stabilizer.
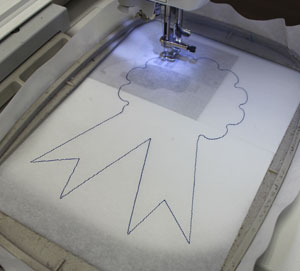
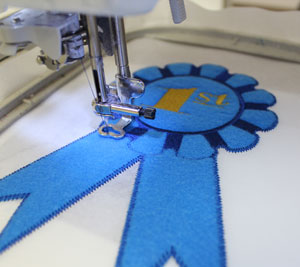
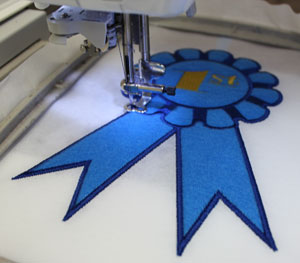
Load the full embroidery design (the file that begins with "X" followed by 4 numbers). Attach the hoop to the machine and embroider the design - the first thing to sew is another dieline. When you see a note on the color change sheet that says "front piece tack down" stop the machine.
Then, spray the backside of the front fabric piece with adhesive.
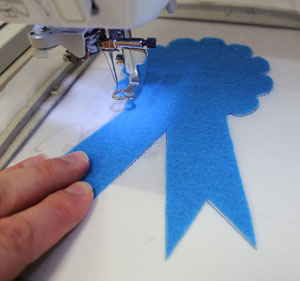
Place the fabric piece right inside the sewn dieline.
Continue with the design - the next thing to sew is a zig-zag stitch. This tacks the fabric down to the stabilizer to hold it in place during the remainder of the embroidery.
Other elements of the design will sew next. Look for a note on the color change sheet that says "back piece tack down." When you get to this point, stop the machine.
Remove the hoop from the machine but do not unhoop the stabilizer.
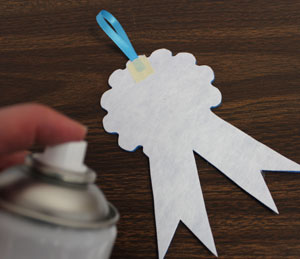
You can add a ribbon loop to the top of the ribbon for easy hanging. Cut a piece of 1/2" wide ribbon to 7" long and form it into a loop. Then, using masking tape, tape the raw ends of the loop to the top edge on the backside of the back fabric piece.
Then, spray the backside of the back fabric piece with adhesive.
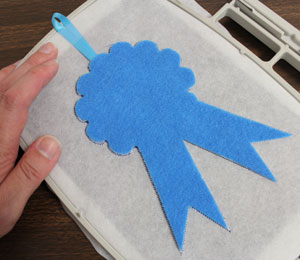
Turn the hoop over to the backside and place the back fabric piece right inside the shape.
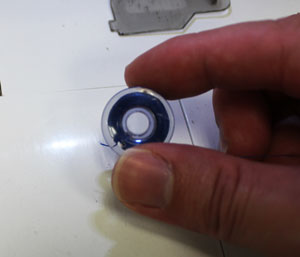
I wound a bobbin with the same color as the top thread for the remaining steps.
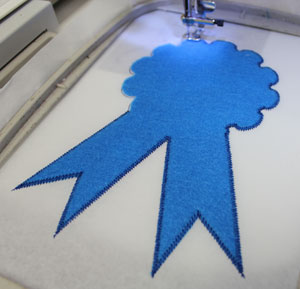
Attach the hoop back on the machine and continue embroidering the design. The next thing to sew is a tack down stitch which binds the back fabric to the stabilizer. And then finally a satin stitch border will sew.
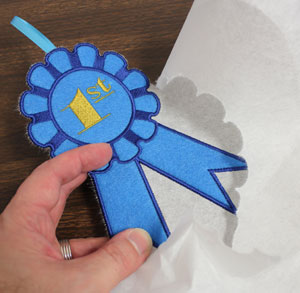
Remove the stabilizer from the hoop and gently tear the excess away.
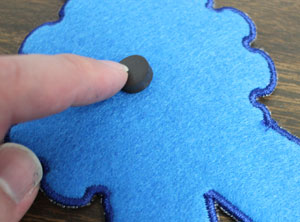
Another option is to add button magnets to the backside of the ribbon with a few drops of hot glue - now your ribbon is a refrigerator magnet!


