
Create party favors, potpourri bags, and more with this in-the-hoop Battenburg freestanding lace drawstring bag! It's stitched using 100% cotton thread and water-soluble stabilizer. Follow along with the project instructions below to learn more about making your own.
Supplies
Project Needs & Notes:
- Water-soluble stabilizer (such as Vilene or Sulky Ultra Solvy)
- 30-35 weight cotton embroidery thread
- Embroidery thread
- 75/11 sharp sewing needle
- Pressing cloth and iron
- Sewing machine or hand sewing needle
- 1/4" wide ribbon or cord
- Rule
- Scissors
Designs featured in this tutorial include:
- EMP80688-1, Fancy Drawstring Bag (Battenburg Lace)

Freestanding lace designs have been specially digitized for water-soluble stabilizer. After the stabilizer is removed, beautiful embroidery remains. When you download the design, you will find two files containing the pieces of the lace drawstring bag.
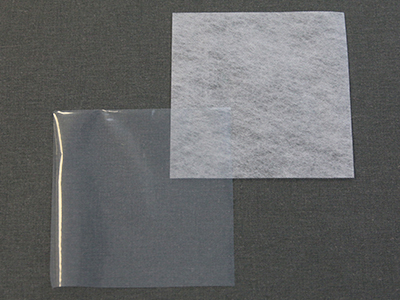
There are a couple of different kinds of water-soluble stabilizer. One is clear and plastic, and that brand is Sulky Ultra Solvy. The other is soft and fibrous, called Vilene. Both work very well. Vilene is used in this demonstration.
Use a size 11 or 75/11 sharp sewing needle. A sharp sewing needle has a smaller, finer point than an embroidery needle and it will make smaller holes in the stabilizer.
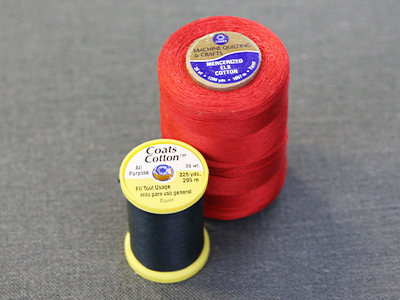
This design has been digitized for 30-35 weight cotton thread. It can be found under different names such a mercerized cotton or all-purpose cotton thread.
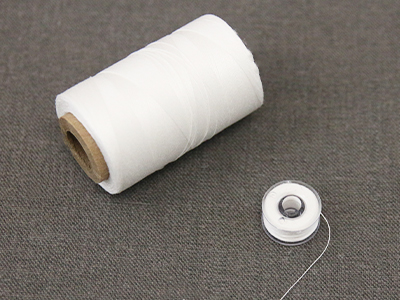
As the freestanding lace will be seen from both sides, wind a bobbin to match every thread color being used in the chosen design.
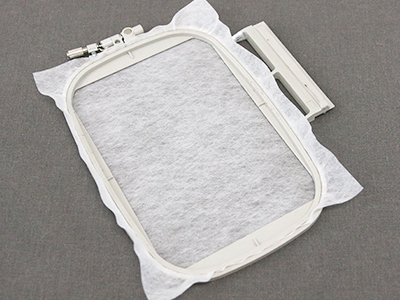
Hoop the stabilizer firmly. Make sure it is nice and tight with no wrinkles.
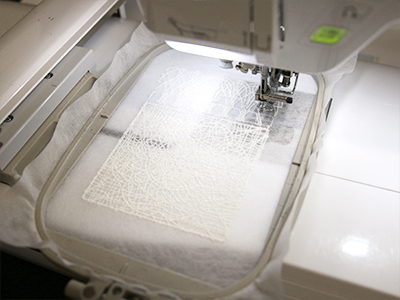
Attach the hoop to the machine, and load file "a". Embroider the first piece using a matching bobbin for every thread color.
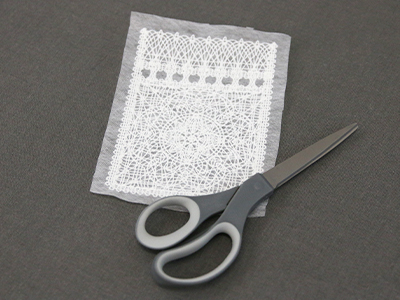
After embroidering, trim away the excess stabilizer.
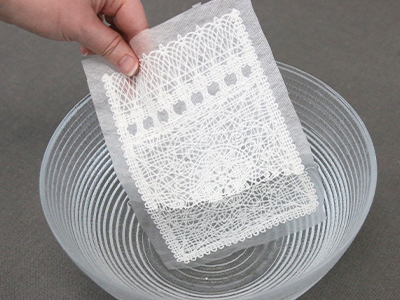
The stabilizer's packaging should give instructions for removing the excess. For Vilene, soak the embroidered lace for a few hours.
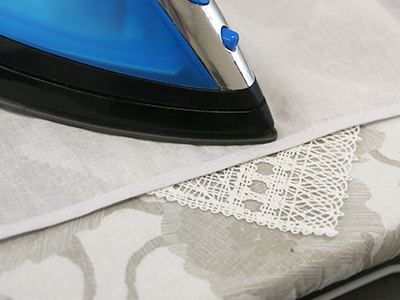
Allow the lace to air dry, and then press it with a pressing cloth on top.

Repeat the steps above to embroider the second lace piece of the drawstring bag (file "b").
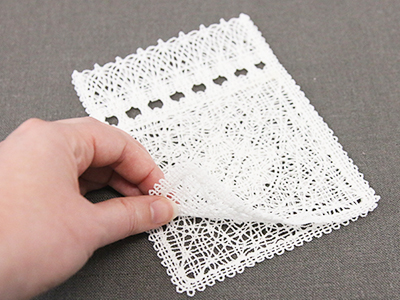
Take both lace pieces and lay them on top of each other with wrong sides together. Make sure to match up the edges carefully so that the pieces are lined up on all sides. Then use pins or sewing clips to hold the pieces together.
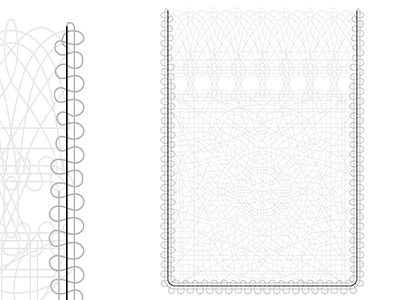
The drawstring bag lace pieces have been specially designed with Battenberg lace borders along the right, left, and bottom edges of each piece. Battenberg borders are made up of 2-3 parallel lines, and a squiggle curving pattern running over the lines.
This border pattern creates a line to follow while sewing the pieces together, and it will also help to hide the sewing. Look at the border of your lace pieces carefully. Where the border has 3 lines, sew along the center line. Where the border has 2 lines, sew along the line closer to the center of the design.
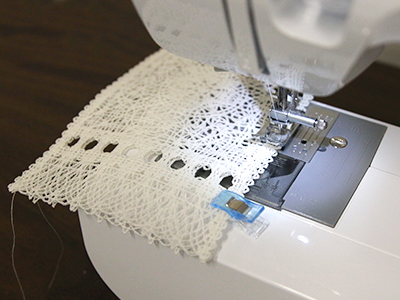
Following the center and interior lines of the Battenberg border (as explained by the previous step), sew the two lace pieces together using thread matching the lace. Sew along the left, right, and bottom edges, but leave the top edge open and unsewn. For best results, use a straight stitch on a sewing machine, but you can also hand sew if needed.
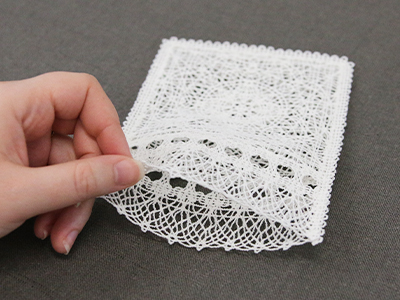
Once the pieces are sewn together, they should create a pouch with an opening at the top.
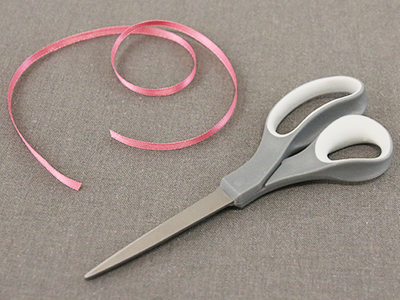
To create the drawstring for the drawstring bag, cut a piece of 1/4" ribbon or cord that is 24" long.
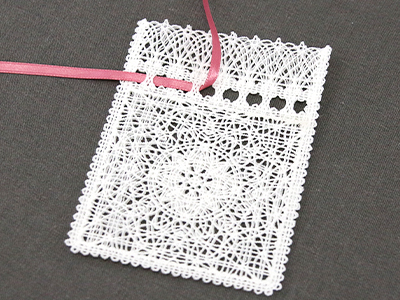
Locate the openings present in the design for the string. The string needs to be threaded a specific way to end up with both ends centered on the front of the bag. Start by locating the two center openings on the front of the bag. Thread the string into the left center opening. Then weave it to the left, alternating over and under the bars that separate the holes until you get to the left edge as shown.
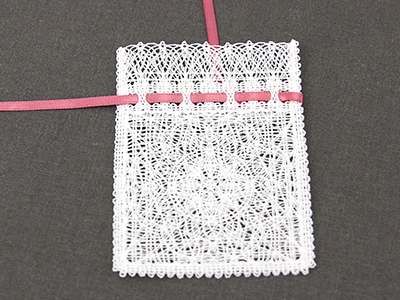
Then wrap the string around the outside of the left edge and flip the bag over so you are looking at the back. Weave the string all the way across the back of the bag, alternating under and over each bar separating the openings.
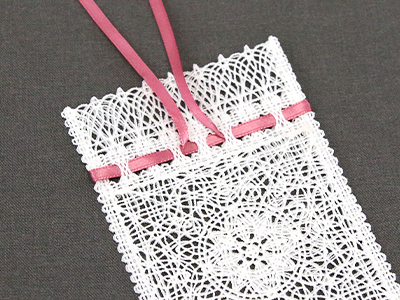
Then wrap the string around the outside of the right edge and flip the bag over so you are looking at the front again. Weave the string under and over the bars until you reach the center right hole. If threaded correctly, both ends of the string should be side by side on the outside of the drawstring bag now. Adjust and slide the string as needed to make both ends approximately the same length.
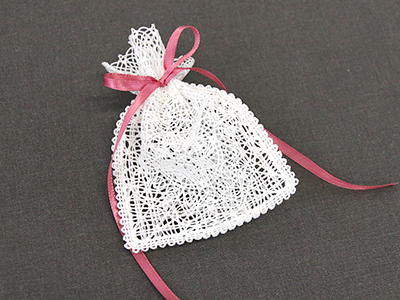
Pull on these strings while holding the bag in one hand to close the opening of the bag. Then tie the string into a knot or bow to hold it shut. If desired, you can cut the ends of the string shorter, but make sure to trim the string while the bag is open and flat and not gathered shut. This is to make sure you do not trim them too short, so they fall out when opening the bag.


