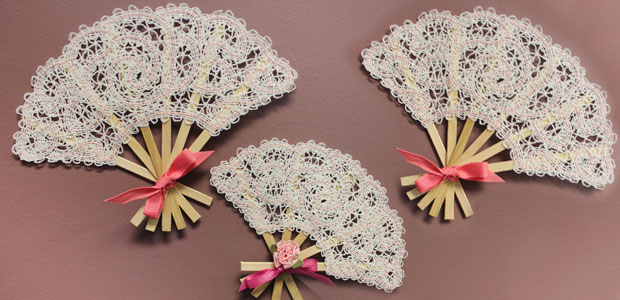
Display intricate, beautiful Battenburg lace in the form of decorative fans. Add an air of elegance to your home with these stylish fan -- they're sure to bring a graceful look wherever they are. Follow our tips and tricks to make your own set of delicate Battenburg lace fans.
Supplies
Project Needs & Notes
- Water-soluble stabilizer
(Vilene or Sulky Ultra Solvy)
- 30-35 weight cotton thread
- Size 11 or 75/11 sharp sewing needle
- Wooden crafts sticks (5 3/4" long by 1/4" wide)
- Fabric glue
- Ribbon
- Embellishments
(satin flowers, tassels, beads, etc.)
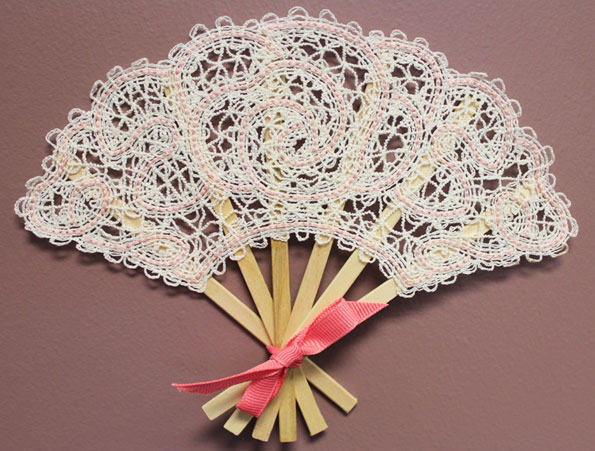
For this tutorial I used the Rose Fan (Battenburg Lace) design. Find even more fan designs here.
Designs Used
Battenburg lace designs are embroidered onto water-soluble stabilizer. When the stabilizer is soaked away, beautiful lace remains behind.
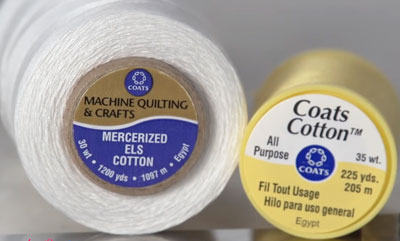
Battenburg lace is digitized for 30-35 weight cotton thread. This thread brings a classic, hearty, and traditional look to the lace pieces.
30-35 weight cotton thread is found under different names, such as mercerized cotton or
all-purpose cotton.
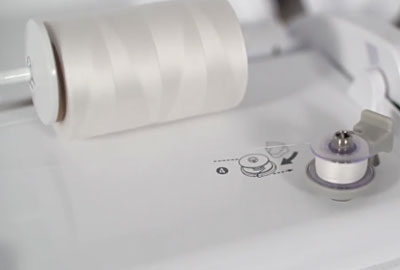
You will use the same thread in both the top and the bobbin. Wind a bobbin with the cotton thread..
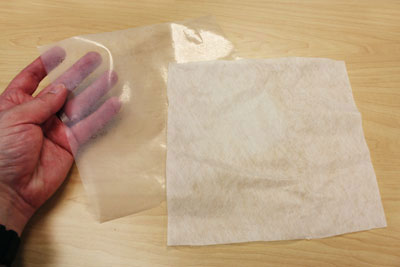
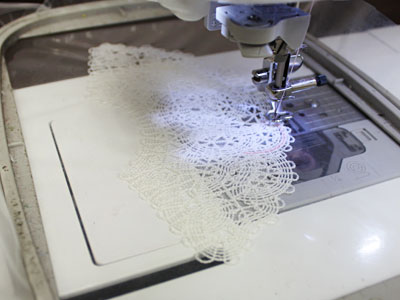
Hoop a piece of water-soluble stabilizer, and embroider the fan design.
Use a size 11 or 75/11 sharp sewing needle. A sharp sewing needle has a smaller, finer point than an embroidery needle. That means it will make smaller holes in the stabilizer.
At each color stop, change the bobbin to match the top thread.
Trim the excess stabilizer away. Then, soak the pieces in water to remove the remaining stabilizer.
Check your stabilizer's package instructions to see how long to soak the stabilizer. For Vilene, the stabilizer is dissolved in a few moments.
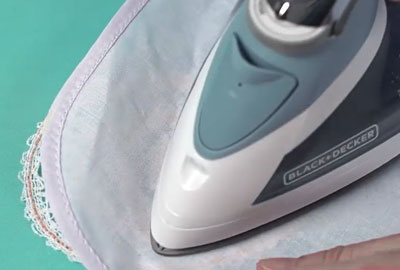
Blot, and allow to air-dry. When the piece is completely dry, press with an iron. Use a pressing cloth to prevent scorching.
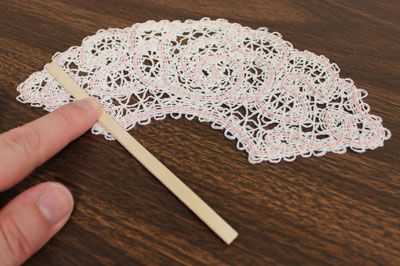
Place the lace piece wrong side up.
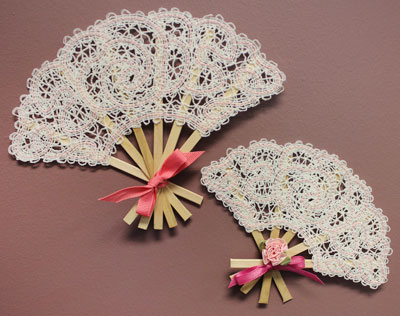
If working with the largest fan design, use six 5 3/4" long craft sticks.
Add fabric glue to the top half of one side of the stick, and press it in place. The top of the stitch should be one inch from the left outer edge of the lace, and 1/4" from the top edge of the lace.
Angle the stick so that it meets the bottom left corner of the lace as well.
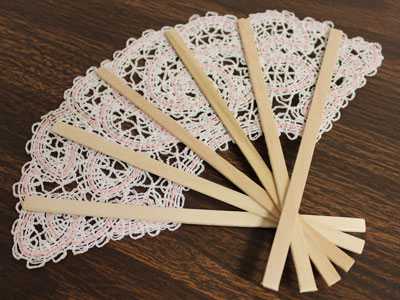
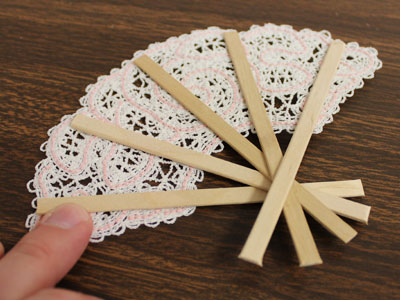
Add another stick. Add hot glue to the top half, and press it in place. The top of the stick should be 1 1/2" from the first stick, angled so it overlaps the first stick at the center bottom of the lace.
Add a drop of glue and secure the sticks together at this point.
Repeat this process across the lace using a total of 6 sticks. The top of the sixth and last stick should be one inch from the right edge of the lace, with the stick meeting the bottom right corner of the lace.
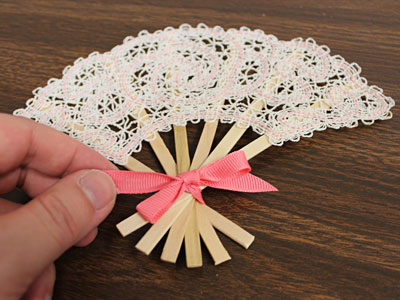
Tie a ribbon around sticks where they meet.
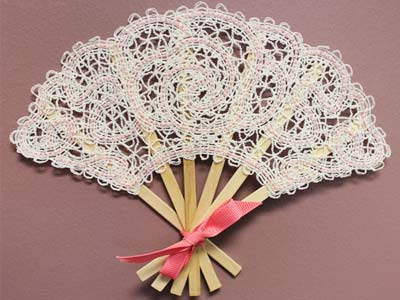
If you are working with the smaller size of the fan, use five craft sticks that are 4 1/2" long.
Follow the steps above, but place the first stick 3/4" from the outer left edge of the lace, and 1/4" from the top edge of the lace.
The fifth and final stick should be about 3/4" from the outer right edge of the lace.
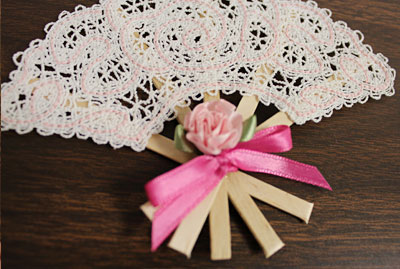
Add embellishments to your fan. In this example, a satin rose and ribbon have been affixed using hot glue.
Use your Battenburg lace design to add a hint of elegance to end tables, dressing tables, powder rooms, and bathrooms.


