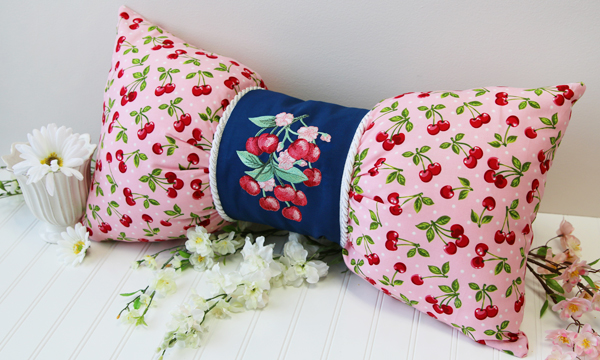
A beautiful bow pillow adds an air of elegance to any room! Pick your favorite fabric and embroidery, then follow these step-by-step instructions to make your very own bow pillow.
Supplies
Project Needs & Notes
- 1/2 yard lightweight canvas
(for center of pillow)
- 1 yard print quilter's cotton (for pillow form)
- Medium-weight (2.5 ounce) cutaway stabilizer
- Air-erase pen for marking
- Polyester fiberfill
- 1" wide decorative trim
- Needle and thread for hand sewing
The designs used in this tutorial include:
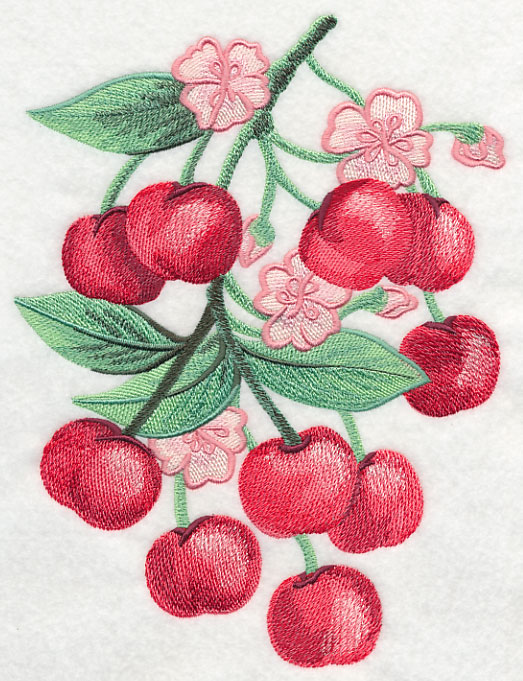
- M2726, Cherries and Blossoms Watercolor Feature
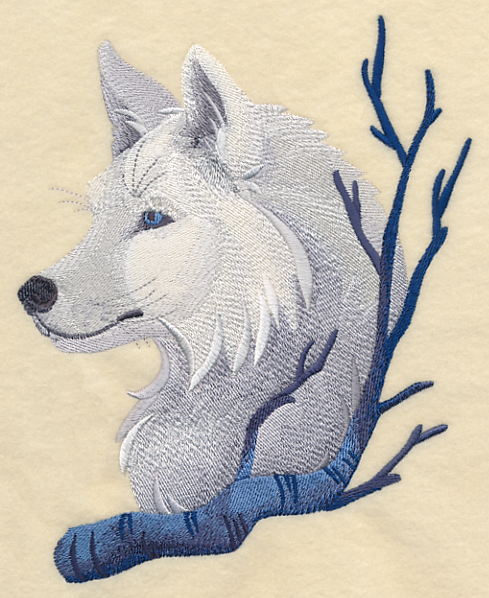
- L8945, Wintry Wolf
Finished Size: 26" x 15"
Designs Used
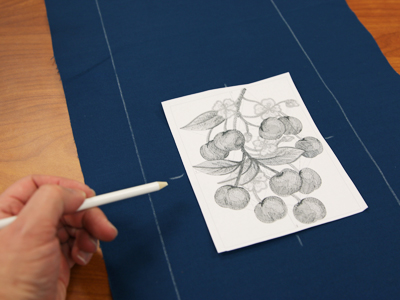
Draw a 8" x 26" rectangle on a piece of lightweight canvas. Leave a couple of inches of excess fabric around the shape for hooping.
A template, or printout of a design, is an excellent tool to help with placement.
Print a template of the design from your embroidery software. If you do not have embroidery software, Wilcom's TrueSizer is a free program to use.
Arrange the design so it's in the center of the rectangle.
Mark the center points and the vertical and horizontal axis lines for each design.
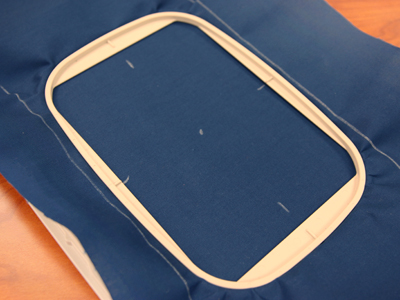
Hoop the fabric with one piece of medium-weight cutaway stabilizer, aligning the marks on the hoop with the lines on the fabric.
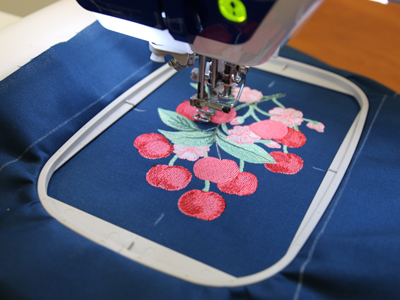
Attach the hoop to the machine and load the design.
Move the hoop so that the needle is directly over the center point.
Embroider the design.
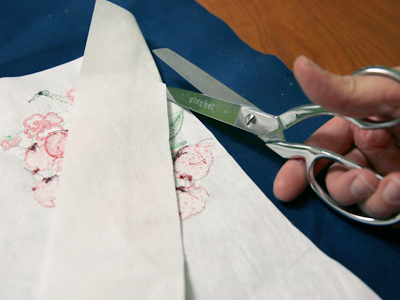
After embroidering, trim away the excess stabilizer on the backside of the embroidery.
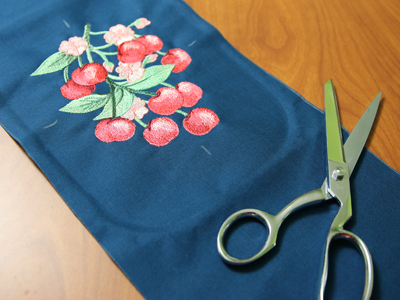
After embroidering, trim away the excess stabilizer on the backside of the embroidery.
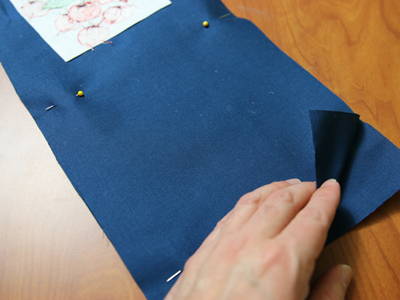
Lay the embroidered front piece on top of another piece of lightweight canvas, right sides together.
Pin in place and trim the fabric following the shape of the front piece.
Remove the pins and set aside.
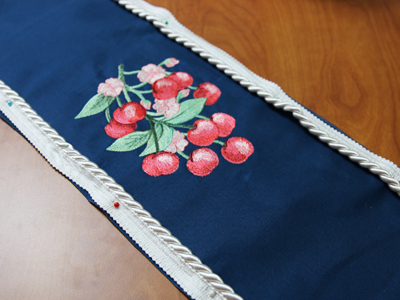
Lay the embroidered front piece flat with the right side facing up.
Add the trim along each long edge of the embroidered piece, aligning the raw edges of the trim with the raw edges of the fabric.
Pin in place.
Using the zipper foot on your machine, sew a 1/4" seam along each long side edge.
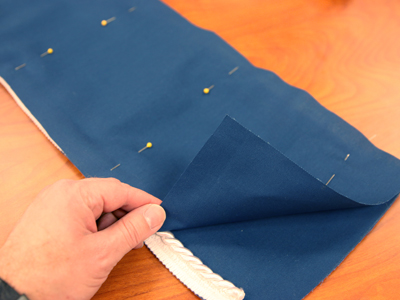
Align the back fabric piece on top, right sides together.
Pin in place.
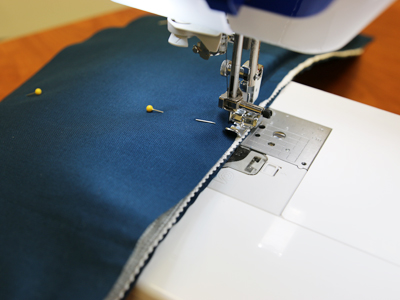
Sew a seam along each long edge, sewing as close to the cord of the trim as possible.
Sew a 1/2" seam along one of the short edges.
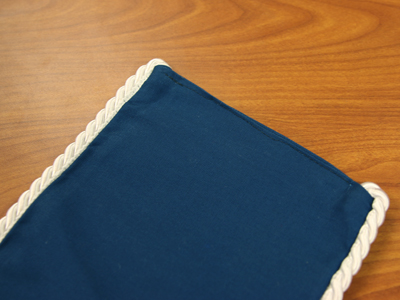
Turn the fabric right side out and press the seams.
Turn the fabric of the open end in 1/2" and press.
Pin in place, and sew a 1/8" seam along the open edge.
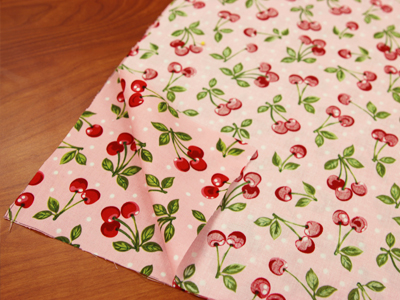
Cut two pieces of the print quilter's cotton to 31" x 16".
Align the pieces together, right sides together. Pin in place.
Sew a 1/2" seam along the outer edges of the fabric. Leave about 6" open along the bottom center.
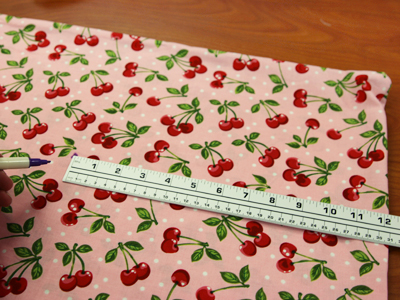
Turn the fabric right side out and lay flat.
Measure and mark 12" in from each short side at the center.
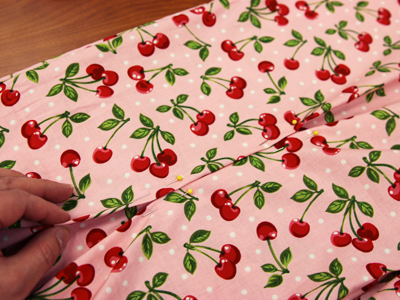
To add pleats, pinch and fold the fabric 3/4" under the marks. Bring the fold up to meet the marks.
Pin in place.
Pinch and fold the fabric 3/4" above the marks. Bring the fold down to meet the marks.
Pin in place.
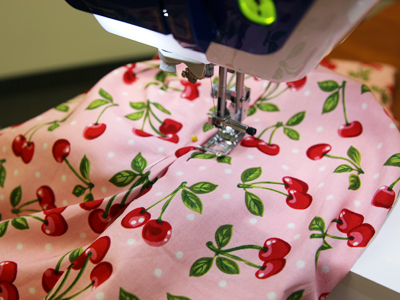
Sew a seam along each fold to tack them in place (be sure to sew only through the front of the pillow portion).
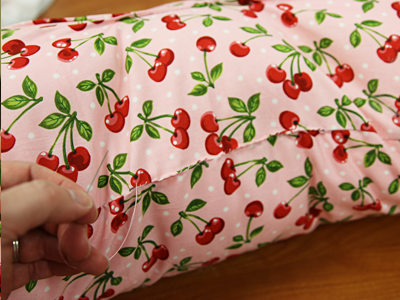
Fill the pillow form with polyester fiberfill until firm.
Turn the fabric of the opening in 1/2" and hand sew with needle and thread.
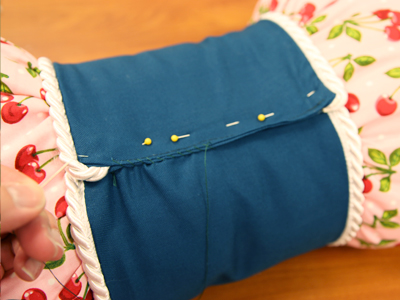
Wrap the center portion of the pillow around the middle of the pillow form. Align the center of the embroidery design with the center of the pleats at the front of the pillow form.
Overlap the ends of the center portion by 1" and pin in place.
Hand sew the center in place with needle and thread.
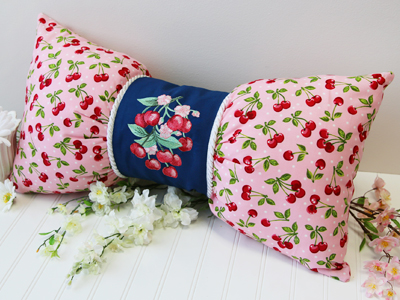
We used a cherry design and coordinating fabric to adorn our pillow. Pick your favorite combination to customize yours!
The center wrap gives this pillow the perfect bow shape. Add it to your home decor!
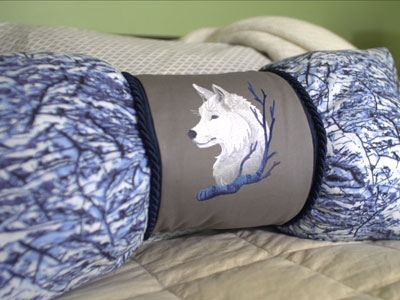
Use different fabrics and embroidery designs to customize this pillow to your personal style!
Here a brilliant wolf design and a wintery pattern create a fabulously frosty look.
