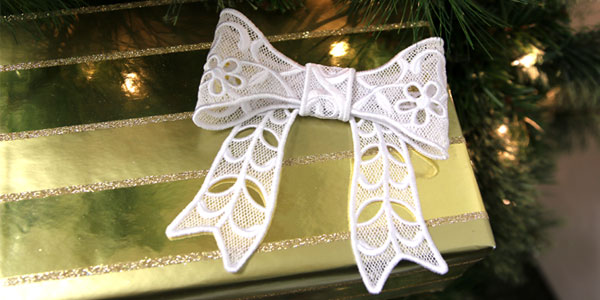
Give Christmas gifts a beautiful update with adorned with a glamorous lace bow. Perfect for Christmas,
weddings, birthdays, and more, this lace design will add a gorgeous look to any gift.
Supplies
- Water-soluble stabilizer (like Vilene or Sulky Ultra Solvy)
Designs Used
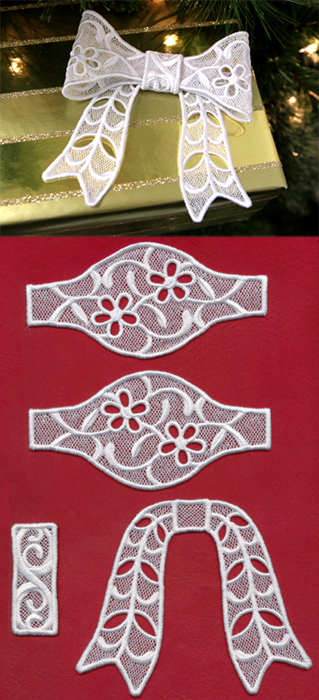

Freestanding lace designs have been specially digitized for water-soluble stabilizer. After the stabilizer is removed, beautiful lace remains behind. When you download the design, you will find a total of 4 files. These are the pieces for the tails of the bow, the loops, and the center knot (labeled a, b, c, d).
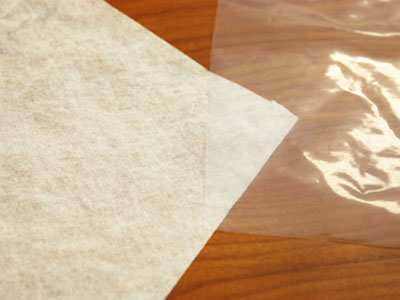
There are a couple of different kinds of water-soluble stabilizer. One is clear and plastic, and that brand is Sulky Ultra Solvy. The other is soft and fibrous, called Vilene. Both will work very well. Vilene is used in this demonstration. Use a size 11 or 75/11 sharp sewing needle. A sharp sewing needle has a smaller, finer point than an embroidery needle. That means it will make smaller holes in the stabilizer.
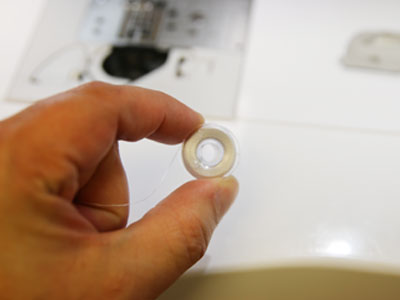
Freestanding lace is seen from both sides, so wind a bobbin with the same thread that you're using in the needle.
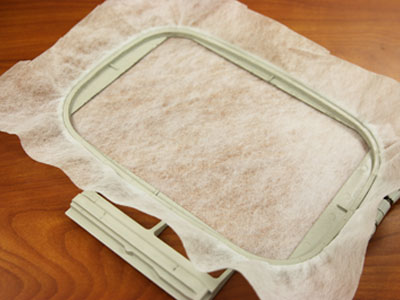
Hoop the stabilizer firmly. Make sure it is nice and tight with no wrinkles.
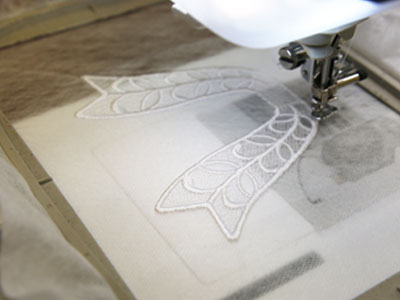
Load the first file (piece a) into your machine. Use 40 weight rayon or polyester thread. You can also use 30 weight cotton or metallic thread for most freestanding lace designs. Embroider the design.
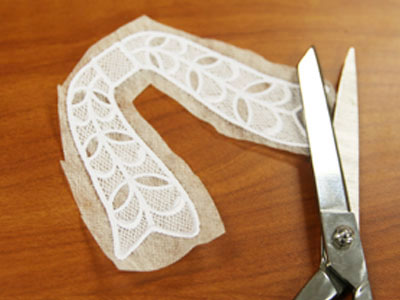
After embroidering, cut the excess stabilizer away.
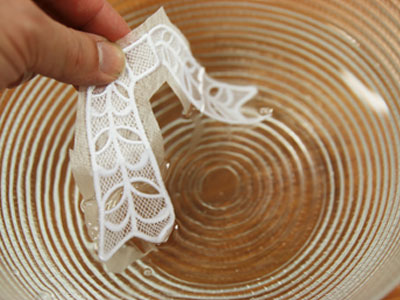
The stabilizer's packaging should give instructions for removing the excess. For Vilene, soak the lace pieces for a few moments.
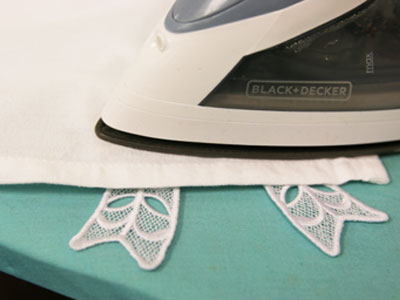
Air dry, then press using a pressing cloth.

Embroider, soak, dry, and press the remaining three pieces. When all the pieces are ready, it's time to assemble the bow.
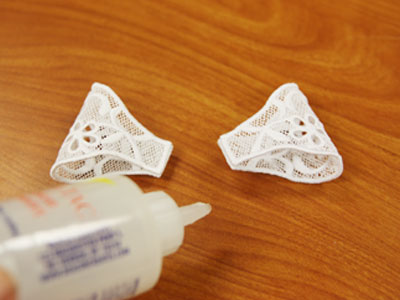
First, add a few drops of fabric glue the short ends of pieces b and c. Fold the lace together, wrong sides together, and press the short ends together to form loops.
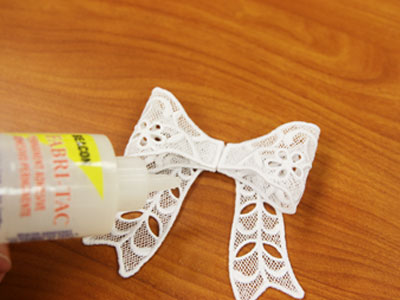
Then, add glue to the backside of the short ends of the loops and press them in place at the center top of piece a with the short ends aligned.
Add glue to the center back of piece d and press it in place over the short ends of the loops.
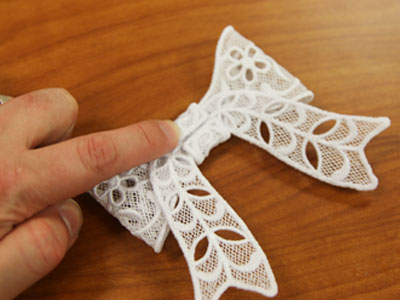
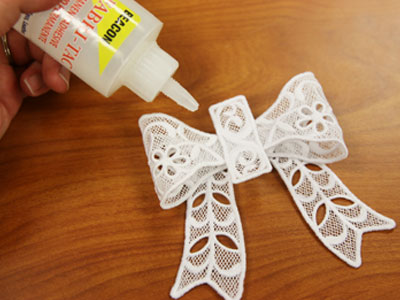
Flip the bow over and add glue to the backside of the short ends of piece d, wrap them around to the back of the bow, and press in place.
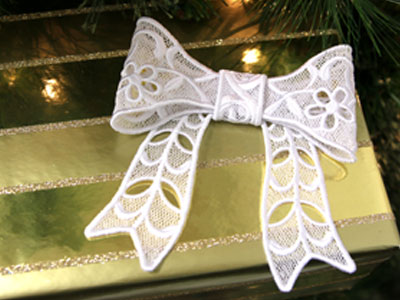
Stitch this lace bow for your holiday presents, or add it atop a wedding, bridal shower, or birthday gift for a special look. Change the thread color to match your wrapping style!


