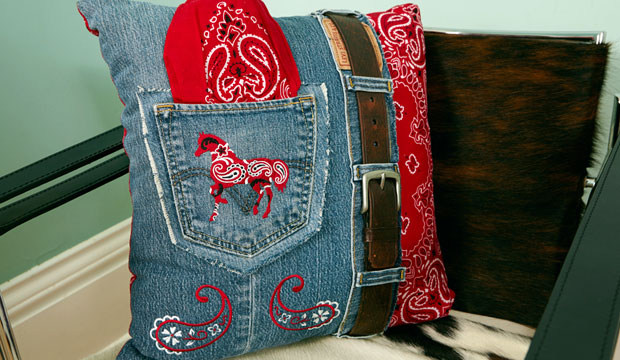
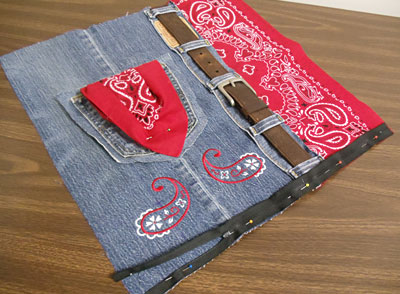
Embrace your inner cowboy or cowgirl with a denim pillow that embraces the best of the West! Create this wild pillow using two bandanas, an old pair of jeans, and a belt with a buckle. Add Western embroidery to finish the look.
Supplies
Project Needs & Notes
- 18" x 18" pillow form
- Adult-sized jeans
- Leather belt with buckle
- Two 22" x 22" bandanas
- Medium-weight (2.5 ounce) cutaway stabilizer
- Temporary spray adhesive (like Gunold KK100)
- Air-erase pen
- Seam ripper
- 18" all-purpose zipper
- Hot glue and glue gun
- Heavy-weight sewing thread
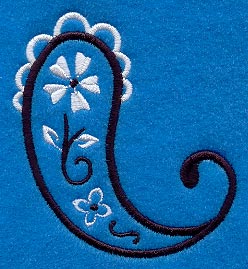
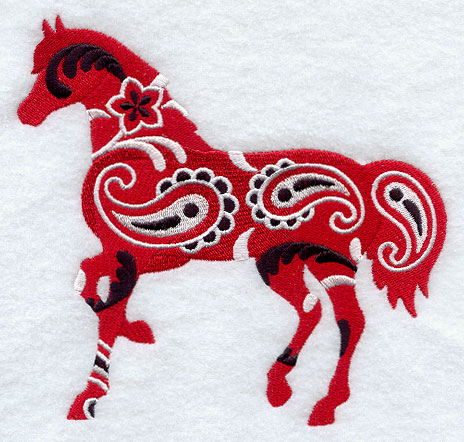
For this tutorial, I used the Bandana Paisley Horse design and the Bandana Paisley design.
Find even more designs in the Western department here.
Finished Size: 18" x 18"
This project was featured in the following:
Pillow Party Lookbook
Pillow Party Trunk Show 1 Video
All About Denim Lookbook
Designs Used

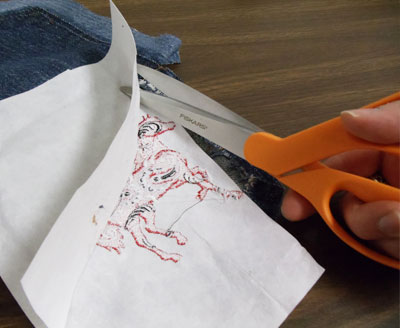
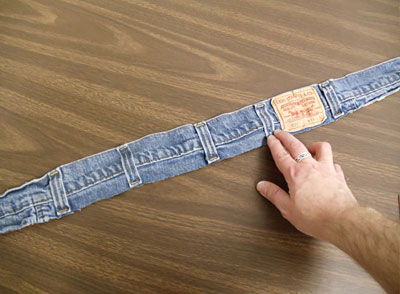
To begin, cut the waistband from the jeans. Cut just under the bottom edges of the belt loops.
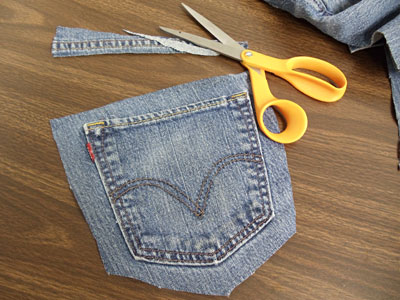
Cut out one of the back pockets. Leave at least 1/2" of fabric around the outer edges of the pocket.
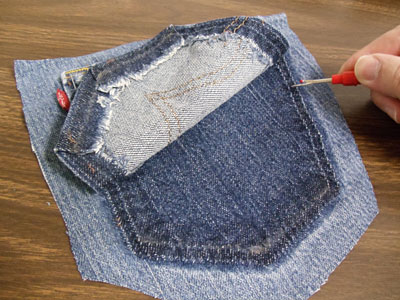
Using a seam ripper, remove the seams around the outer edges of the pocket, but do not remove the stitching at the upper top corners.
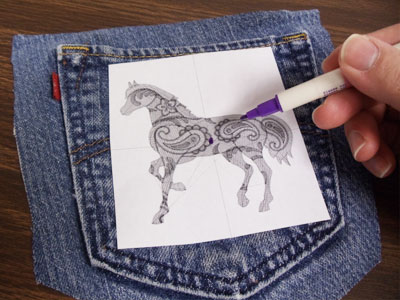
Place the pocket flat. Use a template, or printout of the design, to plan where to stitch the design.
If you don't have software, Wilcom's TrueSizer is a free program that can print templates.
Center the design on the pocket. Leave at least one inch of space between the edges of the design and the edges of the pocket.
Using an air-erase pen, mark the center point and the axis lines.
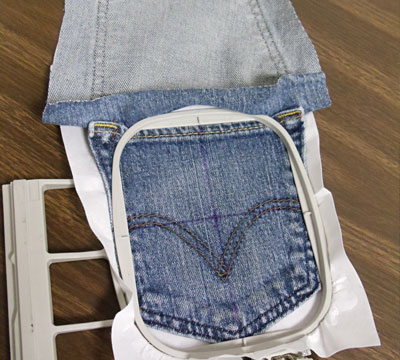
Spray a piece of medium-weight cutaway stabilizer with temporary adhesive. Flip the pocket up and away from the back pocket fabric, and smooth it on the sprayed stabilizer.
Hoop as much as the pocket as possible with the stabilizer, aligning the marks on the hoop with the lines on the fabric.
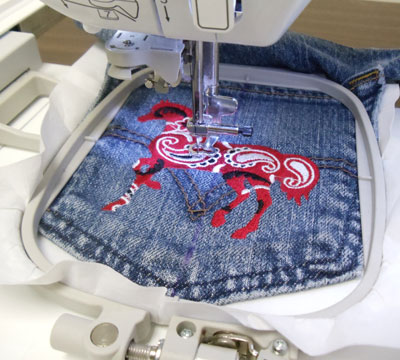
Embroider the design.
When the design has finished, trim the excess stabilizer away from the back of the embroidery.
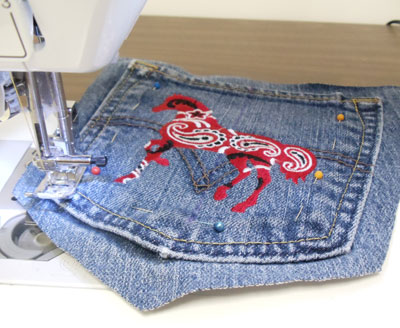
Lay the pocket flat against the back fabric again and pin in place. Using heavy-weight thread in the needle, stitch the pocket back in place by following the original seams.
To create the fabric for the left side of the front of the pillow, cut off one of the legs on the jeans at the crotch. Then, cut the leg up the inseam and lay the fabric flat with the outer seam lying vertically.
Keeping the outer seam in the center, cut a 12" x 19" piece from the fabric.
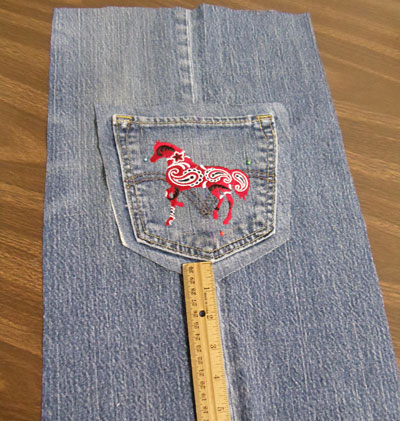
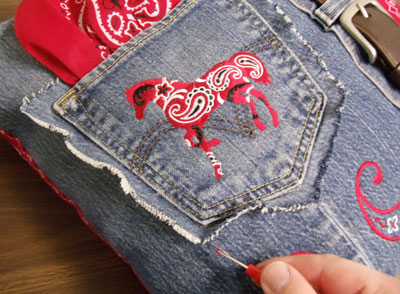
Lay the pocket on the seam, centered vertically.
Pin the pocket in place and sew a seam on the outside edge of the pocket all the way around.
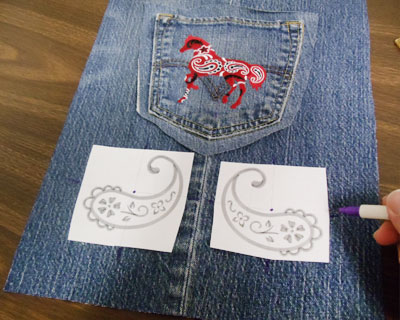
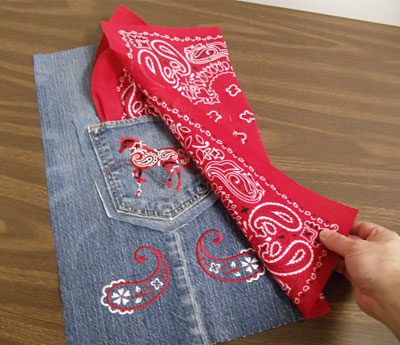
Embroider coordinating paisley designs two inches down from the pocket, and one inch from the center seam.
Use templates to determine the placement, and mark the center points and axis lines.
Hoop the fabric with medium-weight cutaway stabilizer, and embroider the designs.
Cut the excess stabilizer away from the back.
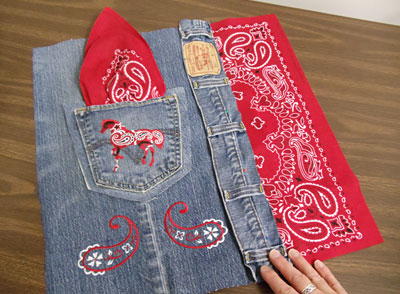
Next, add the classic bandana to the pocket and the right side of the pillow.
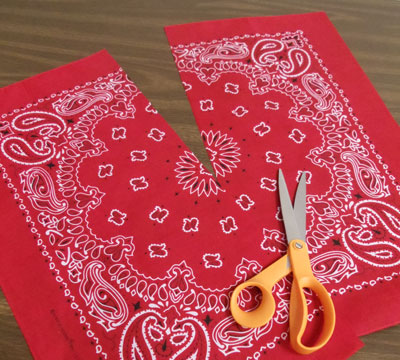
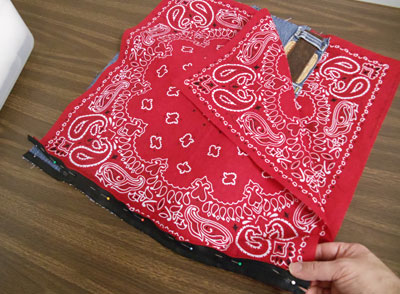
Cut one of the bandanas in half.
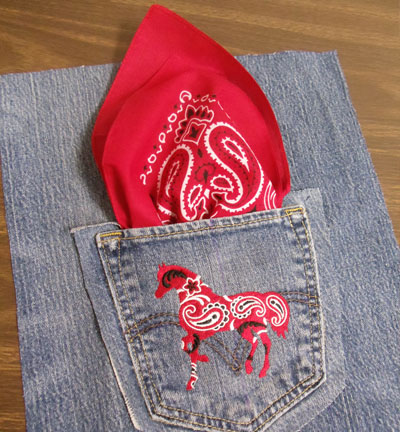
Fold one of the pieces in half and tuck the raw edges inside the pocket. Leave about 3/4" of the bandana extended outside of the pocket.
Arrange the bandana how you want it to look, then stitch it in place by sewing a seam just above the top edge of the pocket.
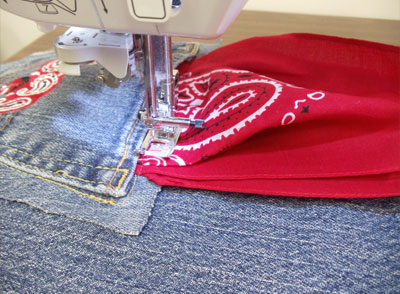
Cut the remaining bandana half down to 8" x 19".
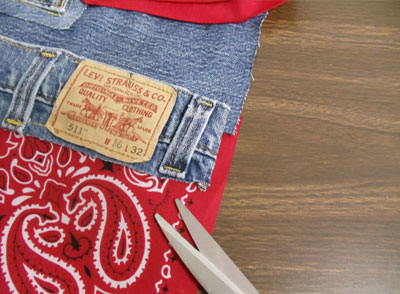
Align the left side of the bandana fabric with the right side of the pocket section with right sides facing, and pin in place.
Sew a 1/2" seam along the pinned edge only. Press the back seam open with an iron.
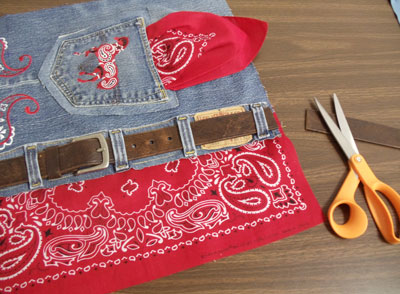
Next, add the waistband.
Trim the fabric just under each of the belt loops to make it even.
Using a seam ripper, remove the belt loops from the ends of the waistband and add them in between the inner loops.
Measure equal distances between the inner loops, pin and sew them in place.
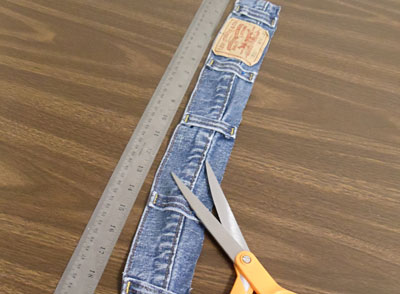
Trim the waistband to 19" long, keeping equal amounts of fabric at each end.
Add the waistband to the front fabric by aligning it along the seam between the pocket section and the bandana fabric section.
Pin it in place and sew seams in between the belt loops on each side of the waistband to secure it in place.
Trim off 1/2" of fabric at each end of the waistband.
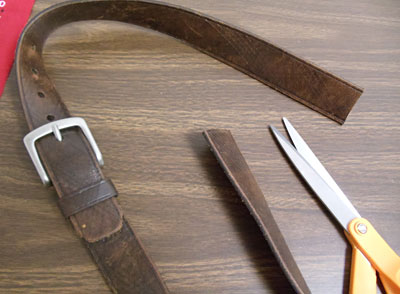
To add the belt, buckle the belt and then cut it at the opposite side of the buckle.
Insert the belt through the loops and position the buckle where you want it -- you may need to unbuckle the belt, insert it through the loops, and then buckle it back together. Trim the belt at each end of the waistband.
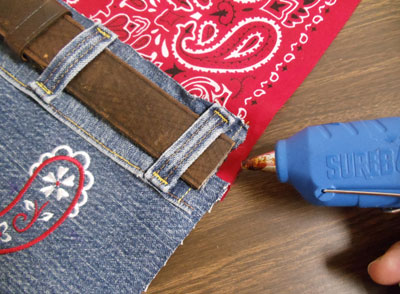
Glue the belt in place at each end by adding hot glue to the ends of the belt and pressing it in place onto the waistband fabric.
Fold down the pocket bandana and pin it in place so it will not be sewn over in the next steps.
To add the zipper, open the zipper a few inches and add it right side down, aligning the bottom edge of the zipper with the bottom edge of the fabric.
Pin in place and sew a seam along the outer edge of the zipper, sewing as close to the zipper teeth as you can.
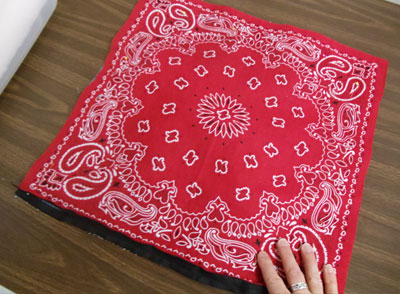
To create the back fabric, cut the remaining bandana 19" x 19".
Align the back fabric on top of the front fabric with right sides together.
Align the bottom of the back fabric with the open side of the zipper with right sides facing, and pin in place.
Sew a seam along the outer edge of the zipper, sewing as close to the zipper teeth as you can.
Align the back and front fabric together, pin in place, and sew a 1/2" seam along the side and top edges only.
Then, unzip the zipper, turn the fabric right side out, insert the pillow, and zip it up.
Use a seam ripper to fringe the outer edge of the pocket fabric and along the raw edge of the waistband.

Reusing clothing items and fabric scraps from around your home is a great way to create unique and creative projects.


