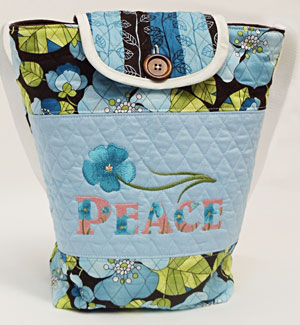
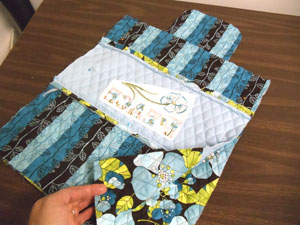
Spirited embroidery, cozy quilted fabric, and a handy button clasp make for a tote bag that is truly unique and beautiful.
Use this colorful tote to carry your Bible and other materials to church or study groups.
Read below for these free project instructions!
Supplies
Supplies Needed:
**3/8 yard solid-colored quilted cotton fabric (for front)
**3/4 yard solid-colored quilted cotton fabric (for inner lining)
**3/4 yard print quilted cotton fabric (for front, back, flap, and shoulder strap pad)
**Medium-weight cutaway stabilizer
**Temporary spray adhesive
**Air-erase pen (or other marking tool)
**40 inch length of 1 inch wide nylon strap
**Extra wide double fold bias tape
**3 inch diameter object for tracing (we used a ribbon spool)
**One 1 3/8 inch button
**Craft knife or seam ripper
Designs used:
Peace with Flax (small)
This design is also available in the following design packs:
A Blissful Blooms Design Pack - Large, Small
Finished Size:
9 inches wide by 14 1/2 inches high by 6 inches deep
Designs Used

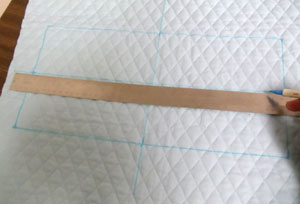
To begin, we will prepare the fabric for the embroidered center front block. Using an air-erase pen (or other marking tool), draw a 16 inch wide by 7 1/2 inch high rectangle on the solid-colored quilted cotton fabric -- leave a couple of inches of excess fabric around the shape. Measure and mark the center of each side of the shape by measuring and dividing by two. Draw lines to connect the marks. Where the lines meet is the exact center of the shape.
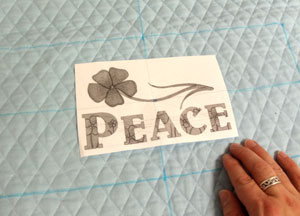
Create a paper template of the design by printing it at full size using embroidery software. If you don't have embroidery software, you can cut a piece of paper the shape and dimensions of the design to help with placement and centering. If you'd like a recommendation for an embroidery program that can make templates, consider Embird from www.Embird.com.
Poke a hole in the center of the template and align it with the center point on the fabric. Make sure the design fits well within the shape -- there should be at least 1 1/2 inches of space between the edges of the design and the edges of the shape.
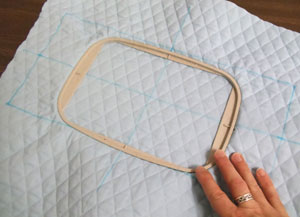
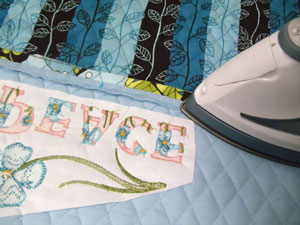
Spray a piece of medium-weight cutaway stabilizer with temporary adhesive and smooth the fabric on top. Hoop the fabric and stabilizer together by aligning the marks on the hoop with the lines on the fabric. Attach the hoop to the machine and load the design. Move the hoop so that the needle is aligned with the center point on the fabric. Embroider the design.

After the design has finished, trim away the excess stabilizer on the back of the embroidery. Then, cut out the shape.
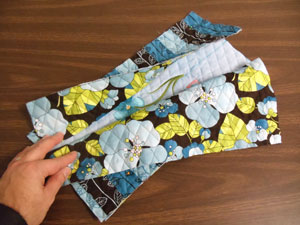
To prepare the fabric for the top and bottom of the front panel, cut a piece of the print quilted cotton 16 inches wide by 5 inches high for the top, and a piece that's 16 inches wide by 8 inches high for the bottom. Align the top piece with the top edge of the embroidered center panel, with right sides facing, and pin in place. Then, align the bottom piece with the bottom edge of the center panel, with right sides facing, and pin in place. Sew a 1/2 inch seam along the pinned top and bottom edges.
Press the back seams open and top stitch a 1/8 inch seam along both sides of each seam.

To prepare the fabric for the flap, cut a piece of the print quilted cotton 7 inches wide by 5 1/2 inches high. Trace a 3 inch diameter round object (we used a ribbon spool) at each of the bottom corners.
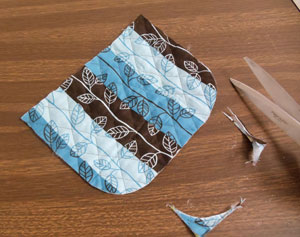
Trim the corners along the lines you just traced.
To prepare the back fabric, cut a 16 inch wide by 18 1/2 inch high piece of print quilted cotton. Measure and mark the center of the top edge of the fabric by measuring and dividing by two. Then, measure and mark the center of the bottom edge (straight edge) of the flap piece by measuring and dividing by two. Align the center points together, with the right sides of the fabric facing, pin in place, and sew a 1/4 inch seam along the pinned edge only. Lay the flap and back pieces flat and press the seam.
Align the front panel with the back panel with right sides facing and pin in place. Sew a 1/2 inch seam along the sides and bottom edges only.
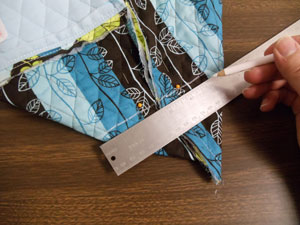
Next we will square off the bottom of the fabric. Align the bottom and sides seams together, pin in place, and measure in 4 inches starting at the outer point. At the mark you just made, draw a line perpendicular to the seam.
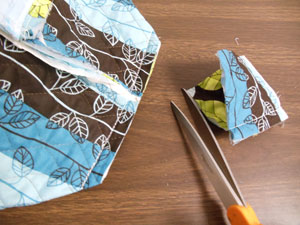
Trim off the corner leaving about 1/2 inch excess fabric at the seam.
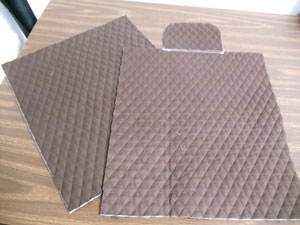
To prepare the fabric for the inner lining, cut two 16 inch wide by 18 1/2 inch high pieces of quilted cotton for the front and back.
Also, prepare a flap piece just as you did before. Add the flap piece to the top of the back piece just as you did earlier.
To prepare the inner pocket, cut a 6 inch by 6 inch piece of fabric and wrap bias tape around the top edge. Pin the tape in place and sew a seam along the inner edge of the tape.
Position the pocket along the inner side of the front fabric piece, about 5 inches from the top edge of the fabric. Center the pocket side to side with the outer edges by measuring equal distances between the sides of the pocket and the outer edges of the fabric. Wrap bias tape around the side and bottom edges of the pocket and sew the pocket in place by sewing a seam along the inner edges of the tape.
Assemble the inner lining just as you did the outer shell portion.
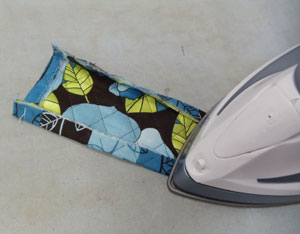
To prepare the padding for the shoulder strap, cut a piece of fabric 3 1/2 inches wide by 8 inches high. Fold the short ends over 1/2 inch to the wrong side, press, and sew a 1/4 inch seam along each short end. Fold the long side edges over 1/2 inch to the wrong side and press.
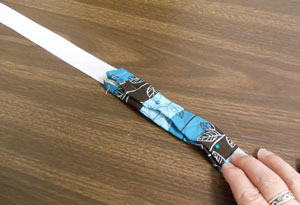
Cut a 40 inch length of 1 inch wide strapping. Measure and mark the center of the strap by measuring and dividing by two. Measure and mark the center of the padding piece by measuring and dividing by two. Tuck the strap in between the layers of the padding piece, fold the padding piece over the strap, pin in place, and sew a 1/4 inch seam along each long side of the padding.
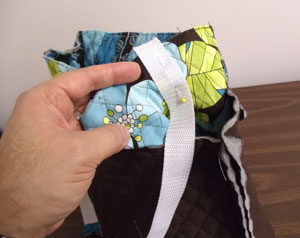
Insert the outer shell inside the inner lining with right sides together. Align the ends of the strap with the side seams of the outer shell and pin in place -- leave about 1/4 inch of the strap extending past the top edge of the fabric. Tuck the strap in between outer shell and the inner lining.
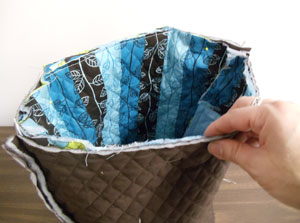
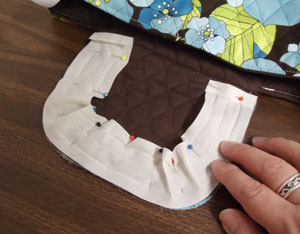
Align the seams and the raw edges and pin in place. Sew a 1/2 inch seam along the top edge of the fabric -- leave the entire outer edges of the flap open for turning. Then, turn the fabric right side out and insert the inner lining inside the outer shell. Align the flaps together, pin in place, and sew a 1/4 inch seam along the entire outer edges of the flap. Top stitch a 1/4 inch seam along the entire top edge of the tote.
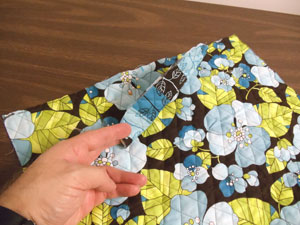
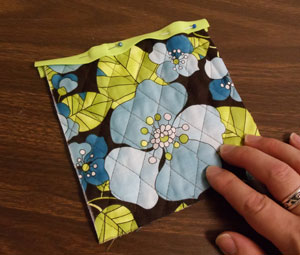
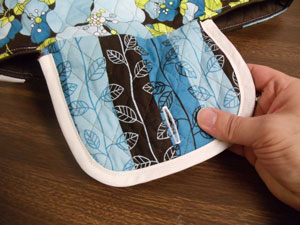
To add the bias tape to the flap, lay the flap flat with the inner side facing up. Fold the bias tape over 1/4 inch to the wrong side and press. Unfold the tape and align the outer edges of the tape with the outer edges of the flap and pin in place. Sew a seam right along the outer most fold in the tape.
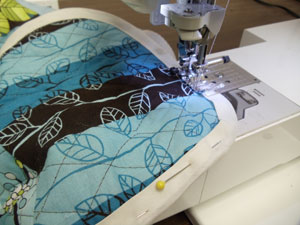
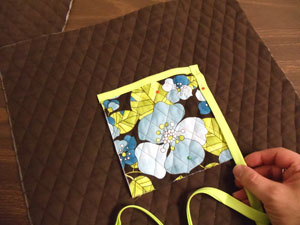
Fold the tape up over the edges of the flap, pin in place, and sew a seam along the inner edge of the tape.
Sew a button hole in the center bottom of the flap (about 1/2 inch from the bottom edge of the fabric, above the bias tape).
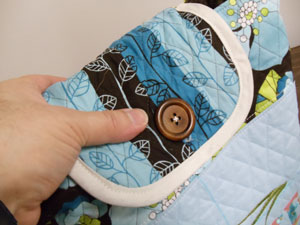
Flip the flap over to the front of the tote, mark the center of the button hole on the fabric, and sew a button at the mark.
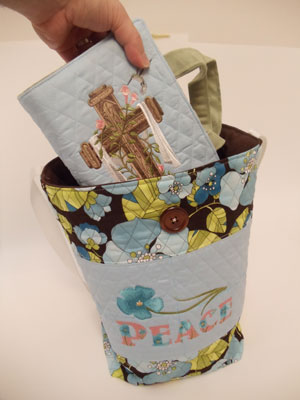
Your tote bag is now complete!


