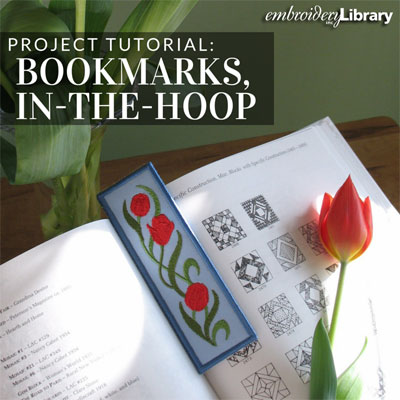
Keep track of your place while reading with an embroidered bookmark that's created entirely in the hoop! Bright fabrics and colorful embroidery make the bookmarks both pretty and practical. Whip one up for your favorite bookworm today!
Supplies
- Fabric such as twill, denim, canvas, or Kona cotton
- Medium-weight (2.5 ounce) cutaway stabilizer
- Tear-away stabilizer
Tools
- Temporary spray adhesive (Gunold KK100)
Designs Used
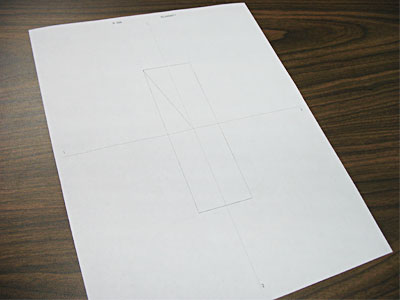
When you download an in-the-hoop bookmark design, you will find multiple files. Some are the embroidery files, and the others are dieline files marked with the letters "DL". Dielines are used to cut the fabric to the correct shape and size. Open and print each dieline file using an embroidery software. If you do not have an embroidery software, take a look at our helpful video on using dielines.
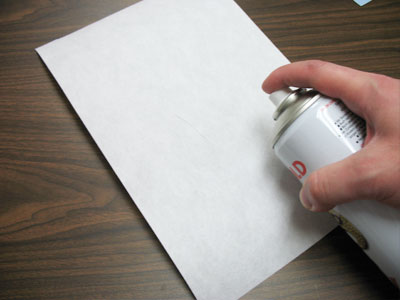
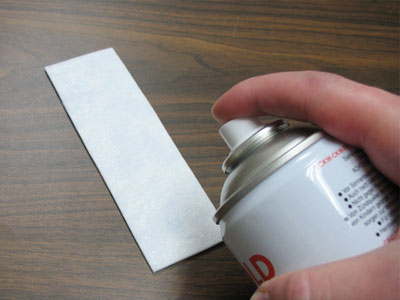
Spray a piece of cutaway stabilizer with temporary adhesive.

Smooth the fabric for the front of the bookmark on top.
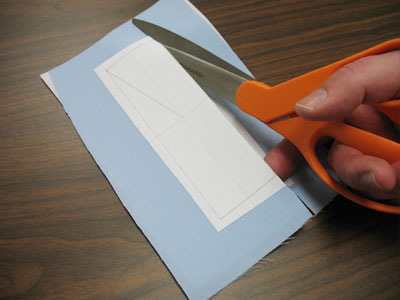
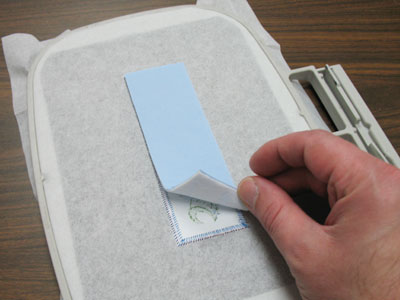
Spray the printout of the dieline with a small amount of temporary adhesive, and smooth that on top of the fabric and stabilizer.
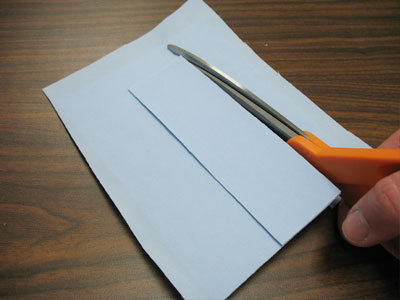
Cut out the shape.
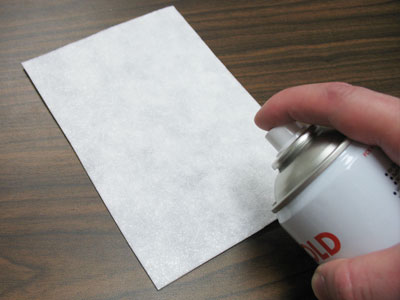
To prepare the back fabric piece, spray a piece cutaway stabilizer with temporary adhesive.
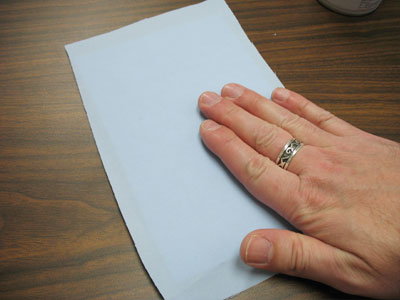
Smooth the fabric for the back of the bookmark on top
Place the printed dieline on top, or use the front fabric that you've already cut to cut the shape for the back piece.
Once the fabric and stabilizer pieces are cut to the proper shape and size, it's time to embroider the bookmark.
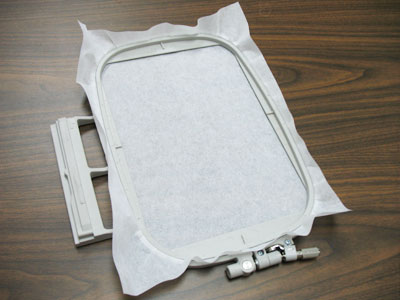
Hoop a piece of tear-away stabilizer.
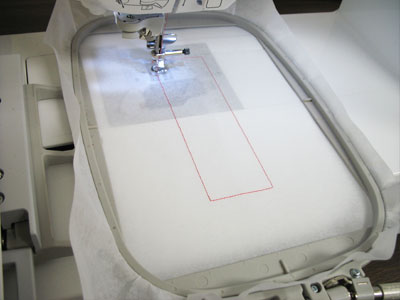
Attach the hoop to the machine and load the full embroidery design (not the dieline).
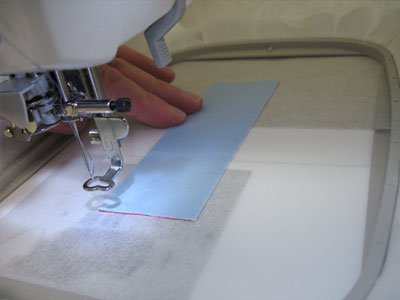
Embroider the design. The first thing to stitch is an outline that traces the shape for the front fabric piece.
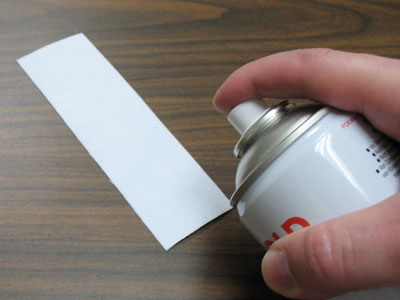
Spray the back of the front fabric and stabilizer piece with temporary adhesive.
Place it inside the stitched shape.
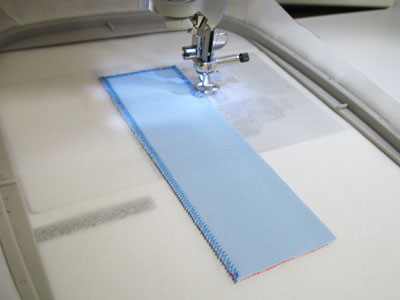
The next thing to stitch will be a zigzag or tack down stitch. That holds the fabric in place during the rest of the embroidery.
The color change sheet for the design will be your guide.
When you get to the note on the color change sheet that reads "back piece tack down," stop the machine and remove the hoop. Do not unhoop the stabilizer.
Spray the stabilizer side of the back fabric piece with temporary adhesive.
Place that on the back of the embroidery.
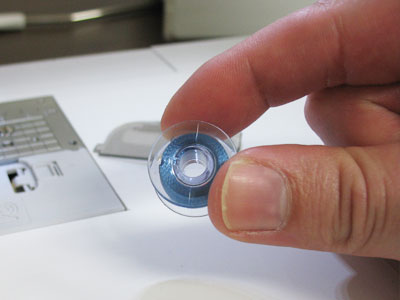
The remaining stitches will be seen from both sides. Wind a bobbin with the same thread that you're using in the needle.
Attach the hoop to the machine, and continue embroidering the design.
Another zigzag or tack down stitch will sew. These stitches attach the back fabric and stabilizer to the bookmark.
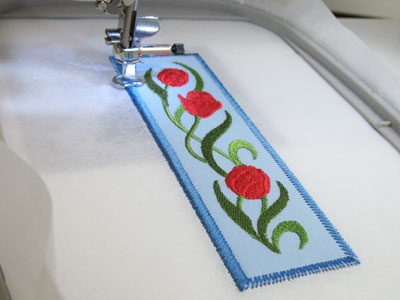
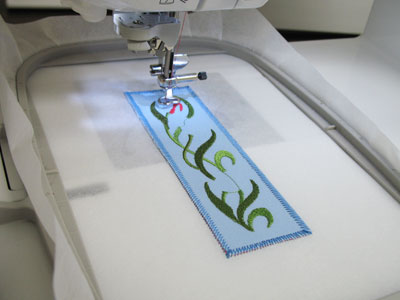
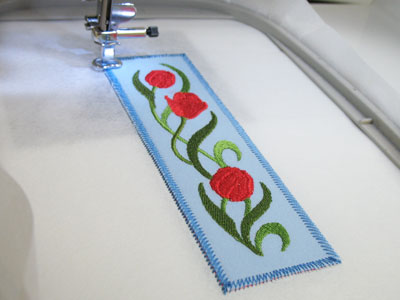
After the tack down stitches are complete, a satin stitch border finishes the edge of the bookmark.
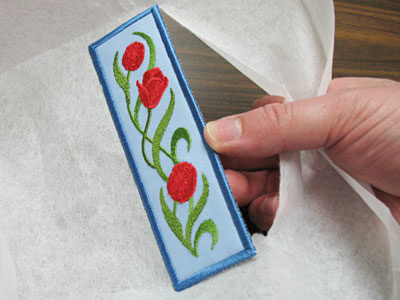
After the design has finished, remove the hoop from the machine and unhoop the stabilizer. Gently tear the stabilizer away.
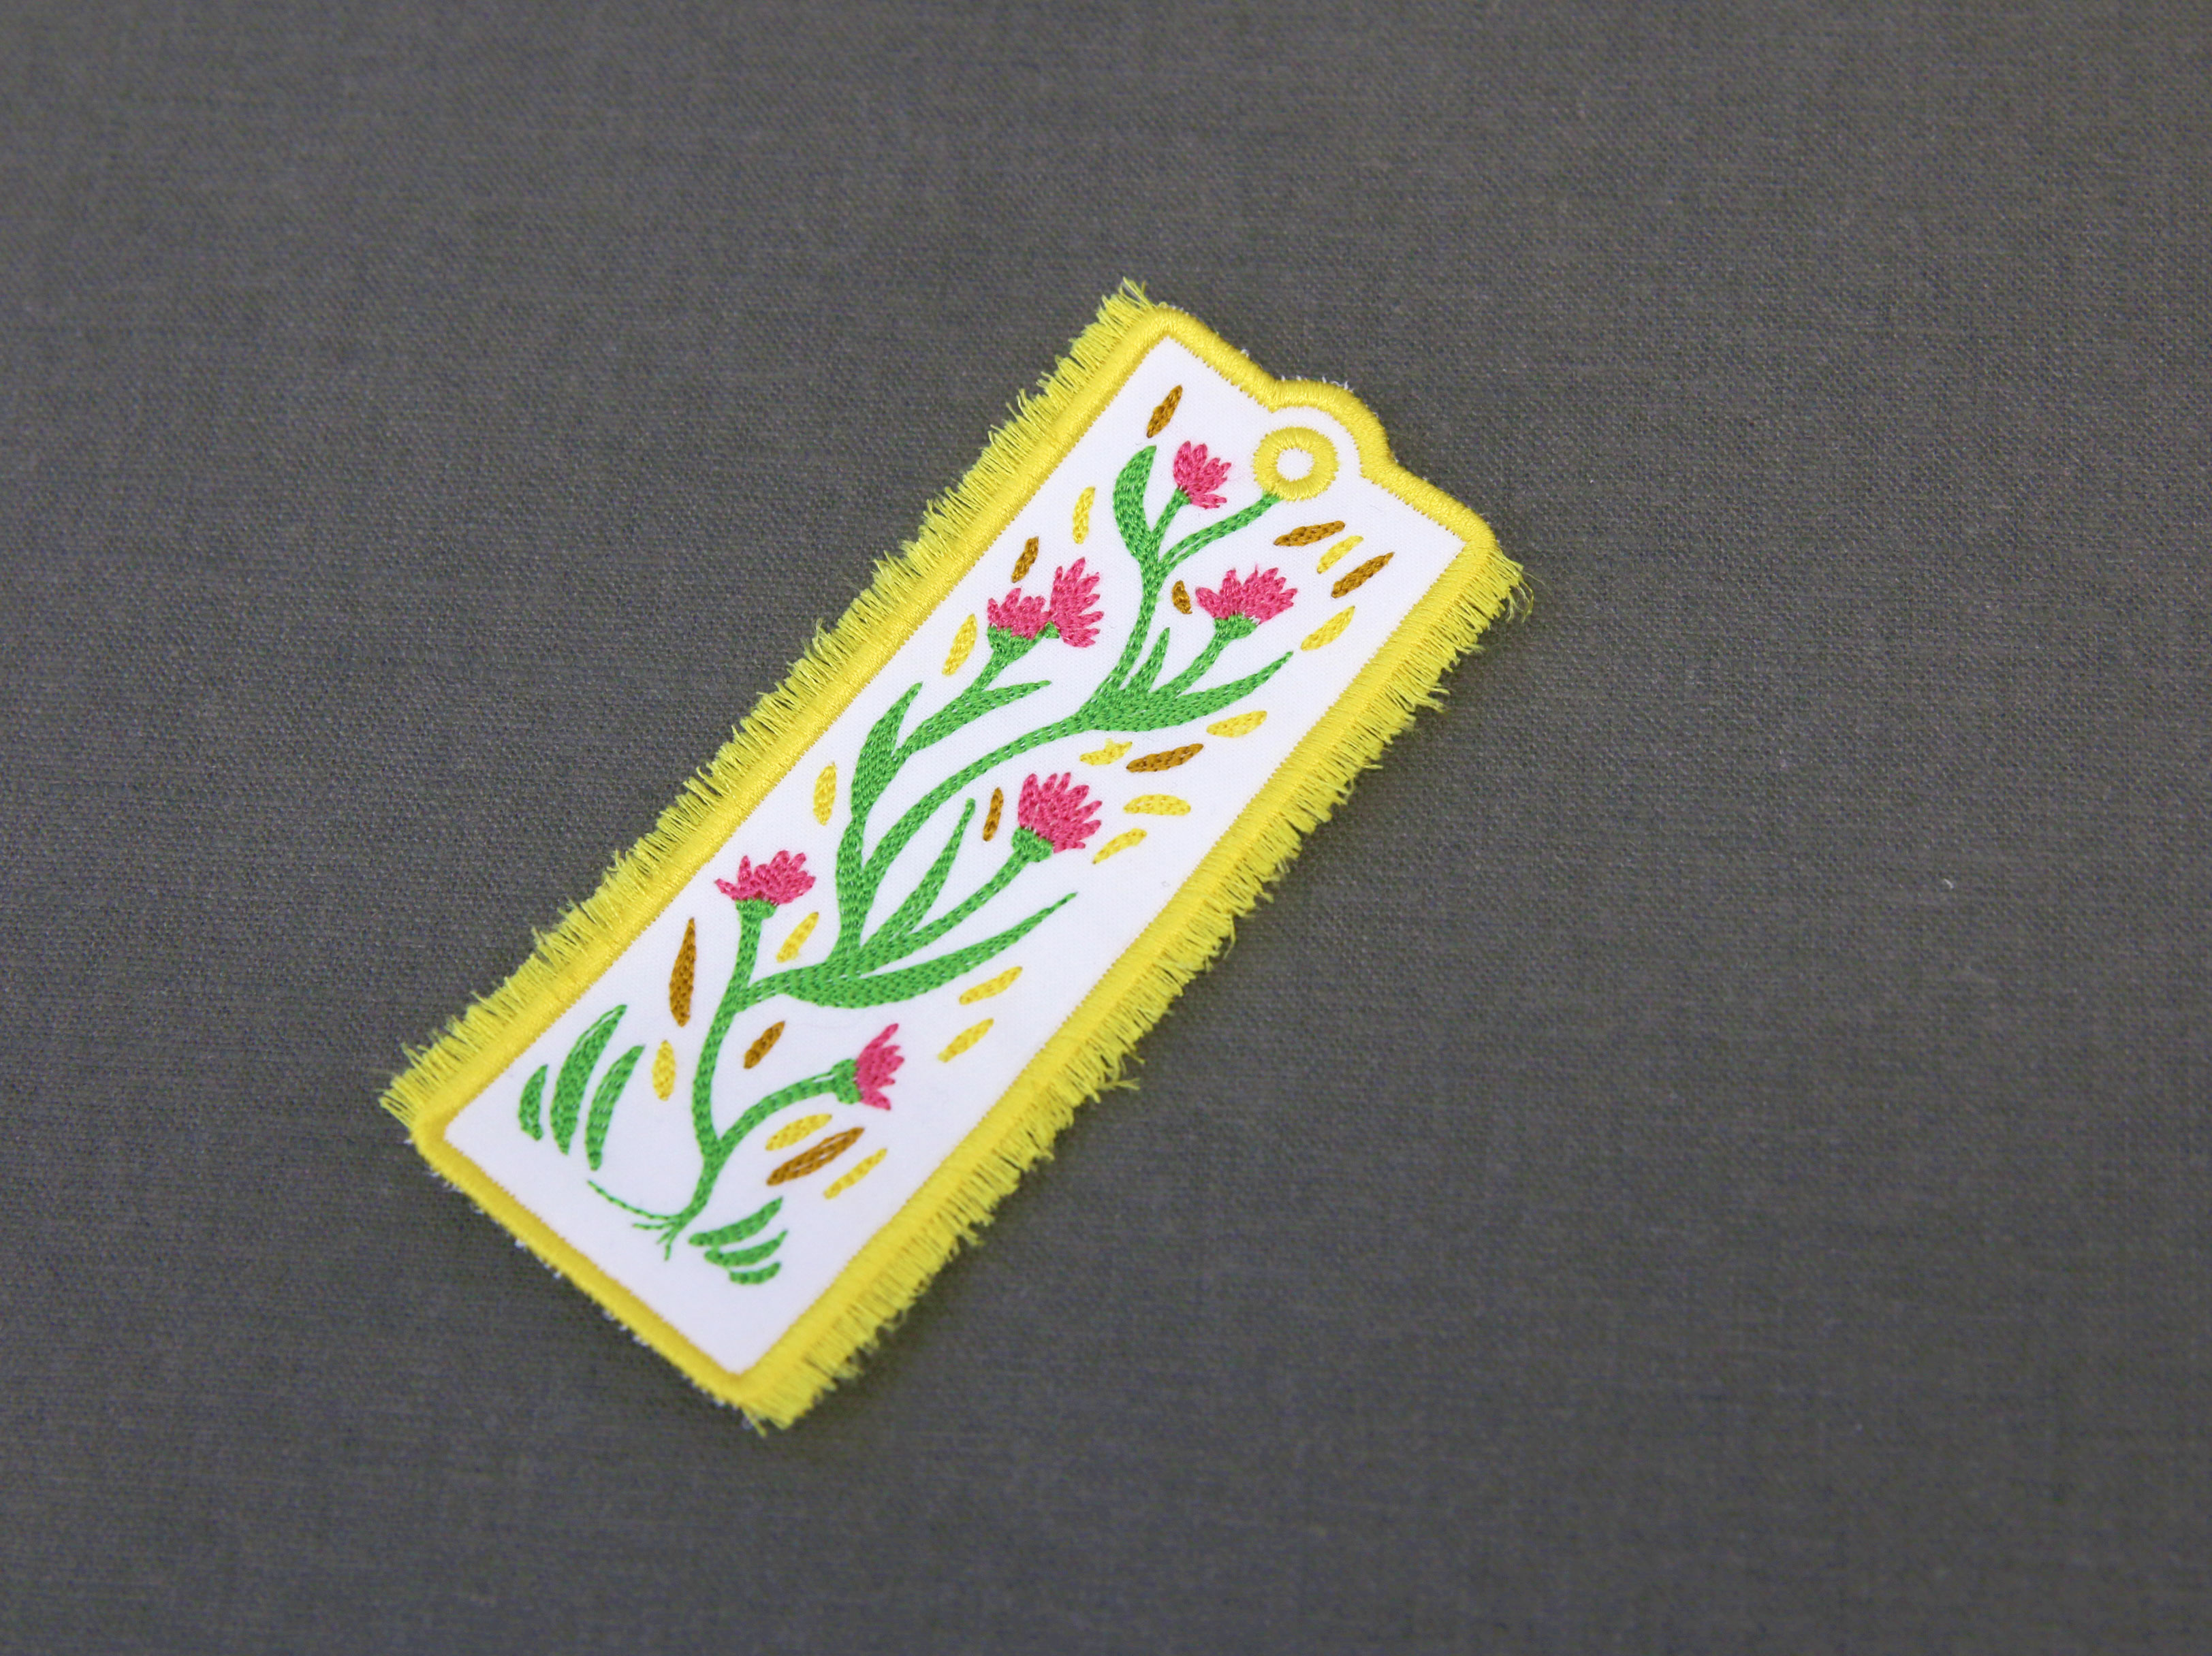
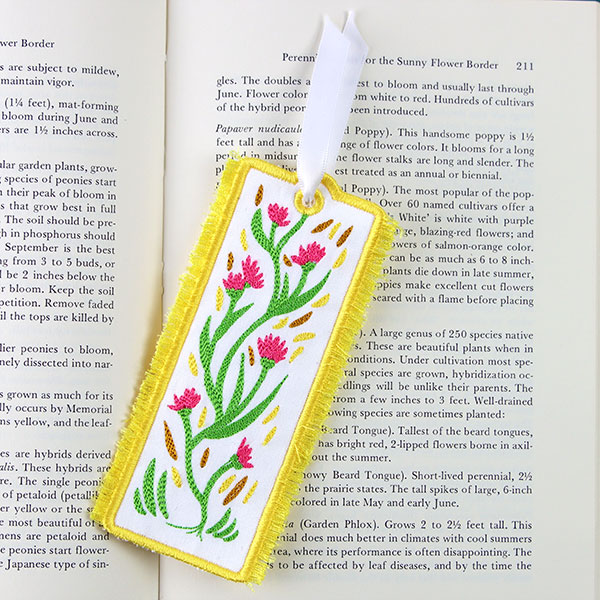
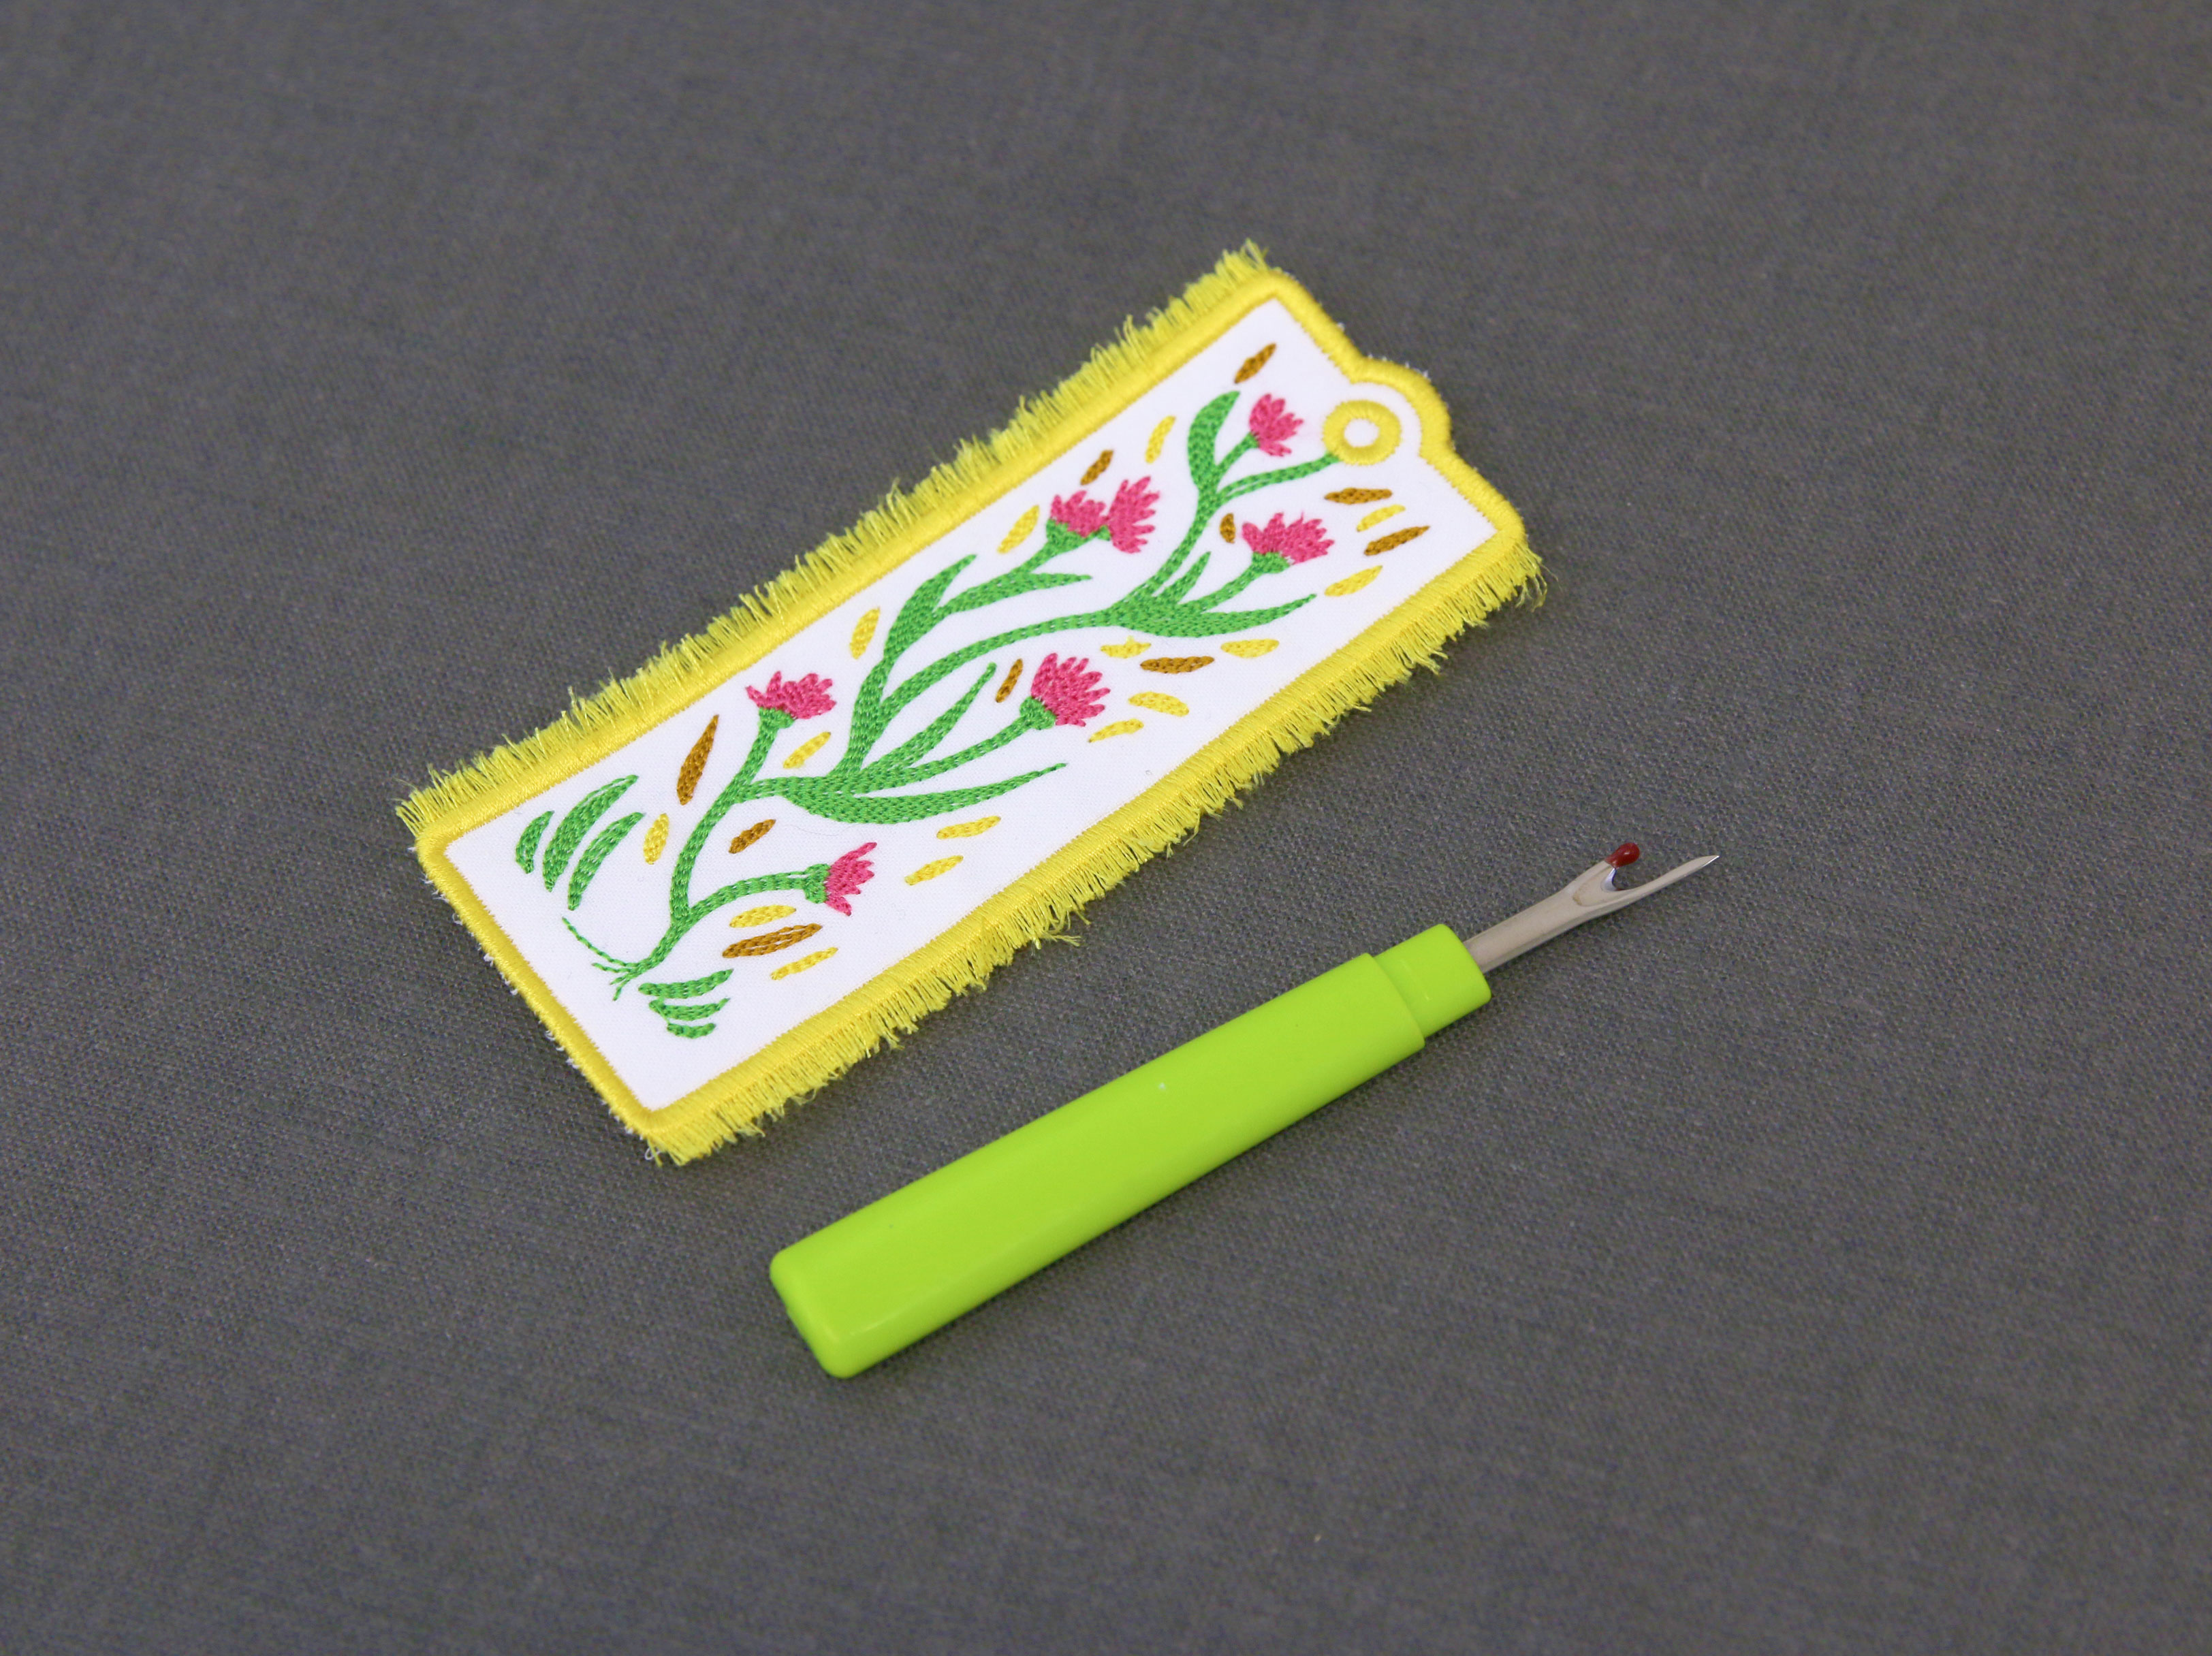
Some bookmarks are digitized to have fringe edges. If this is the case, remove the tearaway stabilizer like normal, then use tweezers or a seam ripper to remove the excess stabilizer from between the fringe.
Some bookmarks have a stitched eyelet circle. Use a craft knife to carefully cut a slit inside of this circle. Then, cut a piece of ribbon that is 6" - 8" long, and thread it through the eyelet. Tie a knot in the ribbon at the outer edge of the bookmark.
These in-the-hoop bookmarks are a creative way to mark your place while reading, and are especially nice to give as gifts for friends and family.


