Beautiful freestanding lace can be used to make a variety of stunning embroidery projects, and lace bookmarks are especially elegant. After embroidering, add ribbons and beads for an extra-special look.
Supplies
Project Needs & Notes:
- Water-soluble stabilizer
(such as Vilene or Sulky Ultra Solvy)
- 1/8" to 1/4" wide ribbon
- Hot glue and gun, or fabric glue
- Beads
- Small tapestry needle (for adding beads)
You may use 40 weight rayon thread, metallic thread, or 30-35 weight cotton thread (mercerized cotton, also called all-purpose thread).
For this tutorial, I used designs from the Faithful Lace Bookmarks design pack.
This project was featured in the following:
12 Top-Trending Embroidery Styles Lookbook
Designs Used
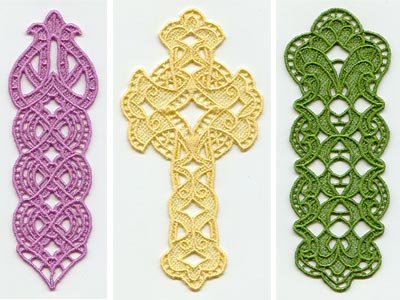
Freestanding lace designs are specially digitized for water-soluble stabilizer. After the stabilizer is removed, beautiful lace remains behind.
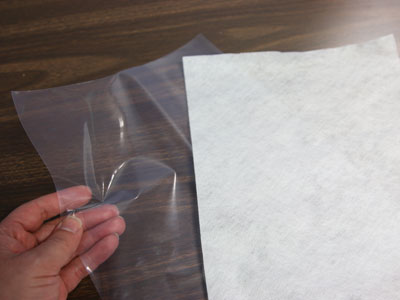
There are a couple of different kinds of water-soluble stabilizer. One is clear and plastic, and that brand is Sulky Ultra Solvy. The other is soft and fibrous, called Vilene.
Both will work very well. Vilene is used in this demonstration.
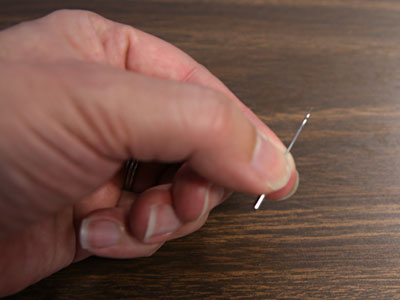
Use a size 11 or 75/11 sharp sewing needle. A sharp sewing needle has a smaller, finer point than an embroidery needle. It will make smaller holes in the stabilizer.
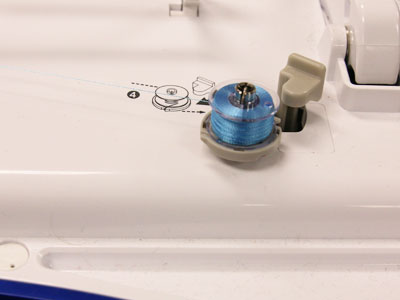
Freestanding lace is seen from both sides, so wind a bobbin with the same thread that you're using in the needle.
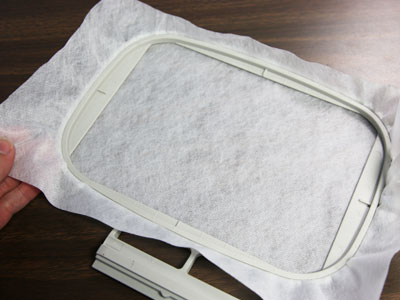
Hoop the stabilizer firmly.
Bookmarks are long and narrow, so take special care to hoop the stabilizer firmly.
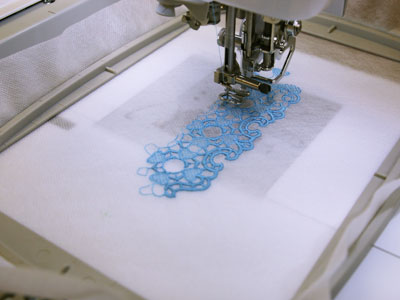
Embroider the design.
Most lace designs are digitized for 40 weight thread, either polyester or rayon.
Metallic thread or 30-35 weight all-purpose cotton /mercerized cotton thread can also be used.
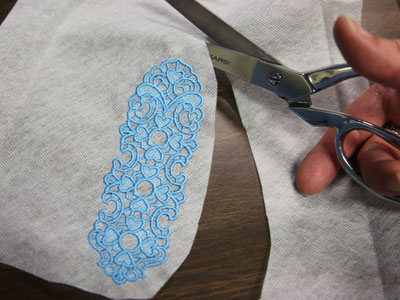
After embroidering, cut the excess stabilizer away.
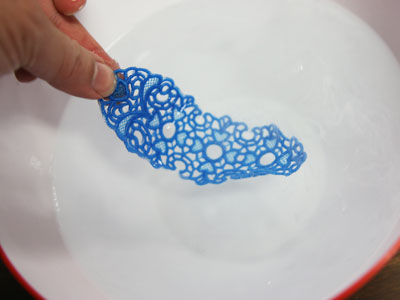
Then, soak the rest away according to package instructions.
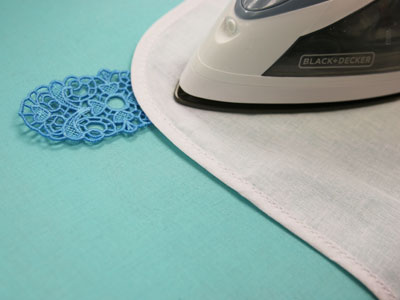
Air dry, and press.
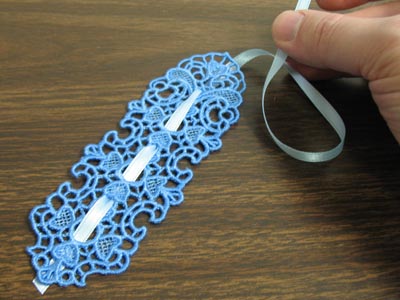
After the bookmark has been pressed, add the ribbon.
Thread the ribbon through the holes in the lace. We chose to thread the ribbon through the
hole in the center, starting at the bottom.
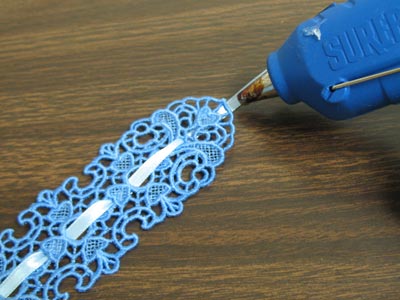
Allow about 7 inches of excess ribbon at the top of the bookmark, and trim the ribbon at the bottom of the bookmark.
Glue the ribbon in place by adding a drop of glue (hot glue or fabric glue) and pressing the ribbon in place.
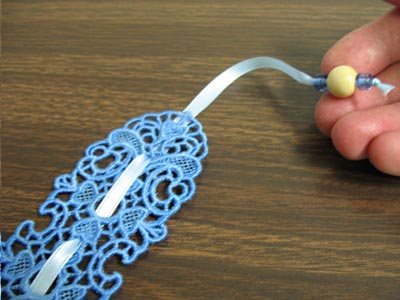
You may also add beads to the ribbon. Tie a knot or two at the end to prevent the beads from slipping off. Then, trim the excess ribbon at the knot.
You may need to thread the ribbon through the beads using a small tapestry needle. Or, you may cut an angled point at the end of the ribbon and then thread it through the bead.
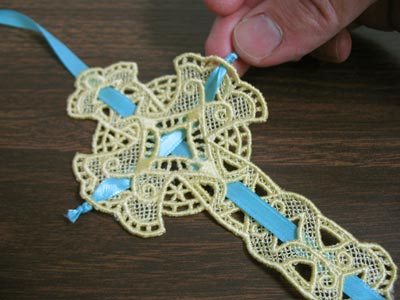
You may also add more than one piece of ribbon to the lace book-mark. In this example, ribbon is threaded through the horizontal and vertical pieces of the cross.
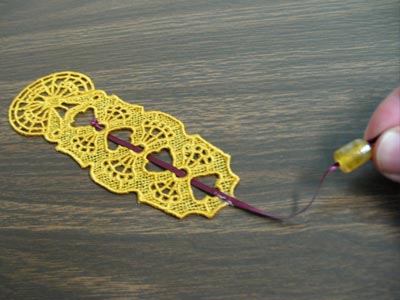
You can also create a "tail" of ribbon by leaving the excess ribbon at the bottom of the bookmark.
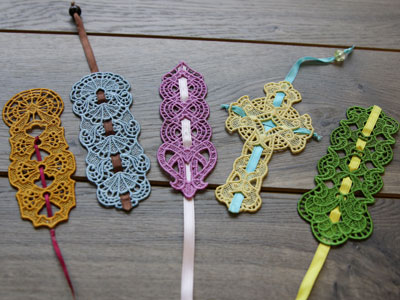
Use different types of ribbon, beads, and weaving techniques to create an array of beautiful looks for your bookmarks.
Plus, the freestanding lace bookmarks are fabulous gifts for friends and family.

Troubleshooting Tips
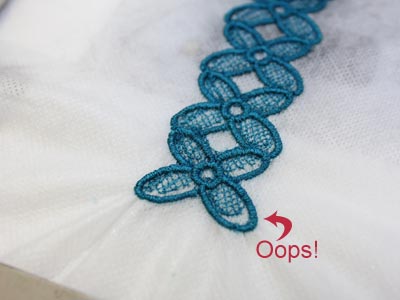
Here is an example of a lace piece that failed. There are gaps between the satin stitches and the fills, so when the stabilizer is removed, the lace will not hold together.
If the stabilizer is not hooped tightly enough, then you may
see gaps and misalignment, as shown in this "oops" example.
Other causes of misalignment and gaps include bobbin tension that's too tight, stabilizer that is too thin, using an embroidery needle instead of a sharp sewing needle, or using a too-large needle when embroidering lace.
