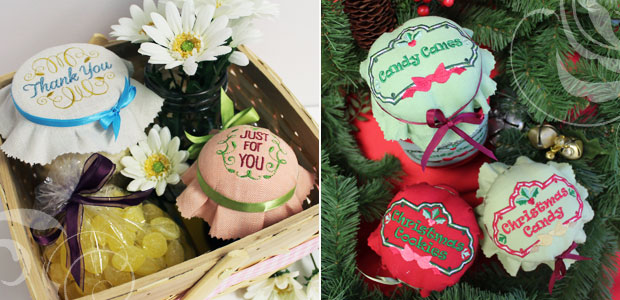
Add a fabric top to a Mason jar to use as a Christmas, hostess, or birthday gift! Whether you're gifting candy, jam, jelly, or other canned goods, this cover is a fabulous way to transform a plain glass jar into a crafty container.
Supplies
- Wide-mouth Mason jar (3 3/8" diameter lid)
- 8" x 8" quilter's cotton
- Medium-weight (2.5 ounce) cutaway stabilizer
- 1/4" wide ribbon
Tools
- Air-erase pen for marking
- Pinking shears
- Polyester fiberfill and masking tape (optional)
Designs Used
For this tutorial, I used one of the canning jar cover designs available at Embroidery Library. The large size of the designs are about 2.6" x 2.6", which work well with wide-mouthed Mason jars. The smaller size of the designs are about 2" x 2", which work well with the standard size jars.

Begin by marking the fabric for the embroidery design.
To do this, place the cotton flat, then put the jar lid on top. Trace the shape with an air-erase pen.

Print a template of the design from embroidery software.
Templates are a great way to position your design on any embroidery project. Simply open each file with embroidery software and print a template. Learn more about working with templates by watching this video.
Once printed, position the template so the center of the design is in the center of the circle. Mark the center point of the design, as well as the vertical and horizontal axis lines. These marks will be used when hooping.

Hoop the stabilizer and fabric together, aligning the marks on the fabric with the marks on the hoop.

Attach the hoop to the machine and load the design. Move the hoop so the needle is right over the center point, and embroider the design.

After embroidering, trim the excess stabilizer away from the back. Leave about 1/2" of stabilizer around the design.

Measure and mark 1 1/2" out from the circle to make a larger circle. This is where the fabric will be cut later.

Place the fabric on top of the jar, aligning the inner circle with the jar lid.
You may use tape between the jar and the fabric, if desired.
Tie the fabric to the jar with ribbon.

Trim the fabric along the larger circle with pinking shears.

You can also add polyester fiberfill to bring a puffy look to the jar.
Tuck a small amount of fiberfill between the jar and the fabric.

Use masking tape to hold the fabric against the jar while you add the ribbon.

Add the ribbon as shown.
Remove the masking tape, and trim the fabric.
Gently rub the air-erase pen markings with wet fingertips to erase them.

Adapt this gift idea for several seasons and occasions.
Holiday designs for Christmas, sweet sentiments for birthdays and hostess gifts, and more!

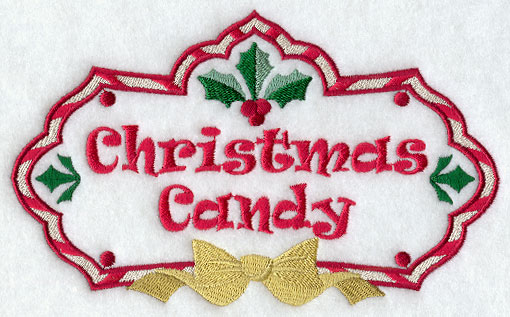
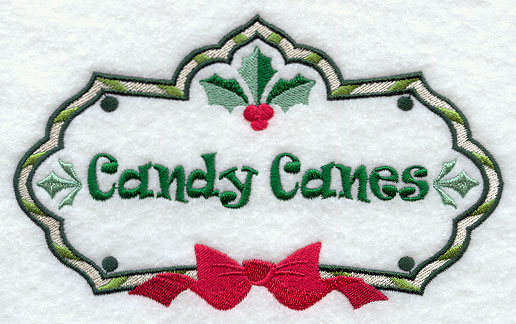
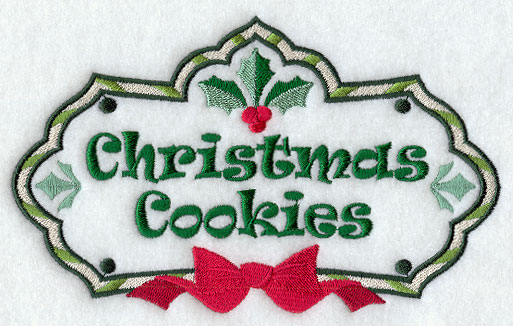
The Christmas Treat Label Design Pack is a fabulous way to add a holiday spin to this project.
I used the small size for these festive Mason jar gifts.
