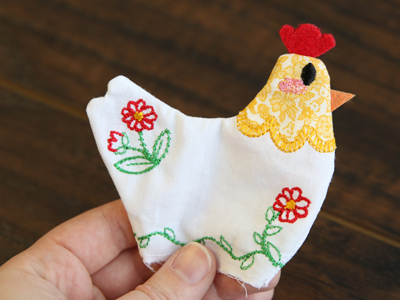
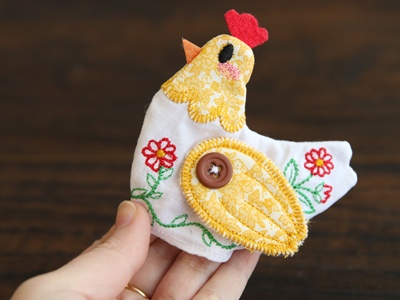
Craft a farm fresh look with this charming chicken pincushion! Stitch each piece separately in-the-hoop, then assemble and stuff. We'll show you how!
Supplies
Project Needs & Notes:
- 1/4 yard of white quilter's cotton (for body)
- 1/8 yard of yellow quilter's cotton (for head and wings)
- Small piece of orange stiff felt (for beak)
- Small piece of red stiff felt (for comb)
- 1/8 yard of cotton batting
- Polyester fiberfill
- Tear-away stabilizer
- Temporary spray adhesive (such as Gunold's KK100)
- Needle for hand sewing
- 2 buttons (1/4" - 1/2")
- Masking tape
Designs featured in this tutorial include:
- X13908, Charming Chicken Pincushion (In-the-Hoop)
Finished Size:
Large: 5" tall x 2 1/2" wide x 4 1/2" long
Medium: 4 1/2" tall x 2" wide x 4" long
Small: 3 1/2" tall x 1 1/2" wide x 3 1/4" long
Special note:
Make sure to completely embroider file "a" (the first side of the chicken) before embroidering file "b" (the second side). They need to be completed in that order, because the last color stop of file "b" sews the two sides together.
Designs Used
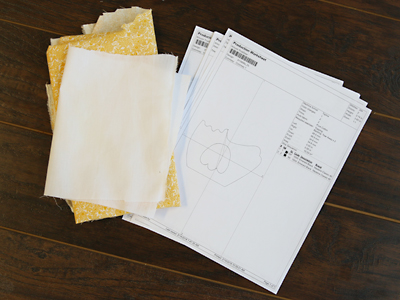
This in-the-hoop design has thirteen files. Five are the full embroidery files. The other eight are dieline files marked with the letters DL. Dielines are used to cut the fabric to the right shape and size.
Open each dieline file with an embroidery software, and print it. If you do not have embroidery software, Wilcom TrueSizer is a free program to use.
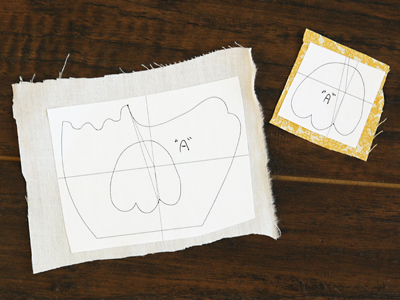
First cut around the two paper dielines for the first half of the chicken (labeled with an "a"). The larger piece will be the body of the chicken and the smaller will be the head.
Spray the back side of the paper dielines with temporary adhesive, and smooth them onto the correct fabrics.
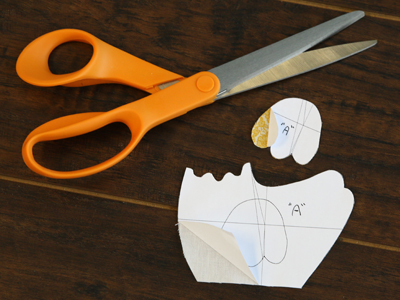
Then cut out the shapes, and label them with the letter "a", so they will be easy to identify later. Fold back one corner of the paper dieline as well to make it easier to remove later.
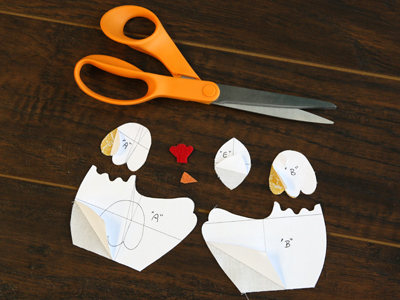
Repeat to cut out and label the two fabric pieces for the opposite side ("b"), the two stiff felt pieces (simply labeled with a "DL"), and the base fabric piece ("e").
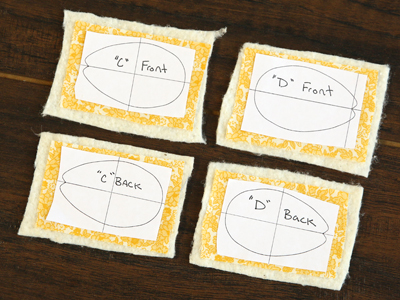
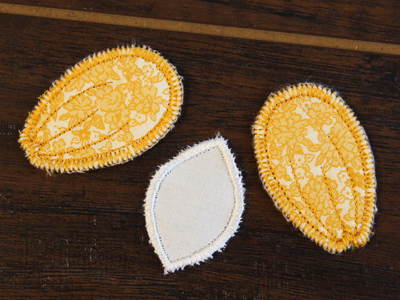
To make the fabric pieces for the wings ("c" and "d"), spray and place the paper dielines on the fabric as you did before. Make sure to label each of the pieces with the letter ("c" or "d"), and also with "front" or "back".
Then cut a piece of batting that is slightly bigger than the fabric, spray it with temporary adhesive, and smooth it onto the back of the fabric. Make sure to put batting on both the front and the back pieces.
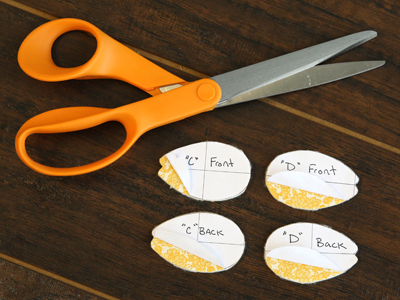
Cut out all the wing pieces, and fold up one corner.
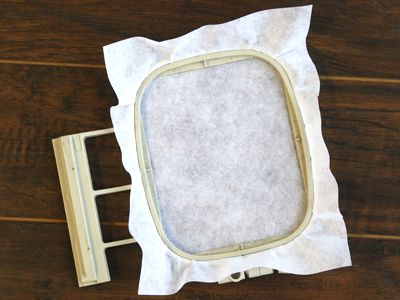
Now that the fabric pieces are cut to the proper shape and size, it's time to embroider the design. Hoop a piece of tear-away stabilizer. Madeira E-Zee Tear 1.5 oz. or Floriani Tearaway Medium are good choices. Those brands are more fibrous, less paper-like, and will tear more cleanly.
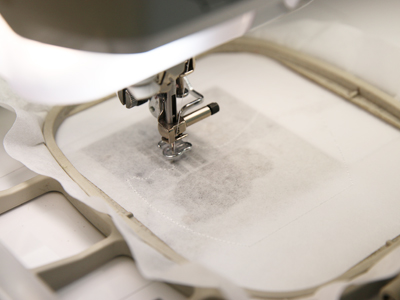
Attach the hoop to the machine and load the full embroidery design (not the dieline files) for the first side of the chicken (file "a").
Use a size 11 or 75/11 sharp sewing needle, rather than an embroidery needle. A sharp sewing needle has a smaller, finer point than an embroidery needle, so that will make smaller perforations in the stabilizer.
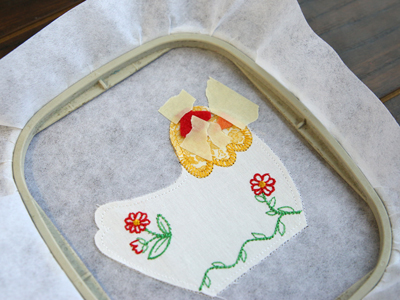
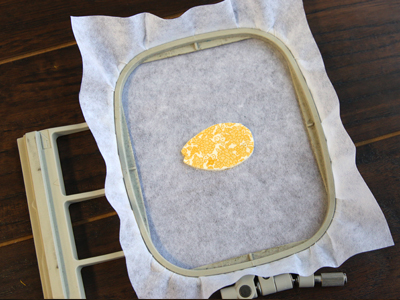
Embroider the design. The first thing to embroider will be a dieline or outline. This marks the area on the stabilizer for the fabric piece.
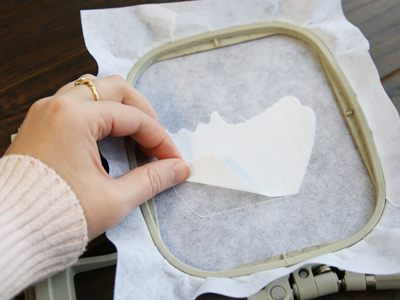
Remove the hoop from the machine, but do not unhoop the stabilizer. Spray the back side of the fabric piece with a small amount of temporary adhesive. Place the fabric right inside the sewn outline.

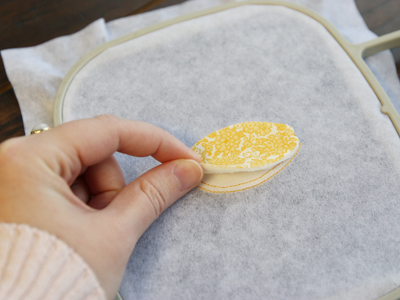
Attach the hoop back onto the machine and continue embroidering. A tackdown will sew next to hold the fabric in place for the rest of the design. Then embroider the "head dieline", and stop the machine before continuing.
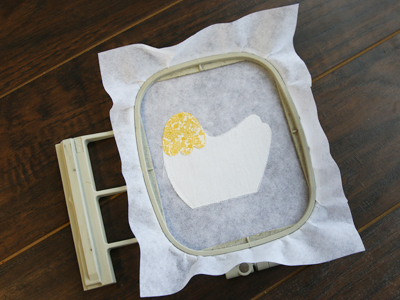
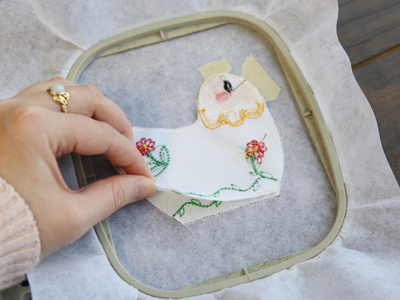
After the "head dieline" sews, spray the back side of the head fabric piece and smooth it onto the stabilizer inside of the sewn shape.
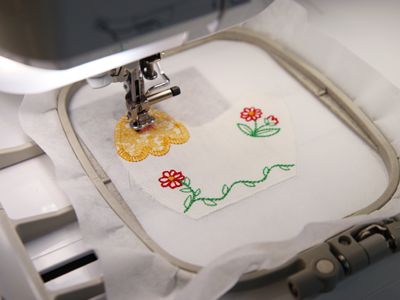
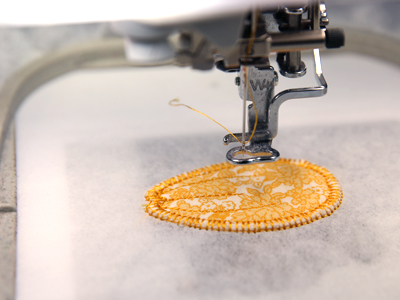
Re-attach the hoop, and embroider the rest of the design. A tackdown will sew first, and then all of the inner details will embroider.
Once the embroidery is finished, unhoop the stabilizer and gently tear it away from the edges. Make sure to leave the tear-away stabilizer on the back of the fabric piece for now.

Next, load the embroidery file for the other side of the chicken (file "b"). Repeat the previous steps to embroider the design, add the two fabric pieces, and embroider the details. Watch the color change sheet, and stop the machine before embroidering the "finishing seam".
Before embroidering the "finishing seam" step, remove the hoop from the machine, but do not unhoop the stabilizer.
Take the two stiff felt pieces, and lay them in place on the chicken between the small sewn lines in the seam allowance. Make sure they are both flipped towards the inside so that they appear "backwards" or "upside-down". This will allow them both to be on the outside of the chicken when we turn it right side out later. Tape them into place.
Then spray the along the edges of the finished first side ("a") on the right side of the fabric. Place the sprayed piece directly on top of the fabric in the hoop. Make sure right sides are together, and firmly smooth it into place.
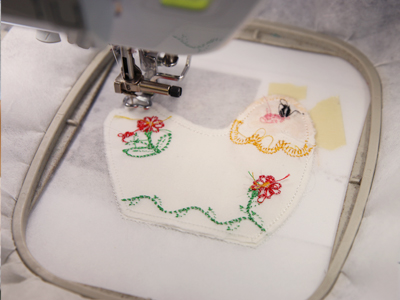
Place the hoop back onto the machine and embroider the "finishing seam"
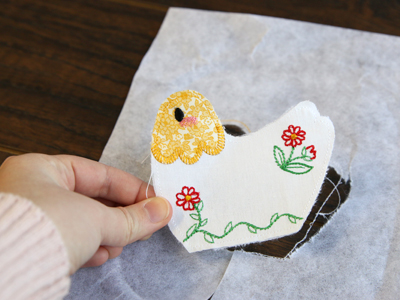
Once the embroidery is finished, remove the excess stabilizer from around the design. Then also carefully remove the stabilizer from the back of the fabric. Removing this will make turning the chicken right side out much easier, and will also allow for the chicken to look plump and round once stuffed.
Next, it's time to embroider the first wing (file "c"). Hoop a piece of tear-away stabilizer, load the file, and start embroidering. Watch the color change sheet, and add the front fabric piece before sewing the step labeled "front tackdown."
Embroider the "front tackdown", and then stop the machine again before sewing the "back tackdown" step. Remove the hoop from the machine, but do not unhoop the stabilizer.
Flip the hoop over, spray the back fabric piece with temporary adhesive, and place it inside of the embroidered shape on the back of the hoop.
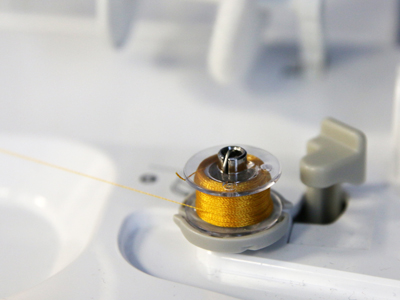
Since both sides of the wings can be seen, wind a bobbin with the same thread used in the needle.
Place the hoop back on the machine, and continue embroidering. A tack down and final border will sew along with a few inner details.
Once the embroidery is finished, tear away the excess stabilizer. Then repeat the previous steps to embroider the second wing (file "d").
Then follow the color change sheet to embroider the base piece (file "e"). The base piece only has a front fabric piece (no back piece), so it will stitch almost exactly like the wings did, but without the steps of adding the back fabric or matching the bobbin.
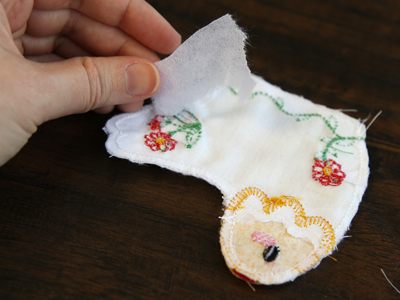
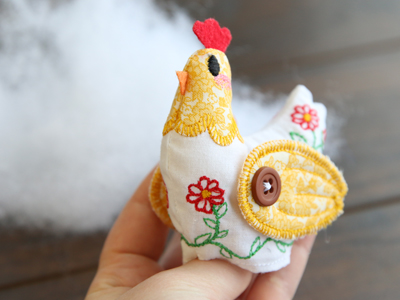
Once all the pieces are finished being embroidered, turn the body of the chicken right side out. It can be helpful to cut slits in the seam allowance around the curves of the tail, back, and head to help it keep its round shape once turned. Just make sure not to cut into the stitching.
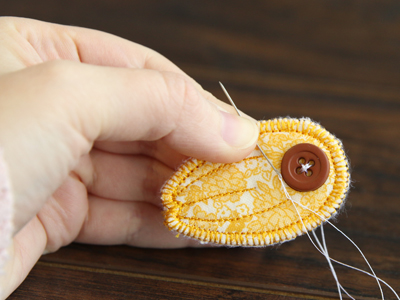
To attach the wings, start by sewing a button onto the right side of one wing in the open area above the line detail.
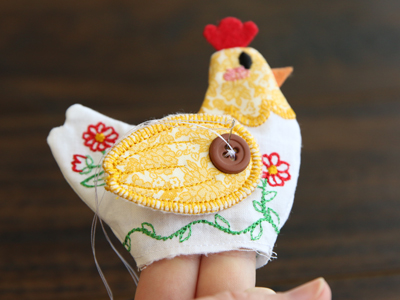
Then position the wing on one side, making sure the right side is facing out. Sew the wing onto the bird by "sewing on" the button. This means attach the wing to the body just under where the button sits, by stitching through the layers of fabric and the holes in the button itself. This will allow the wing to pivot slightly on the chicken and will help with balance.
Repeat to add the other wing to the opposite side of the chicken.
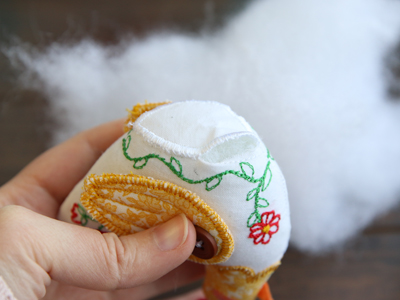
Take the polyester stuffing, and firmly stuff the tail, head, and neck of the chicken.
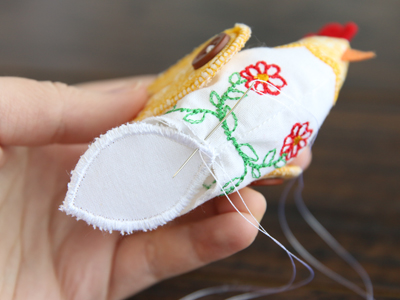
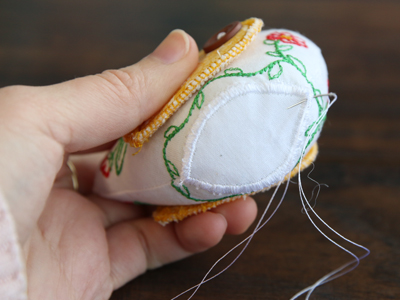
Then take the base piece, and match up one point with one seam around the opening of the chicken body. Fold in the raw edge to the stitched guideline around the opening, and match up the edge of the base piece to the stitched line as well. Make sure right sides are facing out and begin to hand sew the base piece onto the body.
Sew around until there is an opening about 1 1/2" wide left, and finish stuffing the chicken.
Once the chicken is fully stuffed, it should feel firm and sturdy. Sew the opening completely closed to finish the chicken pincushion.


