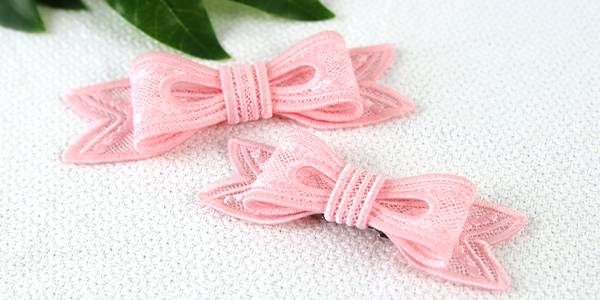
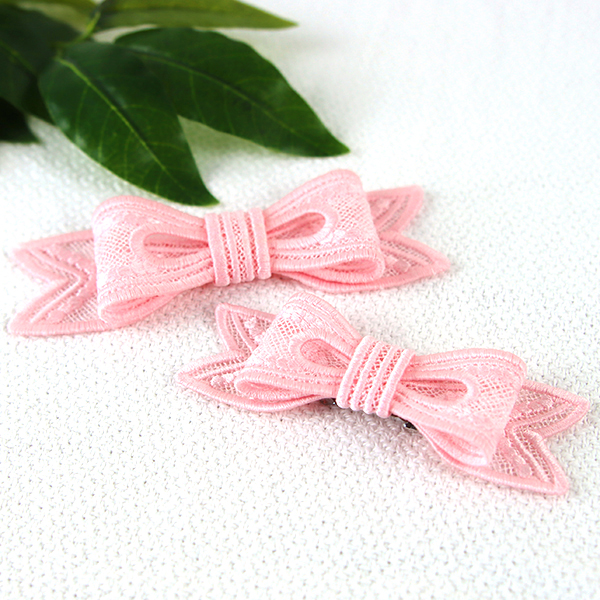
Craft the perfect fashion accessory for hair barrettes, dog collars, purse embellishments, and more with this adorable freestanding lace bow. Simply stitch each piece separately using water-soluble stabilizer before hand sewing to assemble. Follow these step-by-step instructions to stitch your own!
Supplies
Project Needs & Notes:
- Water-soluble stabilizer (Vilene or Sulky Ultra Solvy)
- Embroidery Thread
- Scissors
- Hand sewing needle
- Small hair clip
Designs featured in this tutorial include:
- X15180, Lovely Bow (Lace)
Designs Used
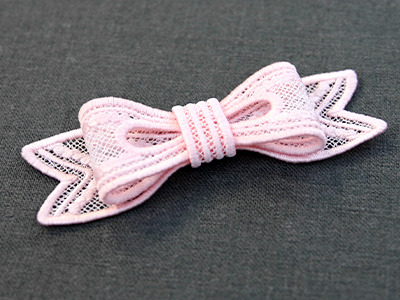
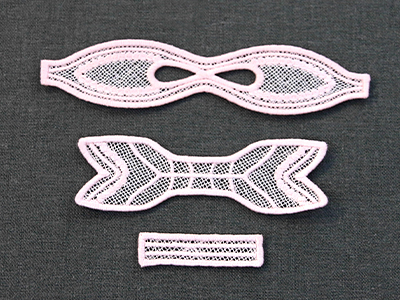
Freestanding lace designs have been specially digitized for water-soluble stabilizer. After the stabilizer is removed, beautiful embroidery remains. When you download this design, you will find a total of 3 files. These files contain all of the pieces for the classic lace bow.
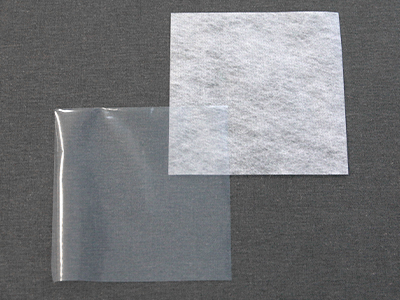
There are a couple of different kinds of water-soluble stabilizer. One is clear and plastic -- that brand is Sulky Ultra Solvy. The other is soft and fibrous, called Vilene. Both will work very well. Vilene is used in this demonstration.
Use a size 11 or 75/11 sharp sewing needle. A sharp sewing needle has a smaller, finer point than an embroidery needle. That means it will make smaller holes in the stabilizer.
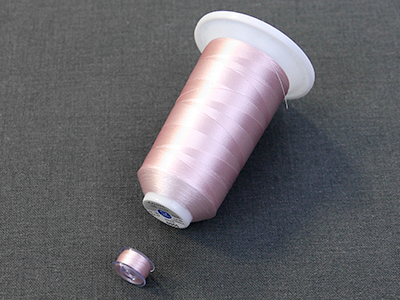
As the freestanding lace will be seen from both sides, wind a bobbin with the same thread that is being used in the top needle.
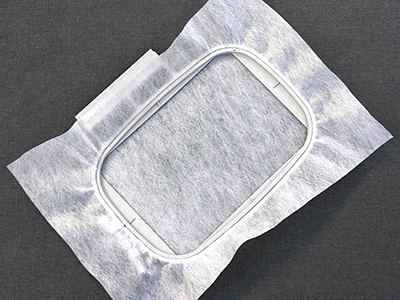
Hoop the stabilizer firmly. Make sure it is nice and tight with no wrinkles.
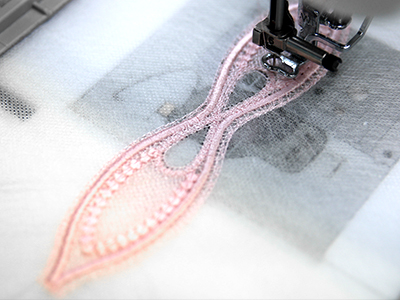
Attach the hoop to the machine, and load file "a." Embroider the first piece using a matching bobbin.
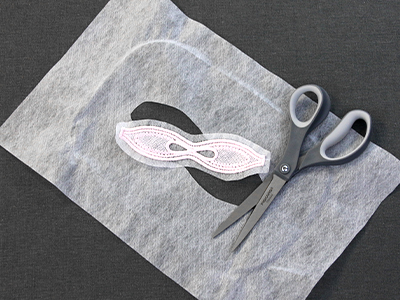
After embroidering, trim away the excess stabilizer.

The stabilizer's packaging should give instructions for removing the excess. For Vilene, soak the embroidered lace for a few moments.
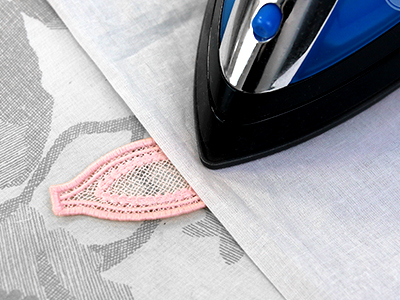
Allow the lace to air dry, then press it with an iron and a pressing cloth on top.
Repeat the steps above to embroider the rest of the lace pieces. Each of the files ("a," "b," & "c") only need to be sewn out once.
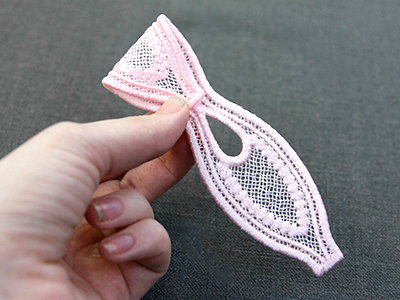
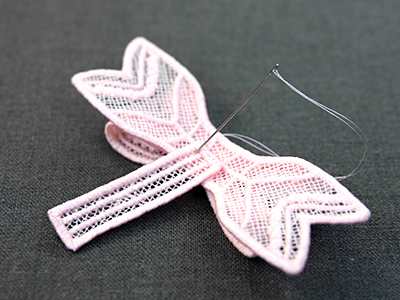
To make the loops of the bow, start by taking the main section of the bow (file "a"), and fold one side over to the center. Make sure the wrong side of the lace is on the inside of the loop.

Hand sew the end of first loop in place at the center of the bow.
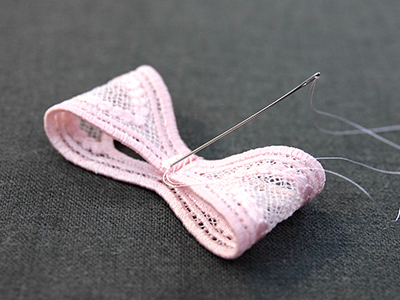
Repeat to fold the other side to create the second loop. The two ends should meet at the center, and the right side of the lace should be facing out. Sew the end of the second loop down beside the first.

Now, take the tails piece (file "b") and center it on the backside of the main bow piece. The right side of the tails piece should be against the back of the bow piece so that it covers the previously stitched area.
Stitch the tails piece and the bow piece together, hand sewing a line through the center.
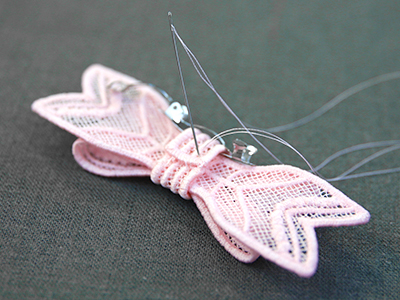
Next, take the center band of the bow (file "c") and center one short end along the back of the tails piece. The wrong side of the band should be against the tails piece. Once placed, hand sew the end in place.
After one end of the center band is sewn down, wrap the band completely around the bow.
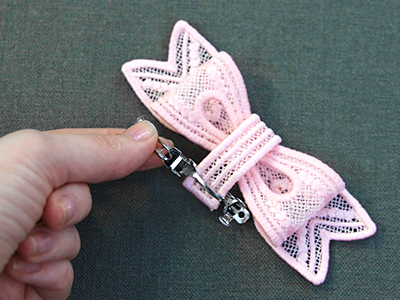
If you are creating a barrette or hair clip, you will want to slide the band through the chosen hair clip at this time.
Next, match the end of the band with the end that was previously sewn down. Hand sew the end of the band to the band only. Do not sew it to the tails of the bow. This will provide room for the hair clip to move.
Once sewn, position the clip on the back of the bow as desired.
To prevent the hair clip from moving around, either glue it in place or hand sew the center band to the tails on either side of the clip so it cannot slide.


