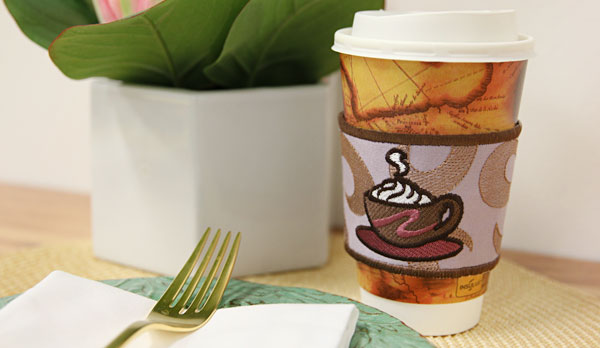
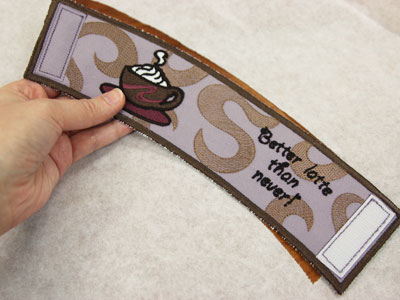
Take your java on the go with tasty embroidered coffee cup sleeves! These designs are made entirely in the hoop, and are a terrific way to keep your coffee hot and your hand cool while on the run.
Supplies
- Sturdy cotton such as canvas, duck cloth, or Kona
- Medium-weight (2.5 ounce) cutaway stabilizer
- Tear-away stabilizer
- 3/4" wide sew-on Velcro
- Low-loft batting
Tools
- Temporary spray adhesive (Gunold KK100)
Designs Used
Coffee cup sleeve designs are available in one piece or two pieces (split). Embroidery machines that can accommodate an 11.02" design length can use the one piece designs; machines that have smaller capacity can use the two piece, split files. In order to stitch the small size, your machine must have an embroidery area of 5" x 7" or larger.
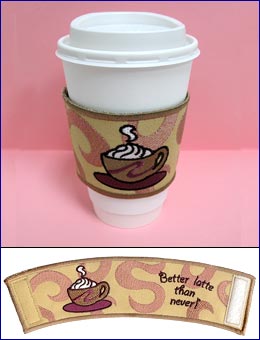
The first section of this tutorial demonstrates how to embroider a one-piece coffee sleeve. The second section shows how to work with a two-piece, or split, design.
In-the-hoop coffee sleeve designs have a full embroidery file and two dielines.
Dieline files are marked with the letters DL. They're used to cut the fabric to the proper shape and size.
There are two dielines. One is for the front fabric piece, and one is for the back fabric piece.
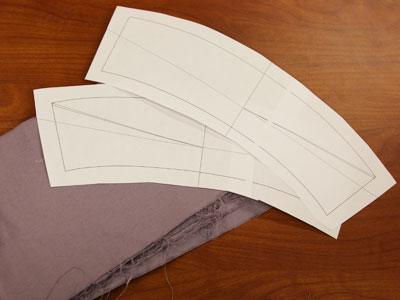
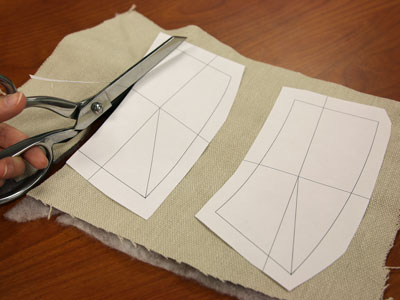
Open the dieline files with embroidery software and print them.
If you do not have embroidery software, you can stitch the DL files directly onto your chosen fabric, then cut around the stitched dieline.
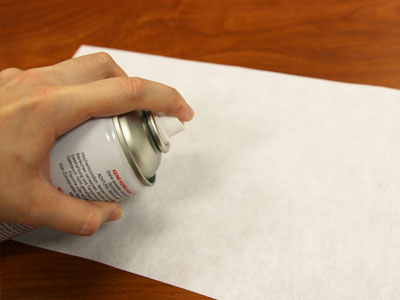
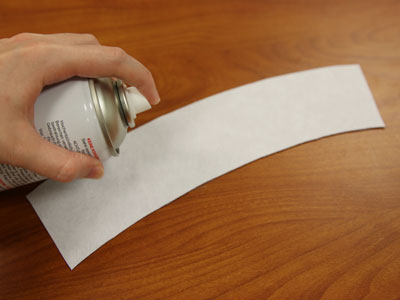
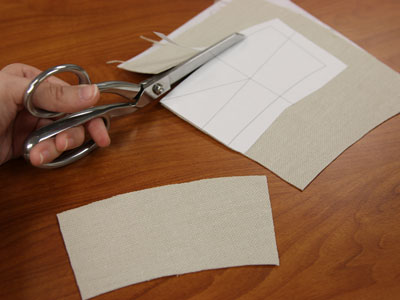
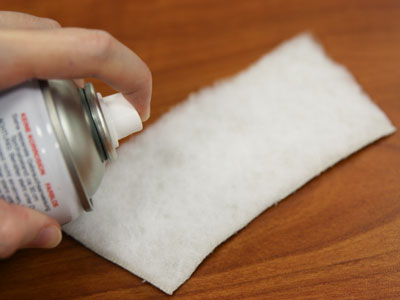
Spray a piece of cutaway stabilizer with temporary adhesive.
Smooth the fabric for the front of the coffee sleeve on top.

Place the dieline printout for the front fabric piece on top of the fabric and stabilizer.
Cut out the shape.
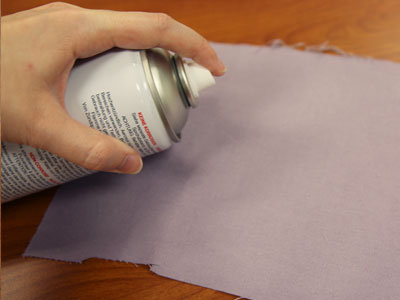
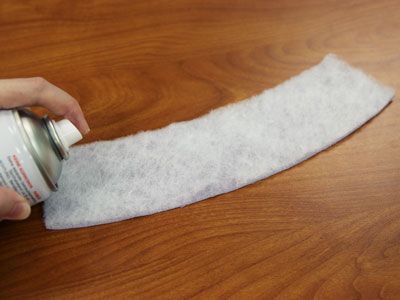
Next, spray the wrong side of the fabric for the back of the sleeve with temporary adhesive.
Place that fabric on top of the low-loft batting.
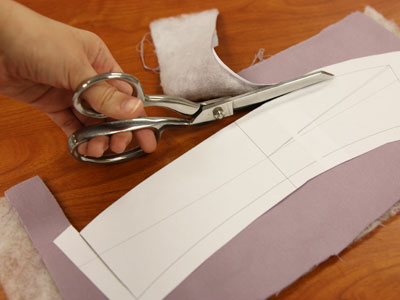
Place the dieline for the back fabric piece on top of the fabric and batting, and cut out the shape.
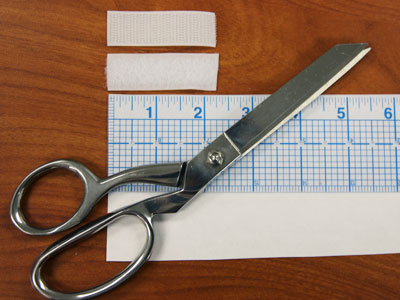
Cut a piece of Velcro (hook side) to 2 1/4" long.
Cut another piece of Velcro (loop side) to 2 1/4" long.

Now that the materials are cut to the right shape and size, it's time to embroider the design.
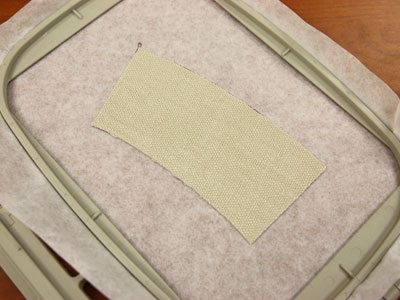
Hoop a piece of tear-away stabilizer.

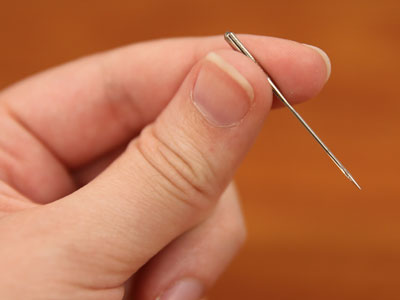
Use a size 11 sharp sewing needle in the machine rather than an embroidery needle.
A sharp sewing needle is the best choice when embroidering in-the-hoop designs.
Load the full embroidery file (not a dieline file) to your embroidery machine.
Attach the hoop, and begin embroidering the design.
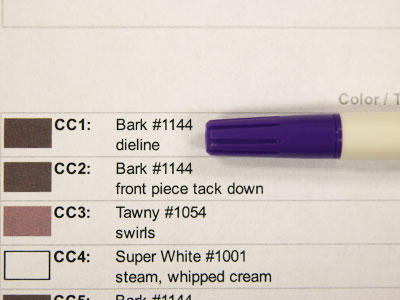
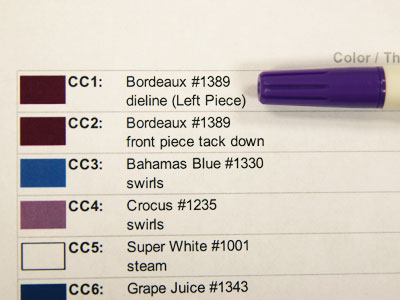
Reference the color change sheet for the design as you stitch. That sheet tells you what is stitched in each step.
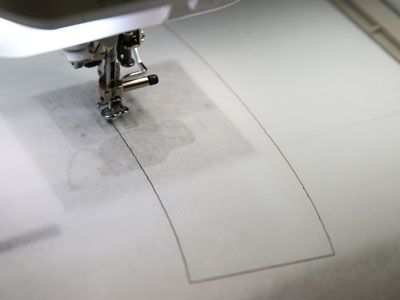
CC1 is a dieline, or outline stitch, that traces the shape for the fabric piece.
After CC1 has stitched, remove the hoop from the machine.
Spray the back side of the front fabric/stabilizer piece with temporary adhesive.
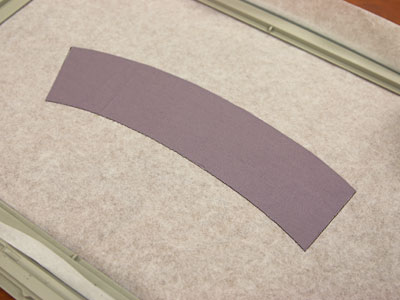
Smooth that piece right inside the stitched dieline.
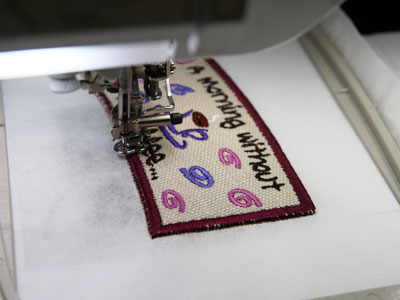
Continue embroidering the design.
A tack down or zigzag stitch will sew next, tacking the fabric and stabilizer to the tear-away stabilizer.
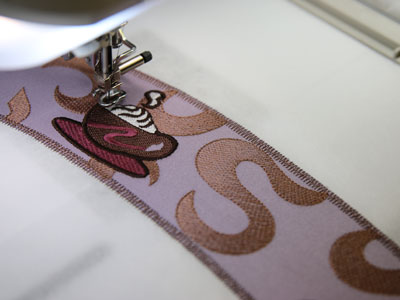
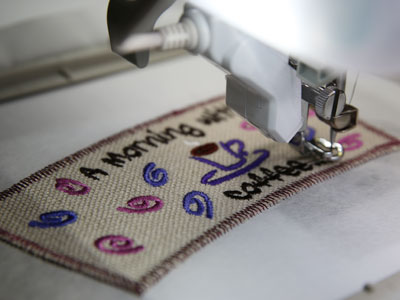
Other elements of the design will embroider, such as cups, swirls, steam, saucers, or text.
Keep referencing the color change sheet while stitching.
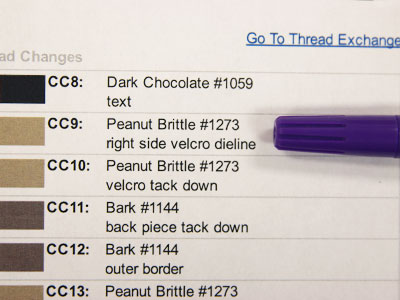
Watch for the note that says "right side Velcro dieline."
This step traces the area for the loop side of the Velcro.
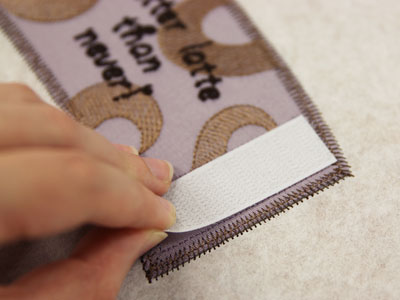
After the dieline for the Velcro has sewn, spray the back of the Velcro piece with temporary adhesive. Place it right in the dieline shape.
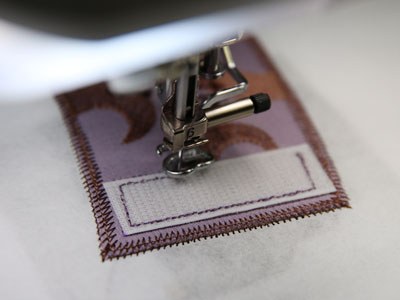
Continue embroidering the design. A tack down stitch will sew around the edge of the Velcro.
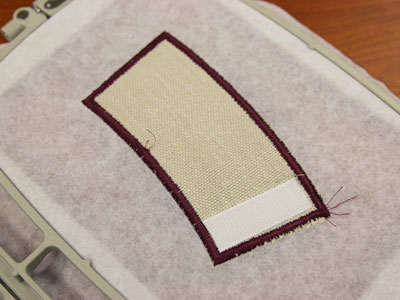
When you get to the section that says "back piece tack down," stop the machine before embroidering that step.
Remove the hoop, but do not unhoop the stabilizer.
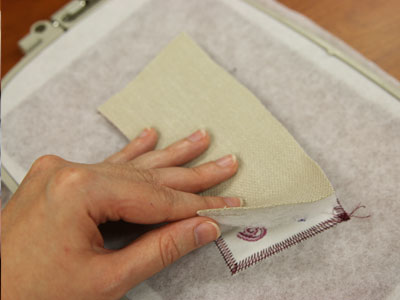
Spray the batting side of the back fabric piece with temporary adhesive.
Turn the hoop over and place the batting and fabric right inside the shape.
For the remaining steps, both sides of the sleeve will be seen.
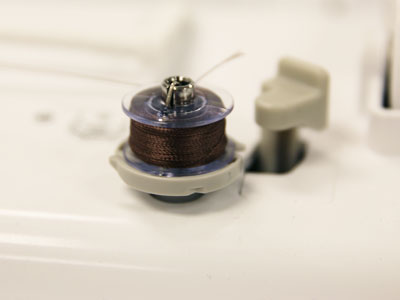
Wind a bobbin with the same thread you're using in the top.
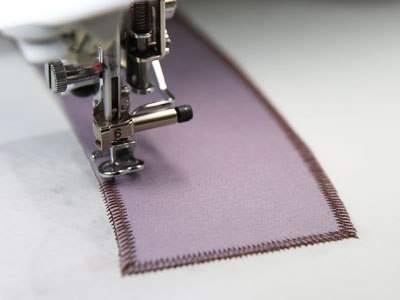
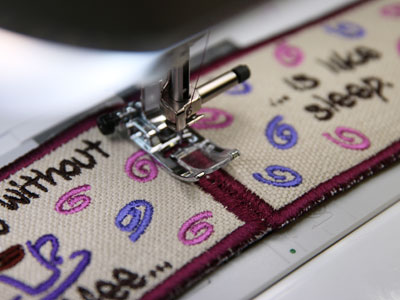
Continue embroidering the design with the tackdown stitch, and the satin border.
The final steps are a dieline for the hook part of the Velcro.
After the "left side Velcro dieline" has stitched, stop the machine.
Spray the back of the Velcro piece with adhesive, and smooth inside the stitched dieline.
The remaining stitch tacks the Velcro piece down.
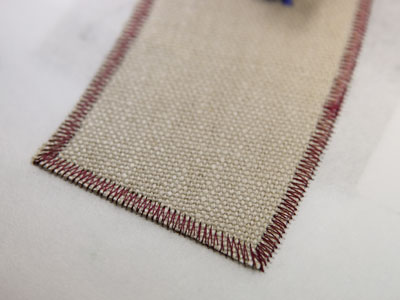
After the embroidery is complete, unhoop the stabilizer and gently tear it away from the edges.
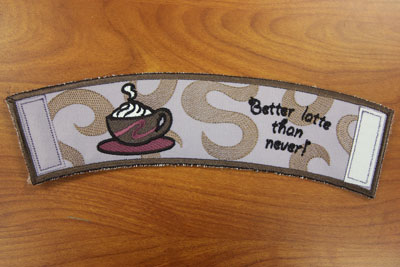
The one-piece coffee sleeves are terrific for embroiderers with larger machines, and require no further construction.
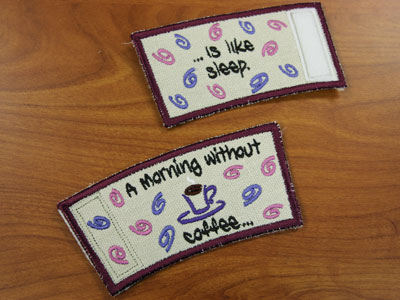
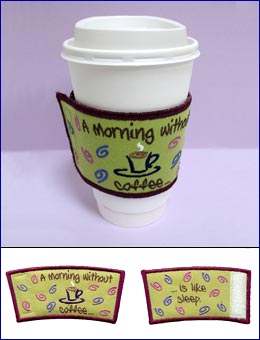
Next, we'll demonstrate how to embroider a two-piece coffee sleeve design. The steps are very similar to the one-piece steps shown above.

Unzip the split coffee sleeve to find six files.
Two are full embroidery files for the left and right parts of the sleeve. The other four are dielines, and those are used to cut the fabric to the right shape and size.
Open the dieline files with embroidery software and print them.
If you do not have embroidery software, you can also stitch the dieline files directly onto your fabric and then cut around the stitched dieline.

Spray a piece of cutaway stabilizer with temporary adhesive.
Place the fabric for the front of the sleeve on top.
Place the two dielines for the front pieces on top of the fabric.
Cut out the shapes.
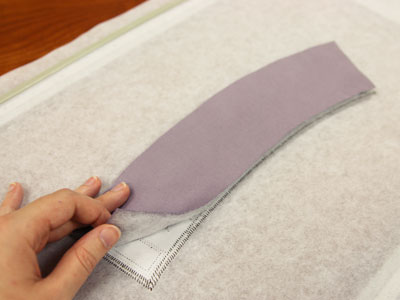
Next, spray the wrong side of the fabric for the back piece with temporary adhesive.
Smooth the fabric on top of the batting.
Place the two dielines for the back pieces on top, and cut out the shapes.

Next, prepare the Velcro.
Cut a piece of Velcro (hook side) to 2 1/4" long.
Cut another piece of Velcro (loop side) to 2 1/4" long.

Now that the materials are cut to the right shape and size, it's time to embroider the design.
Hoop a piece of tear-away stabilizer.
Use a size 11 sharp sewing needle in the machine rather than an embroidery needle.
A sharp sewing needle is the best choice when embroidering in-the-hoop designs.
Load the full embroidery file, part A, to the machine. Attach the hoop, and begin to embroider the design.
Reference the color change sheet for the design as you stitch. That sheet tells you what is stitched in each step.
CC1 is a dieline, or outline stitch, that traces the shape for the fabric piece.
After CC1 has sewn, spray the back side of the front fabric and stabilizer piece with temporary adhesive.
Place that in the sewn dieline.
Continue embroidering the design. A tack down stitch will sew next, binding the fabric to the tear-away stabilizer.
Other elements of the design will embroider, such as cups, swirls, steam, saucers, or text.
Keep referencing the color change sheet as you stitch.
When you get to the step for the "back piece tack down," stop the machine before embroidering that step.
Remove the hoop from the machine, but do not unhoop the stabilizer.
Spray the batting side of the back fabric piece with a small amount of adhesive.
Turn the hoop over, and place the batting and fabric right inside the shape.
The next step is a satin stitch border, which is seen from both sides of the sleeve.
Wind a bobbin with the same thread you're using in the top.
Continue to embroider the design.

After the "velcro dieline" has stitched, spray the back of then loop Velcro with temporary adhesive.
Place that in the sewn dieline.
The next step, a tack down stitch, binds the Velcro to the fabric.
That will conclude part A of the split sleeve.
Unhoop the stabilizer and gently tear it away.
Repeat the steps to embroider part B of the sleeve, using the hook side of the Velcro instead of the loop side.
After both pieces A and B are embroidered, align the two pieces with the embroidered sides facing up.
Sew the pieces together with a zigzag stitch.
These coffee cup sleeves are sure to perk up your first cup of the day. Use with a reusable coffee to-go-cup, or for the cup from your favorite coffee shop.


